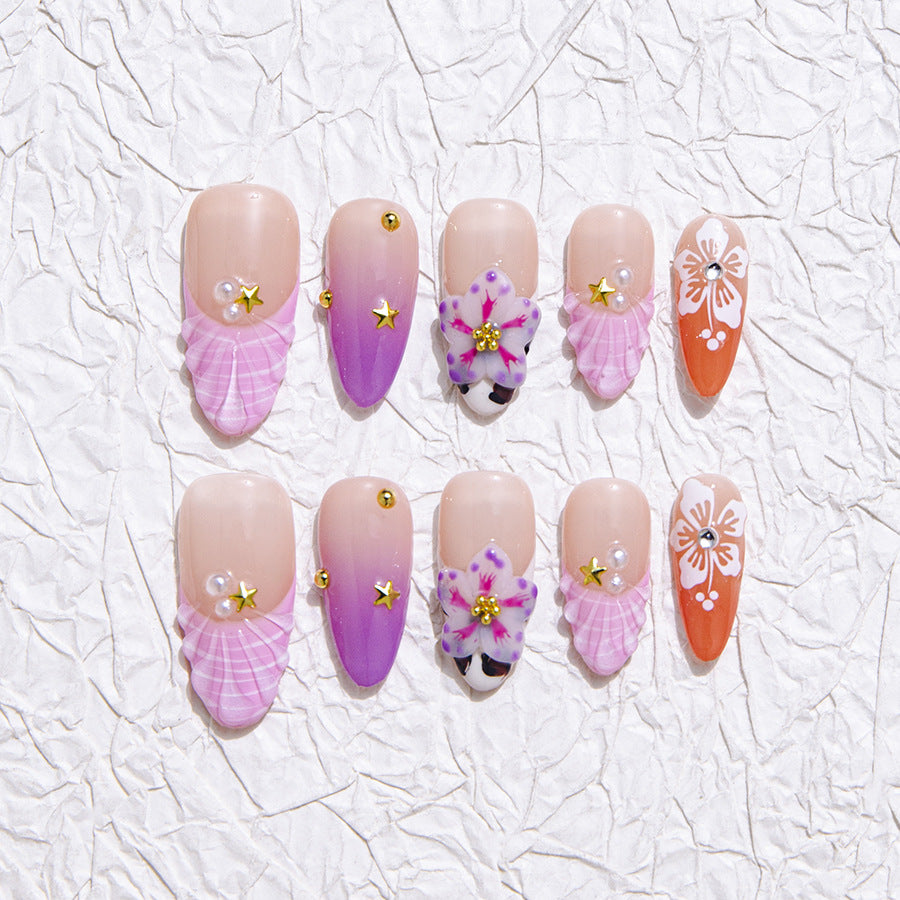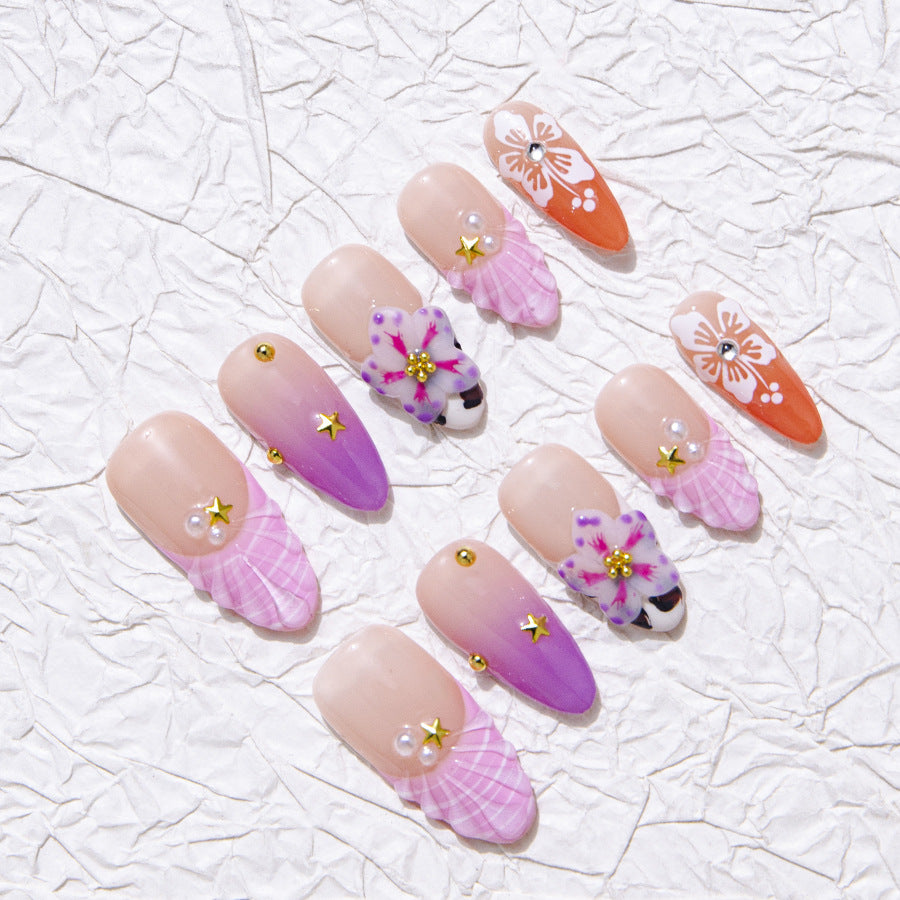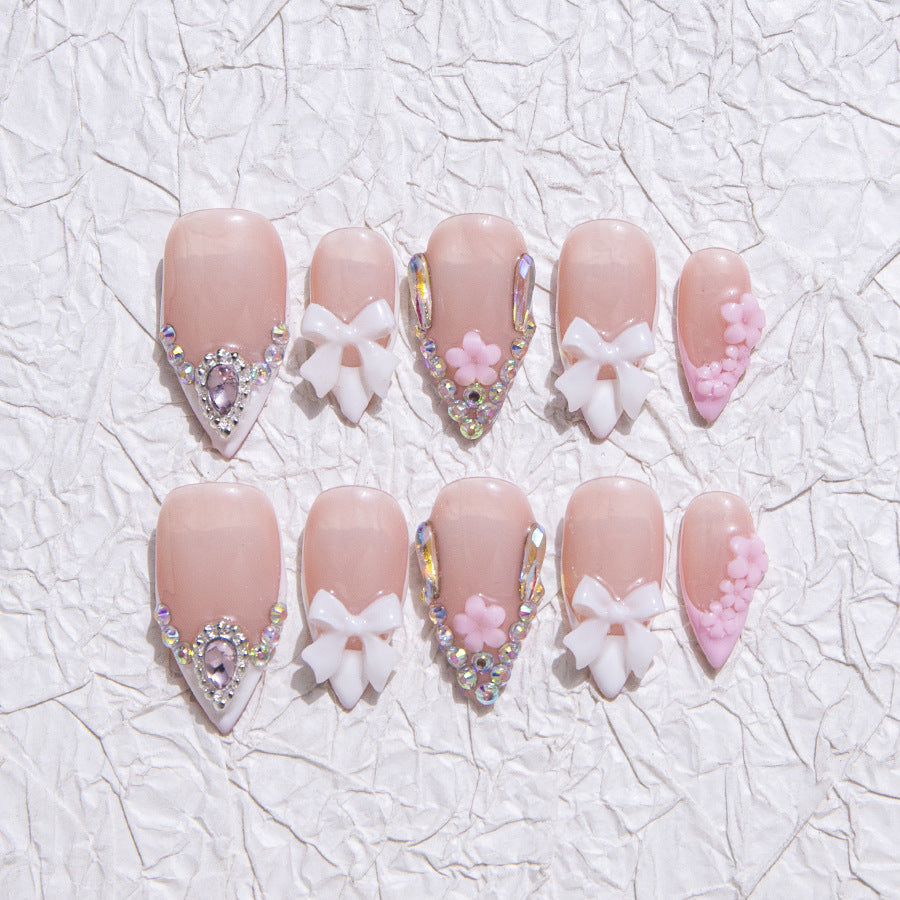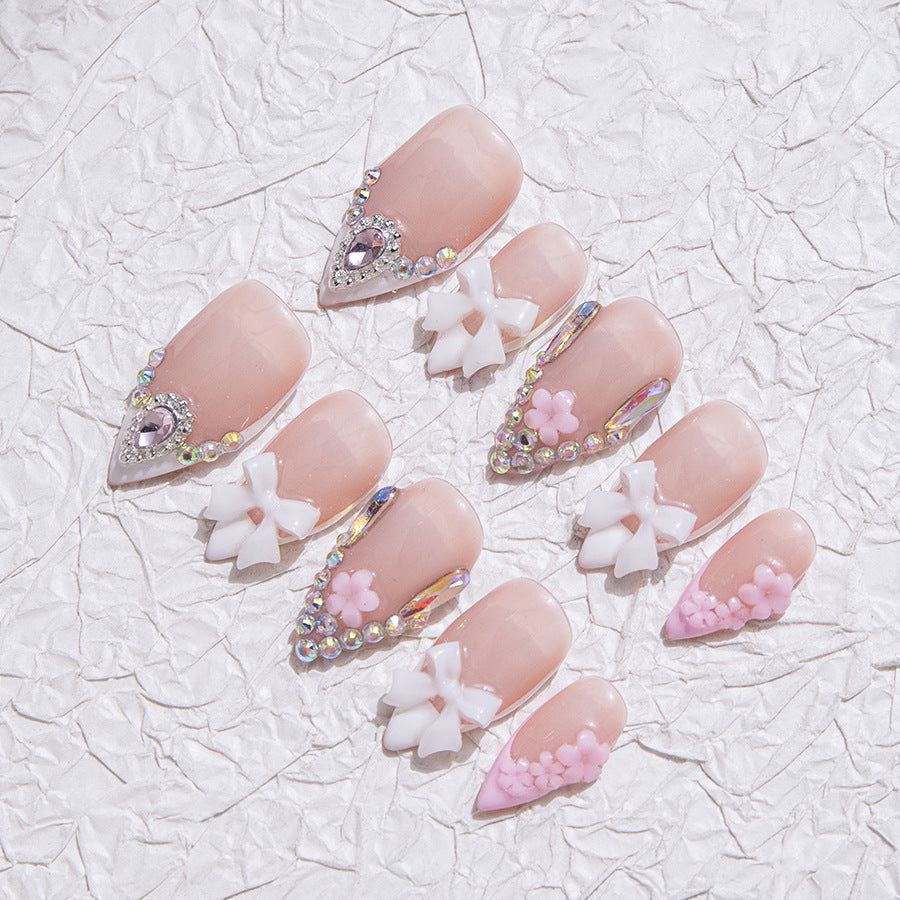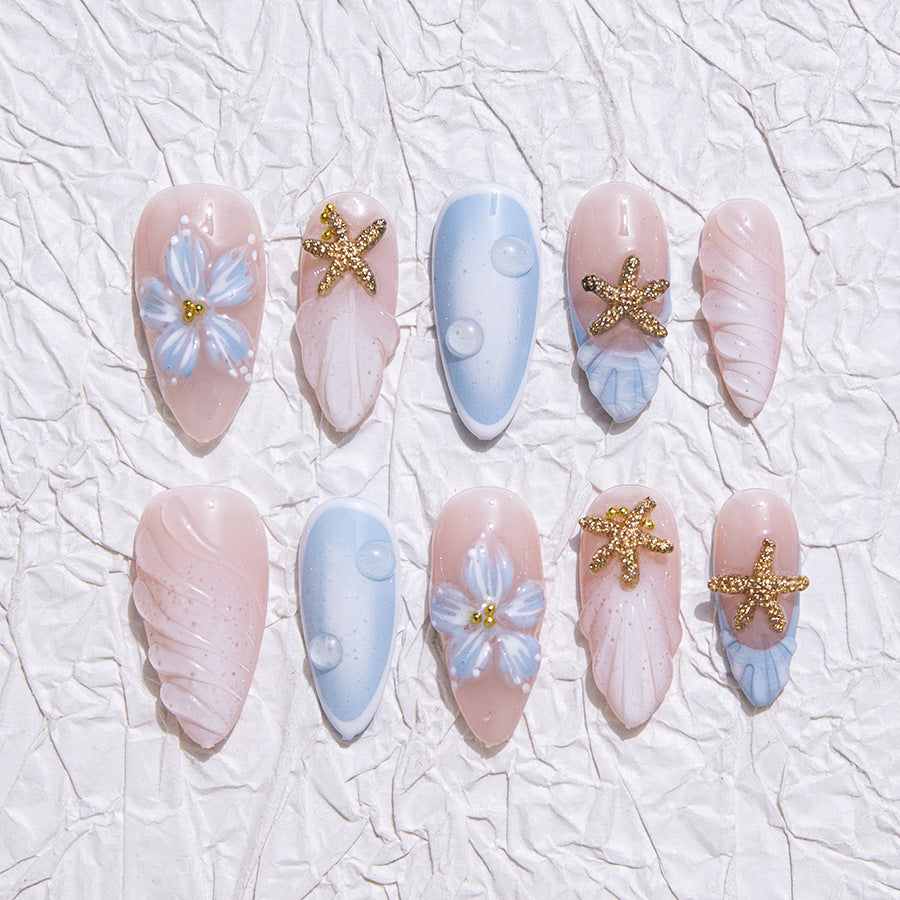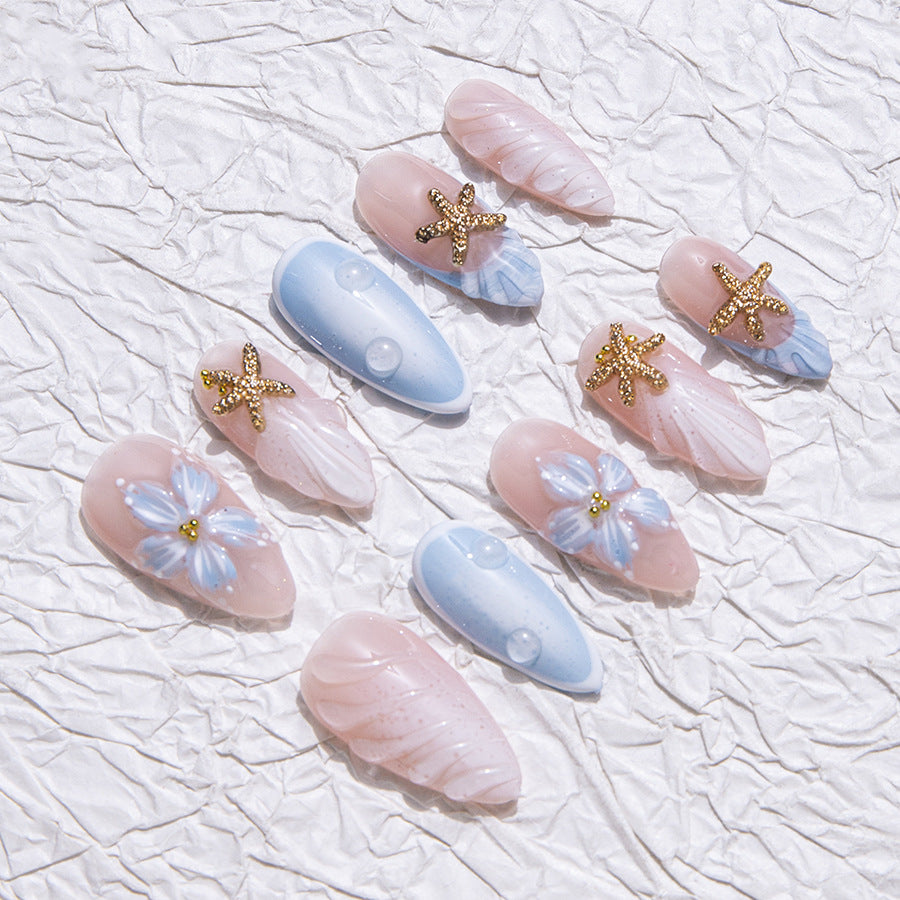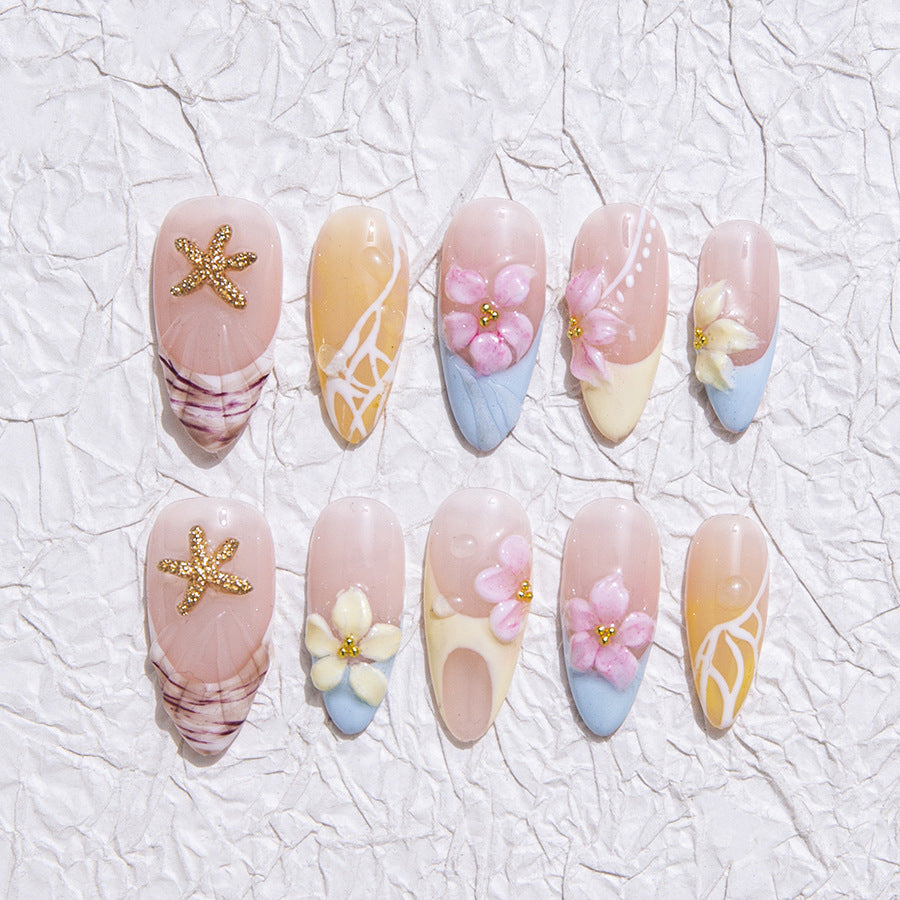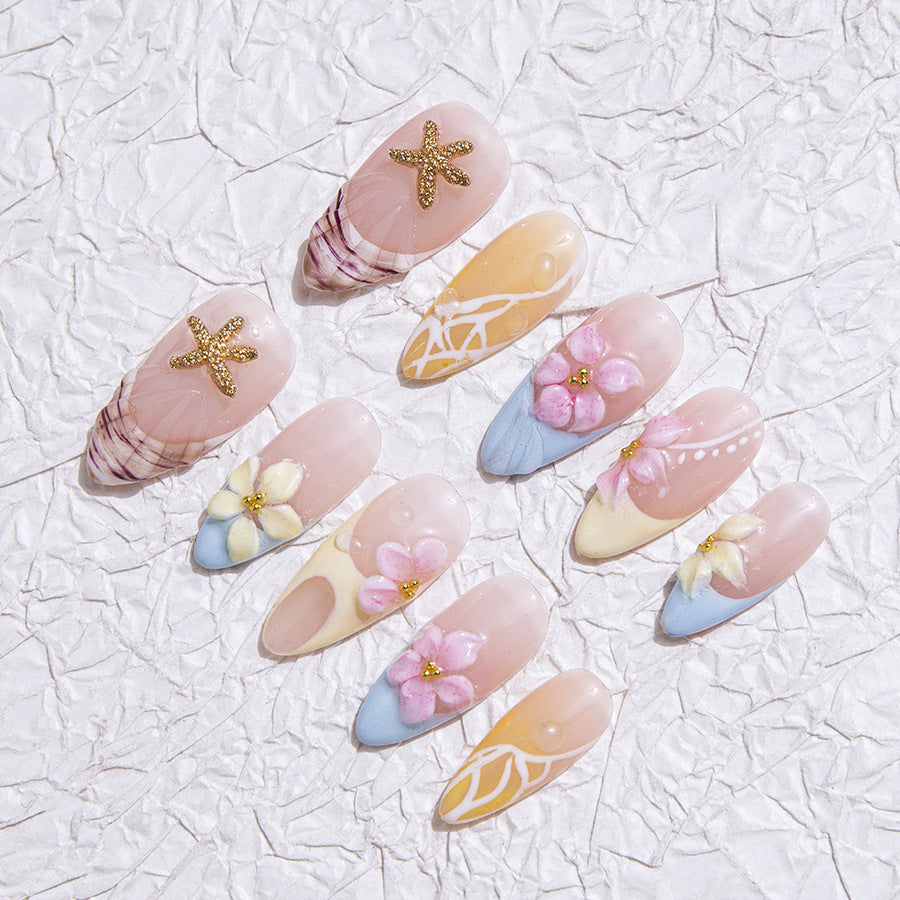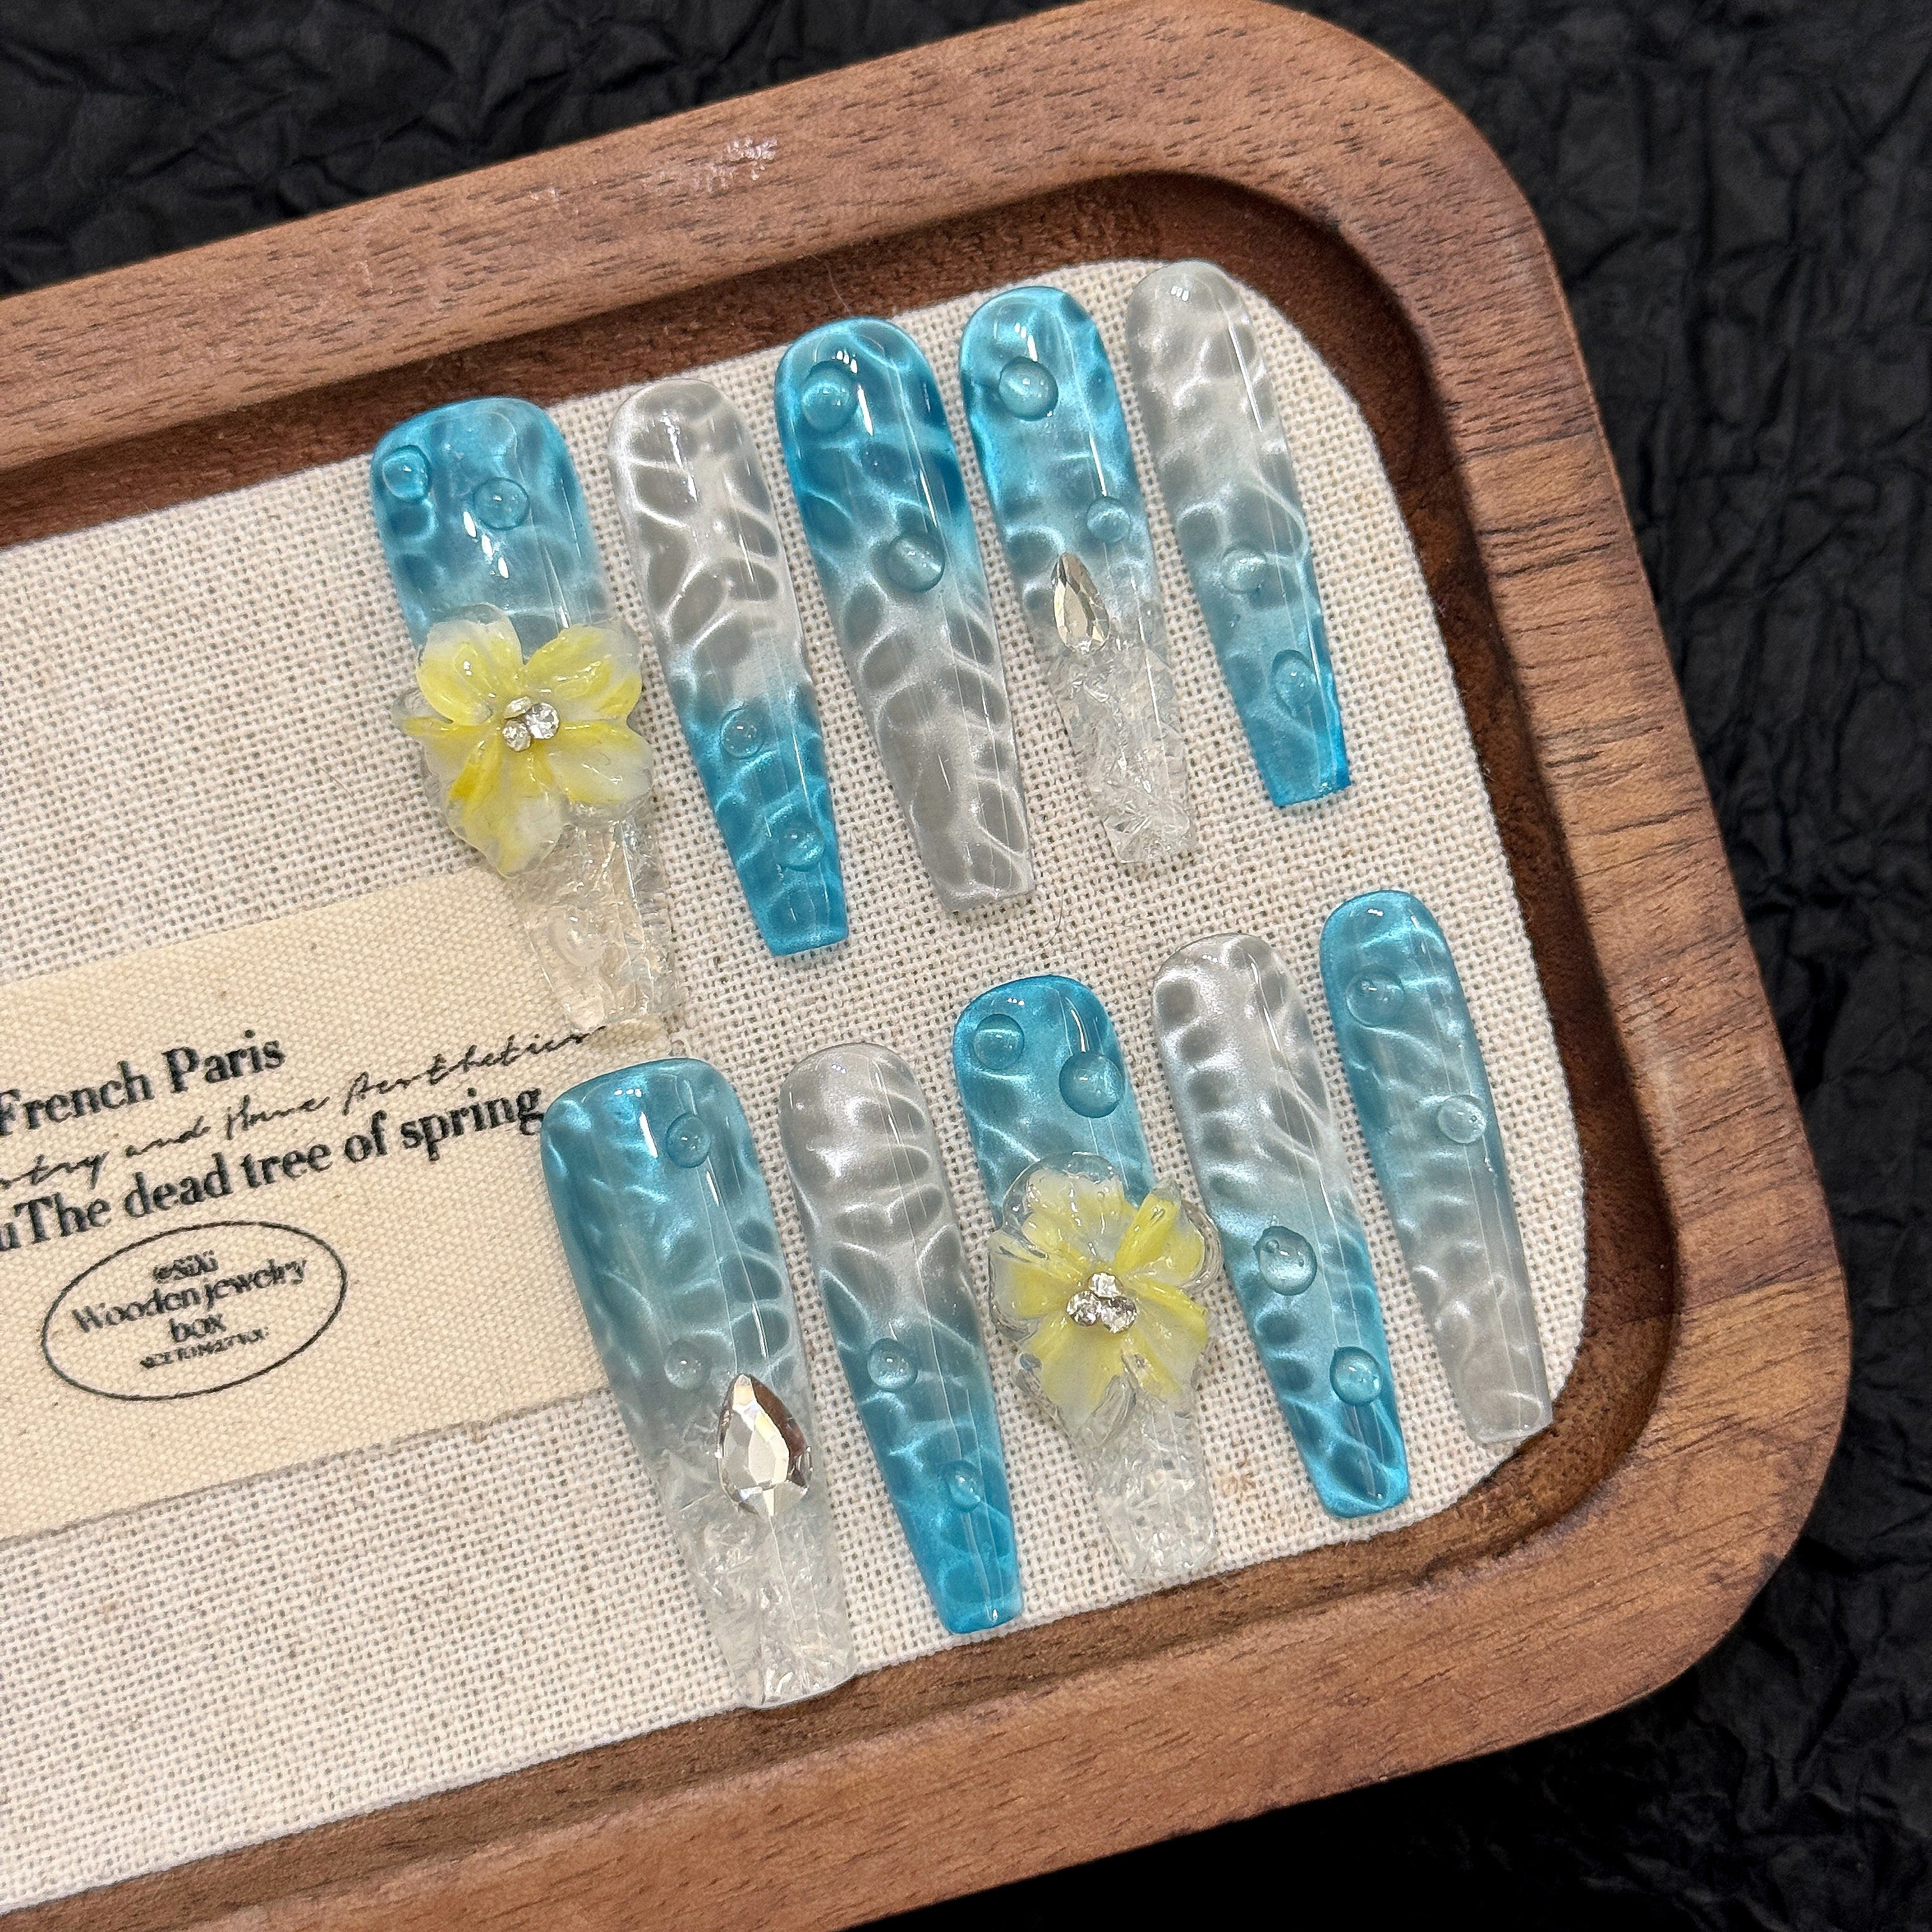
Glue gel nails
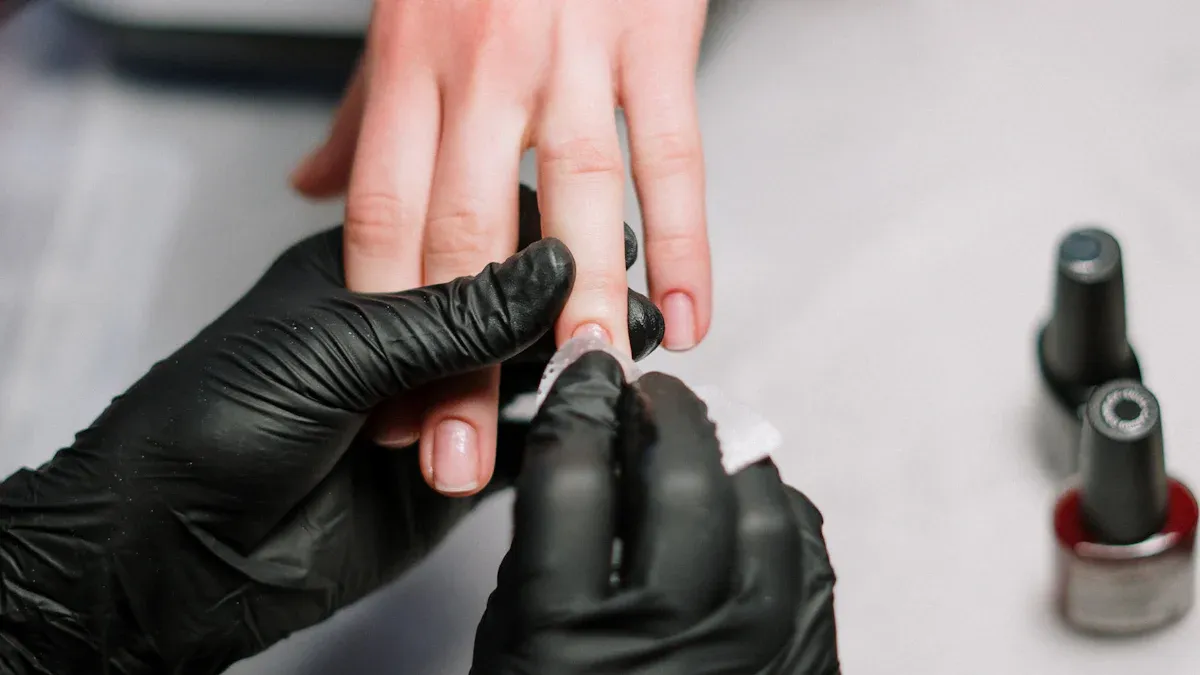
If you want a manicure that lasts and looks shiny, glue gel nails might be perfect for you. These nails use a special gel glue cured under UV or LED light, making them strong and chip-resistant for up to three weeks.
- They feel natural and flexible, unlike regular press-ons.
- You get a high-gloss finish that keeps your nails looking fresh.

People everywhere are choosing glue gel nails for their durability and salon-quality results.
Key Takeaways
- Glue gel nails offer strong, natural-looking nails that last up to four weeks with a shiny finish.
- Proper nail preparation and using thin layers of gel glue help nails stay on longer and look better.
- Both solid and liquid gel glues need UV or LED light to harden and create a durable bond.
- Moisturize cuticles daily and wear gloves when cleaning to keep nails healthy and fresh.
- Remove glue gel nails gently to avoid damage, and care for your natural nails with strengtheners and oils.
What Are Glue Gel Nails?
Glue gel nails help you get strong and shiny nails. They use a special nail glue that is thicker than normal glue. This glue is in a gel form, so it is easier to use. You can use glue gel nails with many nail tips, like acrylic, soft gel, or press-on tips. The gel glue keeps the tips on your nails for a longer time.
Types of Glue Gel
There are two main types of glue gel for nails: solid gel glue and liquid gel glue. Each one works best for different nail styles. Here is a table to show how they are different:
| Aspect | Solid Gel Glue (e.g., BTArt Solid Glue) | Liquid Gel Glue |
|---|---|---|
| Viscosity | Thicker, so it does not run everywhere | Thinner, so it spreads into nail grooves |
| Bonding Mechanism | Gets soft when warm, then hardens to make a strong bond | Flows into grooves and hardens fast under UV/LED |
| Retention | Lasts up to 18 days if you use primers | Sets fast but needs careful use to stop mess |
| Suitable Nail Types | Best for soft gel nails because it bends and is strong | Works for soft and hard gel nails, but hard gels need strong light |
| Application Technique | Needs the right heat and time to stick well | Needs the right amount and light to stop gaps |
| Flexibility and Strength | Good mix of bending and strength, great for soft gels | Sets fast, works for many nails but needs care |
| Additional Notes | Often used with protein bond primers to stick better | Needs clean and rough nails before using |
Solid gel glue is thick and stays where you put it. This is good if you want less mess and more control. Liquid gel glue spreads out more, so you must be careful not to use too much. Both types need a UV or LED lamp to harden.
How Glue Gel Nails Work
Glue gel nails use a special gel glue that is not like regular nail glue. Regular nail glue is thin and dries fast when it gets wet. Glue gel nails use a thicker glue that needs a UV or LED lamp to harden. This makes your nails last longer and stay strong.
You may wonder how glue gel nails are different from other nail systems. Traditional gel nails use a gel that only gets hard with UV light. Acrylic nails are made by mixing a liquid and powder, which then hardens. Regular nail glue dries fast with water and does not need light. Glue gel nails are special because the glue is thicker and gives you more time to put on your nail tips before it hardens. This makes it easier, especially if you are new to doing nails.
Tip: If you want nails that feel real and last longer than regular press-ons, glue gel nails are a good pick. You get the bendy feel of gel and the strong hold of glue.
Benefits and Drawbacks
Advantages
You might love how easy it is to get salon-quality nails at home. Many people say these nails last two to four weeks, sometimes even up to a month, if you take care of them. Here are some reasons why you might want to try them:
- They stay strong and rarely chip or break. You can wash dishes, type, or button your shirt without worrying about your nails popping off.
- The finish looks smooth and natural. The transition from your real nail to the extension is almost invisible.
- You can pick from many shapes, lengths, and designs. It’s easy to customize your look.
- The application process is simple. Even if you’re new to doing your own nails, you can get good results.
- The formula is gentle and less harsh than acrylics. Removal is easier, so your natural nails stay healthier.
- The glue dries fast and holds tight, so you don’t have to wait long.
- Both professionals and beginners can use these nails with confidence.
Tip: Keep your nails looking fresh by moisturizing your cuticles, using nail oil at night, and wearing gloves when cleaning.
Considerations
While these nails have many perks, you should know about some possible drawbacks. Here’s a table to help you see what to watch out for:
| Potential Issue | What You Need to Know |
|---|---|
| Allergic Reactions | Some glues contain chemicals that can cause itching, redness, or even severe allergies. |
| Nail Damage | Removing the nails can peel or weaken your real nails, making them dry or brittle. |
| Burns and Injuries | Spilled glue can burn your skin or clothes. |
| Infections | Wearing nails too long or using unclean tools can lead to fungal or bacterial infections. |
| UV Exposure | Curing under UV lamps adds to your skin’s UV exposure, which may raise the risk of skin problems. |
| Chemical Dryness | Acetone and other removers can dry out your nails and skin. |
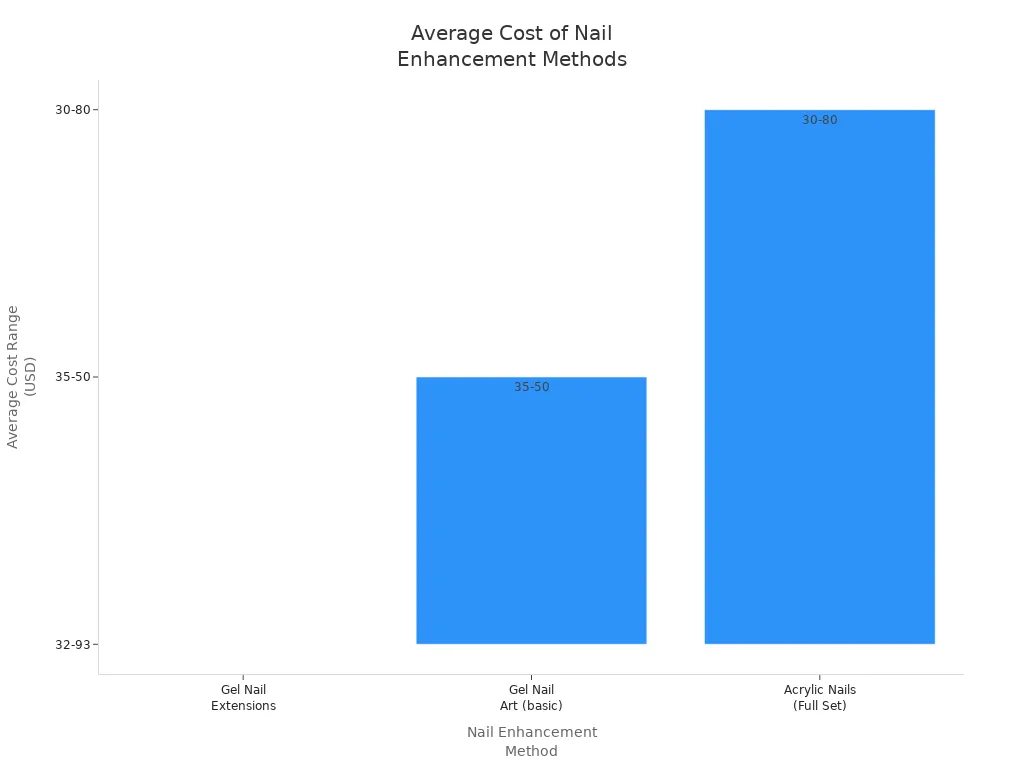
You’ll also want to think about the cost. Getting these nails done in a salon usually costs between $32 and $93, with an average around $58. That’s about the same as acrylic nails, but more than regular polish or press-ons.
To keep your nails looking their best, you’ll need to do some upkeep. Remove polish as soon as it chips, moisturize your cuticles, and reapply a clear topcoat every few days. Always use clean tools and follow instructions to avoid problems.
Glue Gel Nails Application
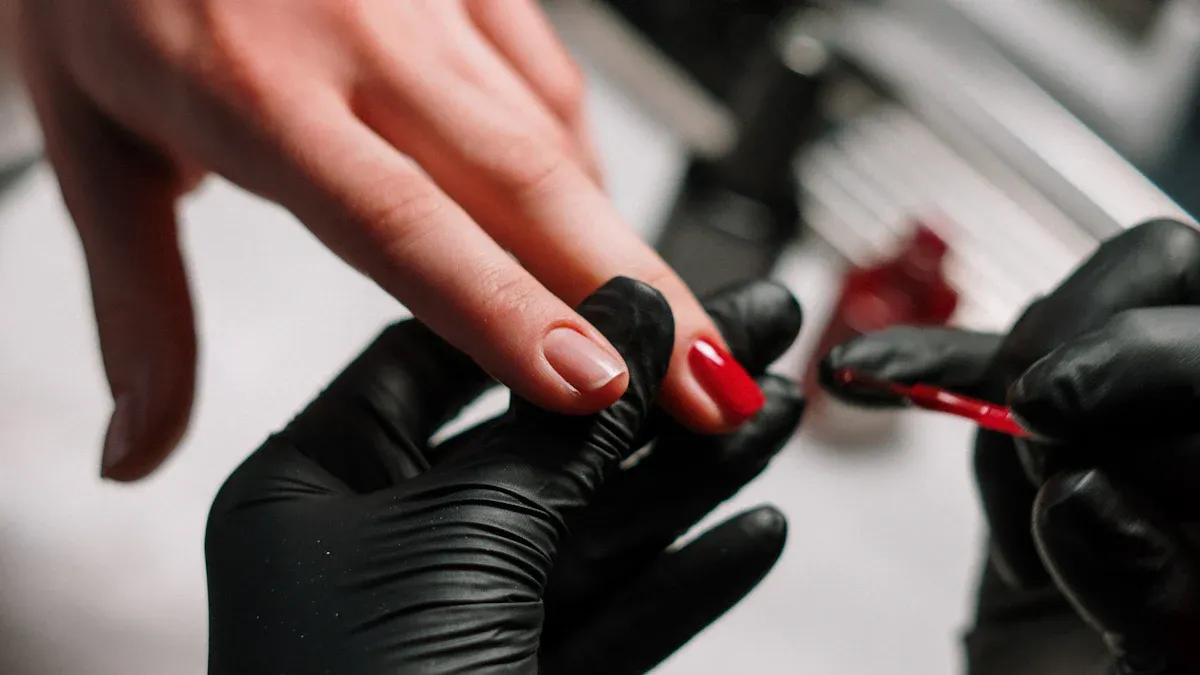
Preparation Steps
Getting your nails ready is the most important part of a long-lasting manicure. If you skip these steps, your nails might lift or peel too soon. Here’s how you can prep your nails like a pro:
- Remove any old polish from your nails.
- Trim and file your nails to the shape and length you want.
- Gently push back your cuticles with a cuticle pusher. Don’t cut them—this helps prevent infection.
- Buff the surface of each nail lightly. This smooths out ridges and helps the glue stick better.
- Clean your nails with an alcohol pad or rubbing alcohol on a cotton pad. This removes oils and dust.
- Use a pH bonder or nail dehydrator if you have one. This step gets rid of any leftover oils.
- Apply an acid-free primer to your nails. This helps the glue gel nails stay on longer.
Tip: Always use clean tools and wash your hands before you start. This keeps your nails healthy and helps the glue stick better.
Essential Tools and Materials:
- Nail file and buffer
- Cuticle pusher and cuticle remover solution
- Alcohol pads or rubbing alcohol
- pH bonder or nail dehydrator
- Acid-free primer
- Cuticle oil (for aftercare)
Application Process
Now that your nails are prepped, you’re ready to apply the glue gel nails. Follow these steps for the best results:
- Pick a high-quality gel nail glue. Make sure it’s fresh and made for nail extensions.
- Apply a thin layer of glue to the area where the nail tip will go. Use a small brush or stick for control.
- Place the nail extension or tip onto your natural nail. Line it up carefully so it looks straight.
- Press down gently for a few seconds. This helps the glue bond to your nail.
- Cure the nail under a UV or LED lamp. Most gels need 30-60 seconds under LED or 2-3 minutes under UV.
- Once the glue is set, trim and file the extension to your desired length and shape.
- Apply a thin layer of gel top coat. This seals the nail and adds shine.
- Cure the top coat under the lamp again.
Note: Always use thin, even layers of glue and gel. Thick layers can cause lifting or make the nails look bulky.
Common Mistakes to Avoid:
- Don’t let the gel touch your skin or cuticles. Leave a small gap to prevent lifting.
- Avoid using too much glue. Thin layers cure better and last longer.
- Make sure your nails are completely dry and oil-free before you start.
- Only use gel top coats that need curing under a lamp. Regular top coats won’t last as long.
Curing and Finishing
Curing is what makes glue gel nails strong and shiny. If you rush this step, your nails might not last.
- Follow the curing time on your gel glue’s instructions. Most need 30-60 seconds under LED or up to 2 minutes under UV.
- Cure each layer separately. Don’t try to cure everything at once.
- Use thin, even coats of gel. This helps the lamp harden the gel all the way through.
- Try UV-protective gloves with the fingertips cut off if you worry about UV exposure.
- After curing, wipe your nails with an alcohol pad to remove any sticky residue.
Want a salon-quality finish? Here are some fun ideas:
- Use striping tape for clean lines or negative space designs.
- Try a marble effect by swirling two gel colors together.
- Go for an ombré look by blending two shades.
- Add a glossy top coat for extra shine.
Tip: Keep your nails looking fresh by moisturizing your cuticles every day and wearing gloves when you clean or do dishes.
With the right prep, careful application, and proper curing, you can get glue gel nails that look amazing and last for weeks.
Removal and Aftercare
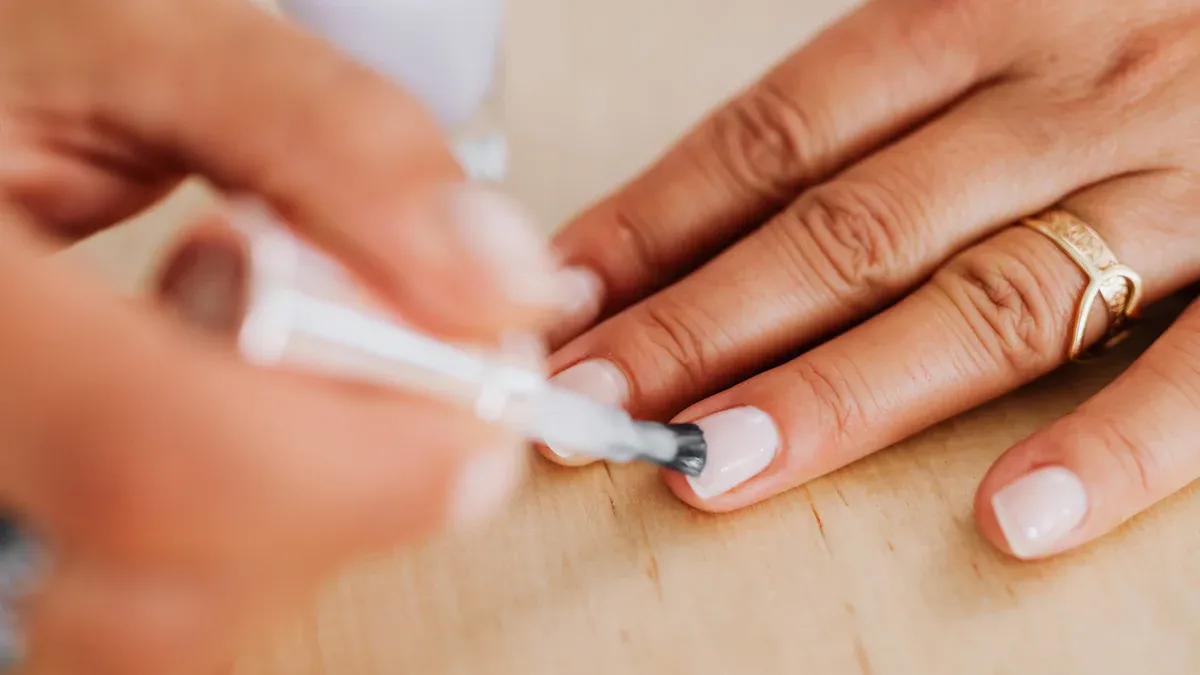
Safe Removal
Taking off your nails the right way keeps your natural nails healthy and strong. If you rush or pull, you can hurt your nails. Here’s a safe way to remove them:
- Wash your hands and trim your nails. This makes removal easier.
- Gently file the top layer of the gel. This helps the remover soak in better.
- Soak your nails in warm, soapy water for 15-30 minutes. You can also use acetone-soaked cotton balls wrapped in foil for 10-15 minutes.
- Use a cuticle pusher or orange stick to gently lift the softened gel. Never force or peel it off. If it feels stuck, soak again.
- Buff away any leftover glue or gel with a nail buffer. Be gentle to avoid thinning your nails.
- Clean and dry your nails. If you want, you can save and reuse the press-on tips.
Tip: Always take your time. Rushing or using too much force can damage your nails. If you have an electric nail file, use it on a low setting for safer, faster removal.
Nail Care Tips
After you remove your nails, your natural nails need some love. Try these steps to help them recover and stay strong:
- Apply a nail strengthener every day for a week. Remove and repeat if needed.
- Use cuticle oil twice a day. Massage it into your nails and skin.
- Follow up with a thick hand cream to lock in moisture.
- Avoid picking or trimming your cuticles. Let them protect new nail growth.
- Use a glass nail file to smooth edges and prevent splitting.
- Take a biotin supplement daily to help your nails grow stronger.
- Give your nails a break before your next set. Let them rest if they feel weak.
Note: Look for nail care products with keratin, celery seed extract, or vitamin E. These ingredients help heal, hydrate, and strengthen your nails.
Glue gel nails give you lightweight, natural-looking nails that last for weeks. You get strong nails with easy removal and less damage than acrylics.
- They work best when you prep your nails, use thin layers, and protect your hands daily.
- Always moisturize your cuticles and avoid picking at your nails.
Remember, regular touch-ups and gentle removal keep your nails healthy. Choose glue gel nails if you want long, shiny nails and easy nail art.
FAQ
How long do glue gel nails last?
You can expect glue gel nails to last about two to four weeks. If you take care of them and avoid picking or biting, they might last even longer. Moisturize your cuticles and wear gloves when cleaning for best results.
Can you reuse glue gel nail tips?
Yes, you can reuse some glue gel nail tips if you remove them gently. Clean off any leftover glue and store them in a safe place. If the tips look damaged or bent, it’s better to use new ones.
Are glue gel nails safe for kids or teens?
Glue gel nails are safe for teens with healthy nails. Always follow the instructions and ask an adult for help if you’re unsure. Avoid using them if you have allergies or sensitive skin.
What should you do if a nail pops off early?
Don’t worry!
Clean your natural nail, add a small amount of gel glue, and press the tip back on. Cure it under your lamp. If it keeps popping off, check your prep steps or try a new tip.
