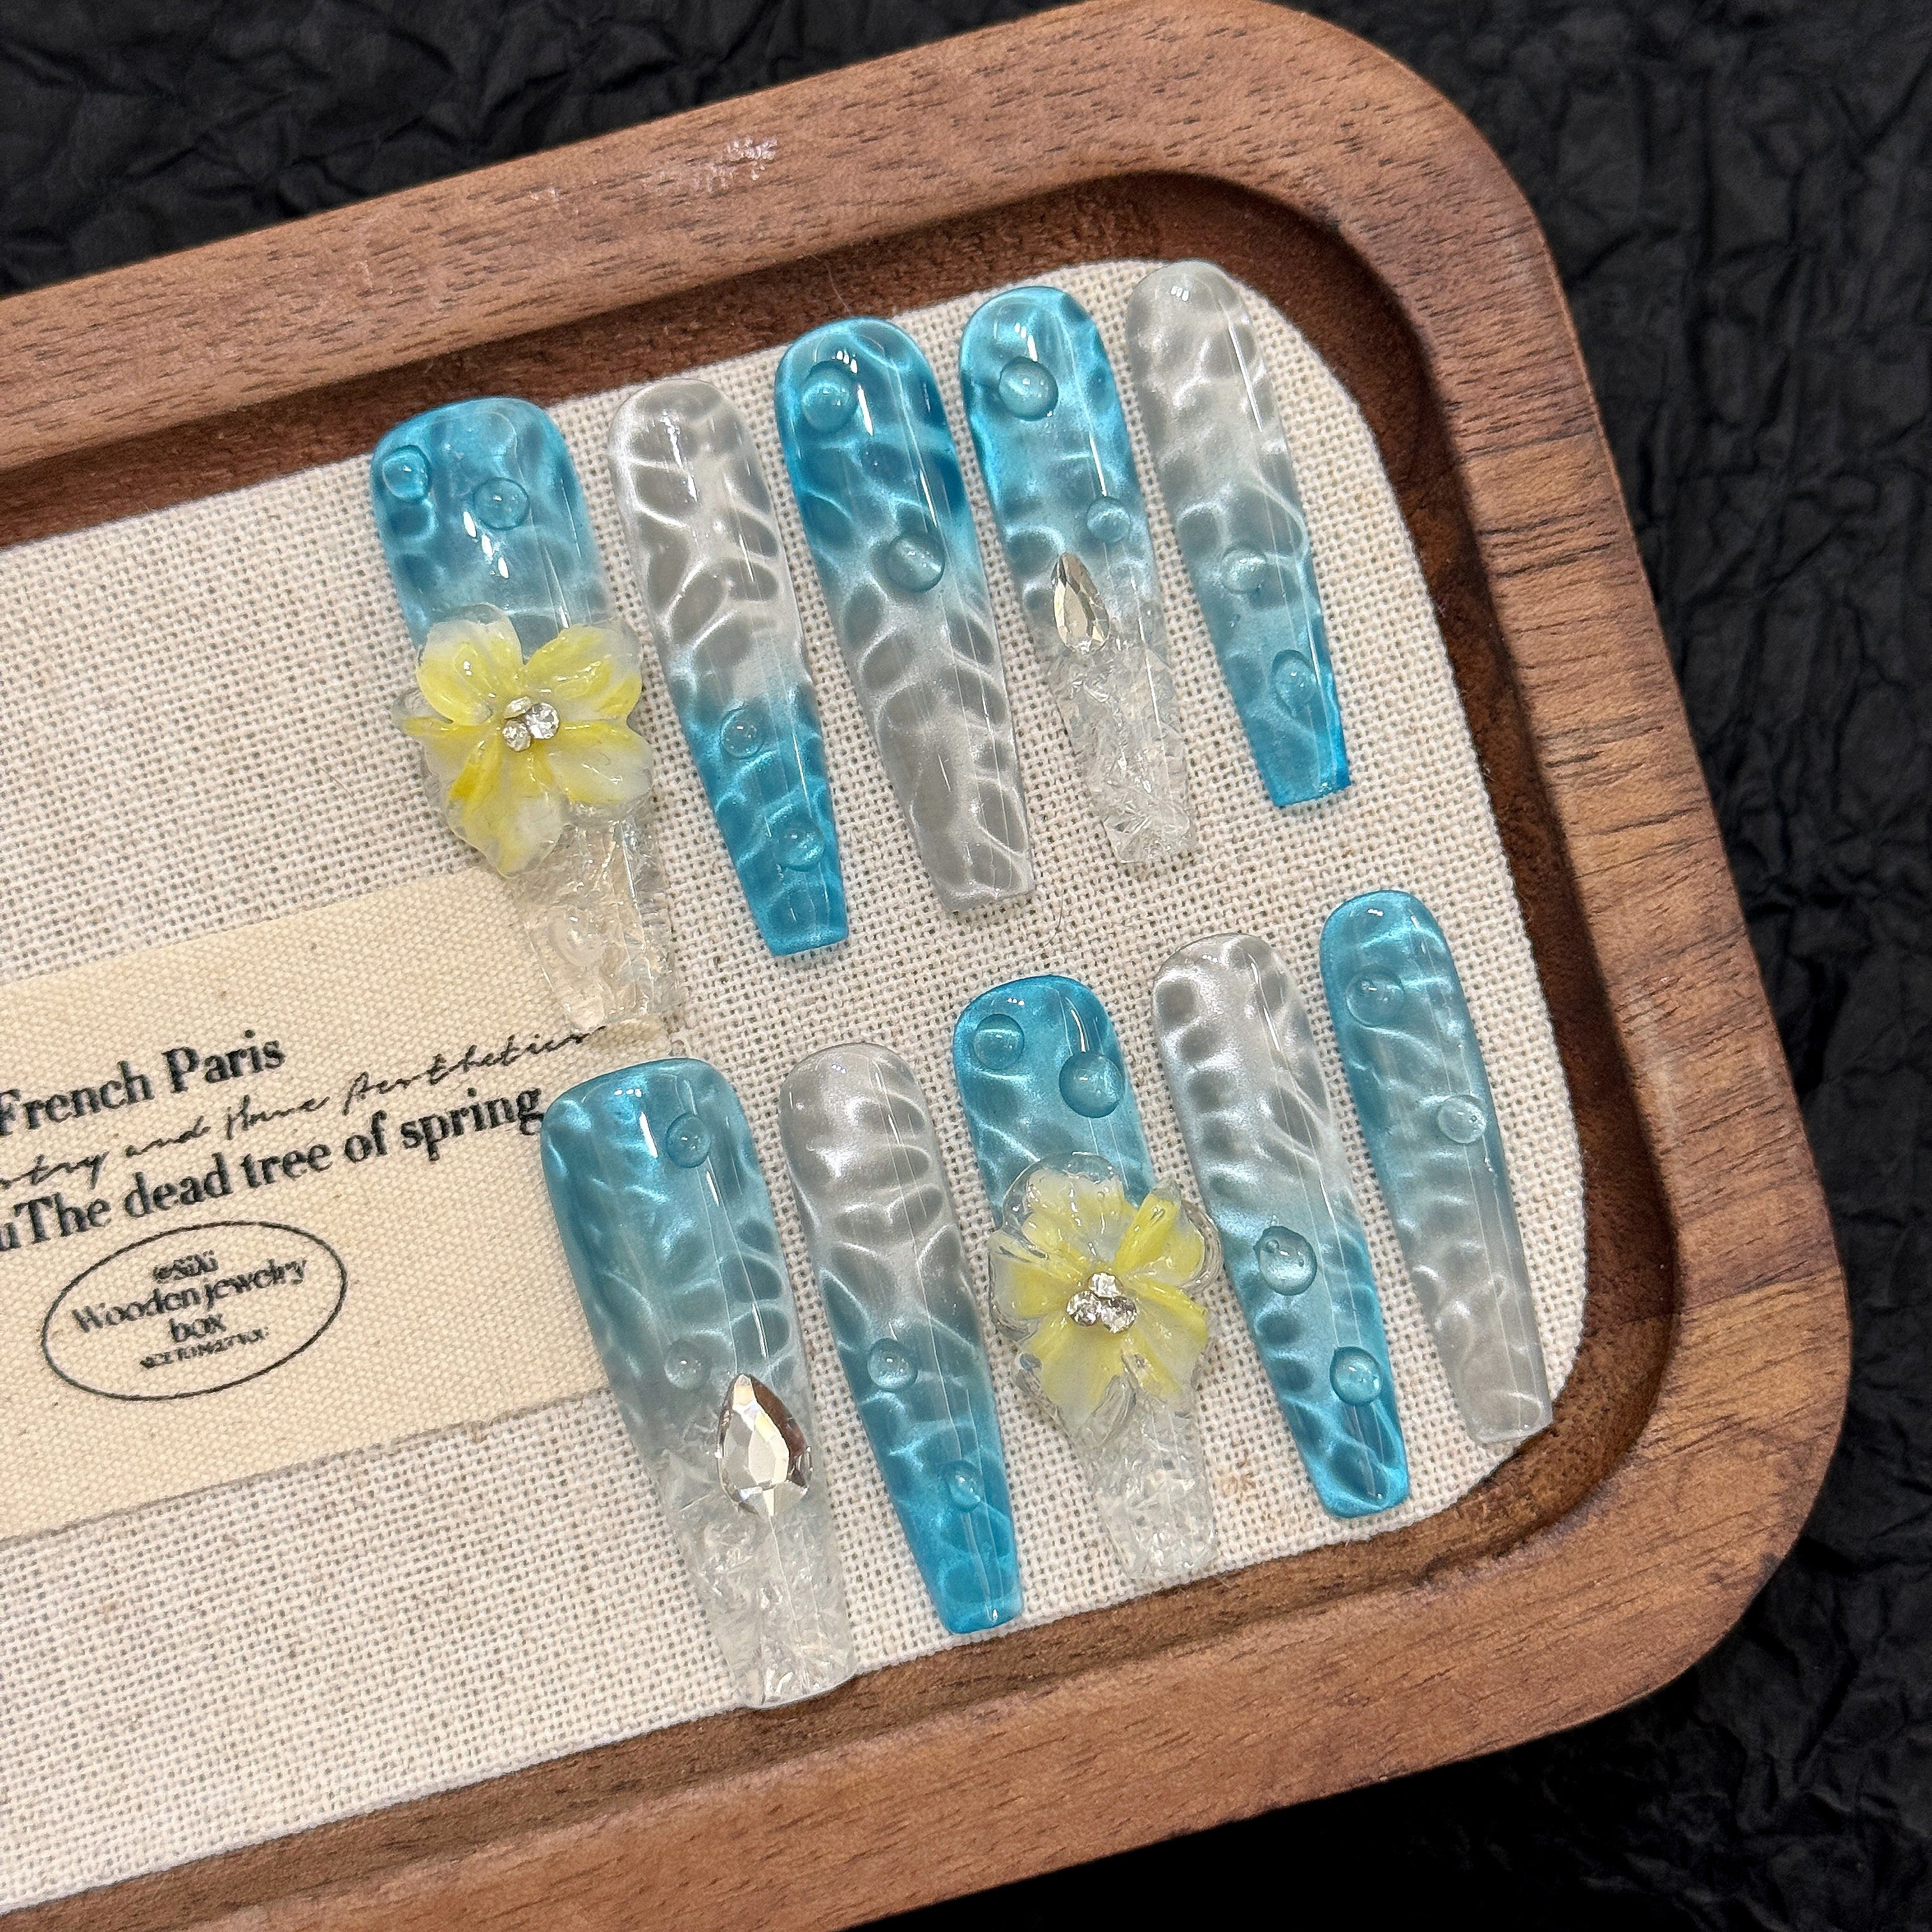
Remove acrylic nails
 If you want to remove acrylic nails at home, you have a few safe options. You can use acetone for a quick process, or try gentle methods like soaking in soapy water or using oil. Focus on protecting your natural nails during removal. You do not need to rush or force anything. With the right steps, you can remove acrylic nails without causing damage.
Key Takeaways
- Get all the tools you need before you start. This helps protect your real nails and makes removal easier. Use acetone soaks to remove acrylic nails faster. Always be gentle and do not pull the nails off. Try using soapy water or oil if you do not want to use strong chemicals. These ways take more time, so be patient. Go slow and do not rush so you do not hurt your nails or feel pain. After you finish, put lotion on your nails and cuticles. This helps keep them healthy and strong.
Supplies
Tools Needed
Before you start, you want to gather everything you need. Having the right tools makes the process smoother and keeps your nails safe. Here’s what you should have on hand:
- 100% pure acetone or gel polish remover: This helps break down the acrylic for easy removal.
- Cotton balls or pads: These hold the acetone against your nails.
- Aluminum foil or nail clips: These keep the soaked cotton in place.
- Nail file and buffer block: You use these to file down the top layer and smooth your nails after removal.
- Cuticle pusher or orangewood stick: This tool helps you gently lift off softened acrylic without hurting your natural nails.
- Petroleum jelly: You apply this around your nails to protect your skin from drying out.
- Glass bowl (optional): You can use this for soaking if you prefer.
- Nourishing cuticle oil and hand cream: These restore moisture after you finish.
- Protective gloves (optional): These help if you have sensitive skin.
Tip: Using professional-grade products and tools lowers your risk of irritation or injury. Many nail products contain strong chemicals, so you want to avoid skin contact as much as possible.
Prep Steps
Getting ready before you start makes a big difference. You want to protect your natural nails and make the process easier.
- Trim your acrylic nails short to reduce soak time.
- File the top layer of the acrylic to break the seal.
- Wash your hands to remove any dirt or oils.
- Apply petroleum jelly around your nails to shield your skin.
- Set up your supplies in a well-ventilated area.
Acrylic nails use strong adhesives and chemicals. If you skip prep, you might end up with pain, redness, or even long-term nail problems. When you gather the right tools and prepare your nails, you help prevent damage and make removal much safer. After you finish, always moisturize your nails and cuticles. This step helps your nails recover and stay healthy.
Remove acrylic nails with acetone
Filing
Start by trimming your acrylic nails as short as you can. This step helps you save time later. Use a nail clipper for this part. Next, grab a nail file. File down the top layer of each acrylic nail. You want to remove the shiny finish. This lets the acetone soak in better. Move the file back and forth gently. Do not rush or press too hard. If you file too much, you might hurt your natural nail underneath.
Tip: Filing the top layer makes the rest of the process much faster. Always use a gentle touch to protect your real nails.
Soaking
Now you are ready to soak your nails. First, apply a thin layer of petroleum jelly around your nails. This protects your skin from the drying effects of acetone. Take a cotton ball or pad and soak it in 100% pure acetone. Place the soaked cotton right on top of your nail. Wrap each fingertip with a small piece of aluminum foil. You can also use nail clips if you have them. The foil or clips keep the cotton in place and stop the acetone from evaporating.
Let your nails soak for at least 10 minutes. Sometimes, you may need to wait up to 30 minutes. The time depends on how thick your acrylics are. Check one nail after 10 minutes. If the acrylic looks soft and gooey, you are ready for the next step.
Safety Note: Always work in a well-ventilated area. Acetone has strong fumes. If you feel dizzy or your skin gets red, take a break.
Removal
After soaking, gently press and twist the foil or clip to remove it. The acrylic should look soft and lifted. Use a cuticle pusher or orangewood stick to nudge the acrylic off your nail. Start at the base and push toward the tip. If the acrylic does not come off easily, do not force it. Wrap your nail again and soak for a few more minutes.
Never pull or pry the acrylic. This can rip your natural nail and cause pain. Always work slowly and check your progress. When you finish, wash your hands with soap and water. Use a buffer block to smooth out any rough spots on your nails.
Reminder: If you want to remove acrylic nails safely, patience is key. Rushing can lead to damage or soreness.
When you follow these steps, you can remove acrylic nails at home without hurting your natural nails. Always finish with a good moisturizer or cuticle oil to help your nails recover.
Remove acrylic nails without acetone
Sometimes you want to remove acrylic nails but do not have acetone at home. You still have options. These methods use things you probably already have, like soap or oil. They take more time and patience, but they can work if you follow the steps.
Soapy Water Method
You can try the soapy water method if you want a gentle way to remove acrylic nails. This method works best if your acrylics are already lifting or if you want to avoid harsh chemicals.
Here’s how you do it:
- Fill a bowl with warm water. Make sure it feels comfortable to touch.
- Add a few drops of mild dish soap. Swirl the water to mix it.
- Soak your fingertips in the bowl for 20 to 30 minutes. You can read or watch TV while you wait.
- After soaking, check your nails. Try to gently wiggle the acrylic with a cuticle pusher or your fingers.
- If the acrylic does not move, soak your nails for another 10 minutes.
- Repeat the process until the acrylic starts to loosen and lift.
Tip: You may need to repeat this process several times. Do not pull or force the acrylic. If it feels stuck, keep soaking.
Soapy water works by softening the glue that holds the acrylic to your nail. It does not break down the acrylic itself. This method is much slower than using acetone. You might need to soak and try again a few times before you see results.
Here’s a table that shows how soapy water compares to other cleaning methods:
| Cleaning Method | Biofilm Thickness (µm) | Log Reduction Value (LRV) | Effectiveness and Limitations |
|---|---|---|---|
| Soapy Water | 9.8 – 150 | 1.05 – 6.04 | Partial removal; thick layers remain; needs scrubbing and soaking; not always complete |
| Bleach | 0.0 – 46 | > 2.3 | Complete removal; very effective |
| Vinegar | 0.0 – 26 | > 5.3 | Complete removal with scrubbing and soaking |
| Boiled Water (~80°C) | 0.0 – 41 | -0.84 – 3.42 | Partial removal; only works with soaking; not as strong as bleach or vinegar |
Soapy water can help loosen the acrylic, but it does not always remove everything. You may notice some parts of the acrylic stay stuck, especially if the layer is thick. This method is safe for your skin, but it takes time and patience.
Oil Method
The oil method is another gentle way to remove acrylic nails. You can use olive oil, coconut oil, or baby oil. Oil helps loosen the glue and makes the acrylic easier to lift.
Follow these steps:
- Pour a small amount of oil into a bowl.
- Soak your fingertips in the oil for 15 to 20 minutes.
- After soaking, use a cuticle pusher to gently lift the edges of the acrylic.
- If the acrylic does not move, soak your nails for another 10 minutes.
- Repeat as needed until the acrylic starts to come off.
Note: The oil method works slowly. You may need to repeat the process several times. Oil is gentle on your skin and nails, but it does not break down acrylic as well as acetone.
There is not much scientific data about how well oil works to remove acrylic nails. Most people find that oil helps soften the glue, but it does not dissolve the acrylic itself. You may need to combine this method with gentle filing or more soaking.
Both the soapy water and oil methods help if you want to avoid harsh chemicals. They are much slower and less effective than acetone. You need to be patient and repeat the steps several times. If you want to remove acrylic nails quickly, acetone is still the best choice. If you want a gentle, chemical-free option, these methods can help you protect your natural nails.
Aftercare
Moisturize
Your nails and skin need extra love after you remove acrylics. Acetone and soaking can dry out your nails and cuticles. You want to bring back moisture right away. Start by massaging a rich hand cream into your hands. Focus on your nails and the skin around them. Use cuticle oil every day. This keeps your cuticles soft and helps your nails stay flexible.
Tip: Dermatologists say that moisturizing the nail bed and cuticle can make your nails look better and feel stronger. Oils like jojoba or vitamin E work well for this.
Here’s a quick look at how moisturizing helps your nails:
| Benefit | Improvement Seen |
|---|---|
| Nail hydration | Less brittle, fewer splits |
| Nail thickness | Up to 12.8% thicker in one month |
| Nail density | Up to 39.8% denser after three months |
| Surface smoothness | Smoother nails, fewer ridges |
| Cuticle and skin condition | Healthier, no more scaling or dryness |
| Comfort and appearance | 93% felt hydrated, 97% felt cared for |
You can see real changes when you keep up with moisturizing. Most people notice softer cuticles and fewer cracks or chips.
Nail Health
Healthy nails need more than just moisture. You want to protect them from daily damage. Wash your hands with gentle soap and dry them well. Wear gloves when you clean or garden. Try not to use your nails as tools. This helps prevent breaks and splits.
- Use nail strengthener if your nails feel weak.
- Avoid harsh chemicals and strong soaps.
- Let your natural nails grow out before getting new acrylics.
If you have trouble removing acrylics or your nails look red, swollen, or painful, reach out to a nail technician or doctor. Sometimes, you need professional help to avoid long-term damage.
Taking care of your nails after acrylics keeps them strong and looking great. A little daily care goes a long way!
You have a few safe ways to remove acrylic nails at home. Experts say the best choice is to visit a salon, but you can also try an acetone soak or gentle non-acetone methods. Here’s what you should remember:
- Let a professional handle removal when possible.
- Use acetone soaks for the safest at-home method.
- Try gentle, slow techniques if you avoid acetone.
- Never rush or force the process.
- Always care for your nails with oil, cream, and SPF.
Take your time and listen to your nails. If you feel pain or see damage, reach out to a pro.
FAQ
How long should you wait before getting new acrylic nails?
You should wait at least one to two weeks before getting new acrylics. This gives your natural nails time to recover and get stronger. Use cuticle oil and hand cream during this break.
Can you reuse the removed acrylic nails?
No, you cannot reuse old acrylic nails. They lose their shape and strength after removal. Old acrylics may also carry bacteria. Always use fresh materials for your next set.
What if some acrylic won’t come off?
If some acrylic stays stuck, soak your nails again for 5 to 10 minutes. Gently try to lift the acrylic. Never force it. If it still will not budge, visit a nail technician for help.
Is it safe for kids or teens to remove acrylic nails at home?
You can remove acrylic nails at home if you follow the steps and ask an adult for help. Always use gentle methods. Never pull or rip the acrylic off. If you feel pain, stop right away.
Will removing acrylic nails make your real nails weaker?
Your nails might feel weak or thin after removal. This is normal. Moisturize your nails and cuticles every day. Avoid harsh chemicals. Your nails will get stronger with time and care.
