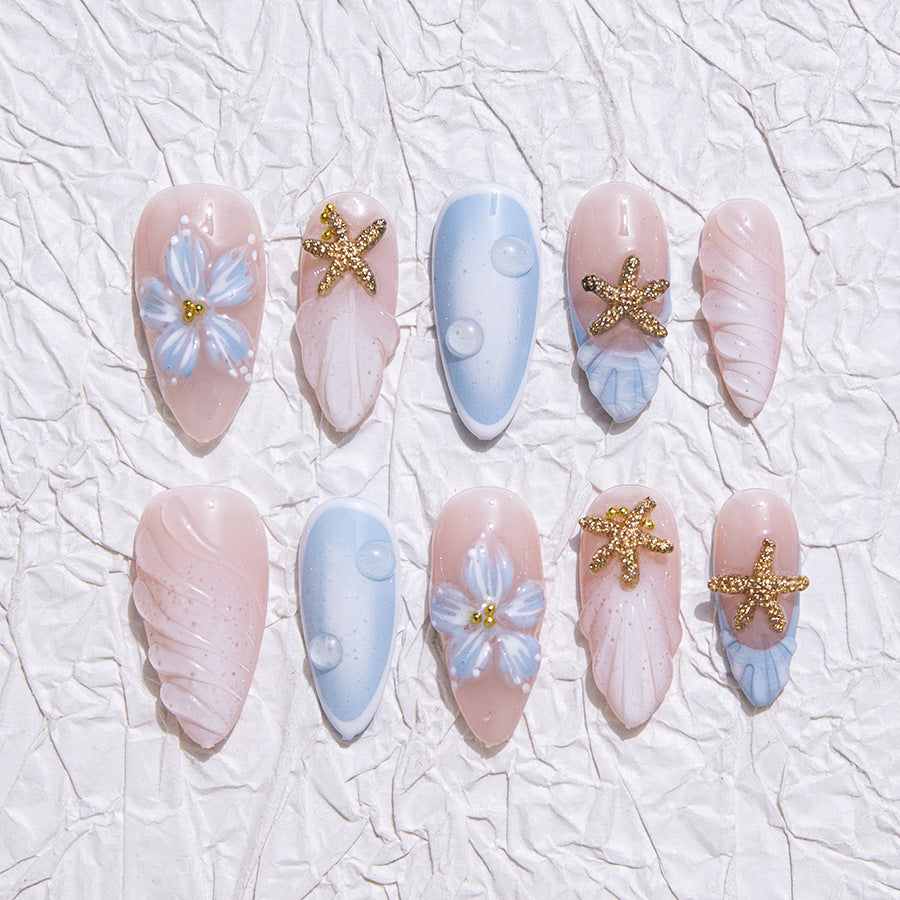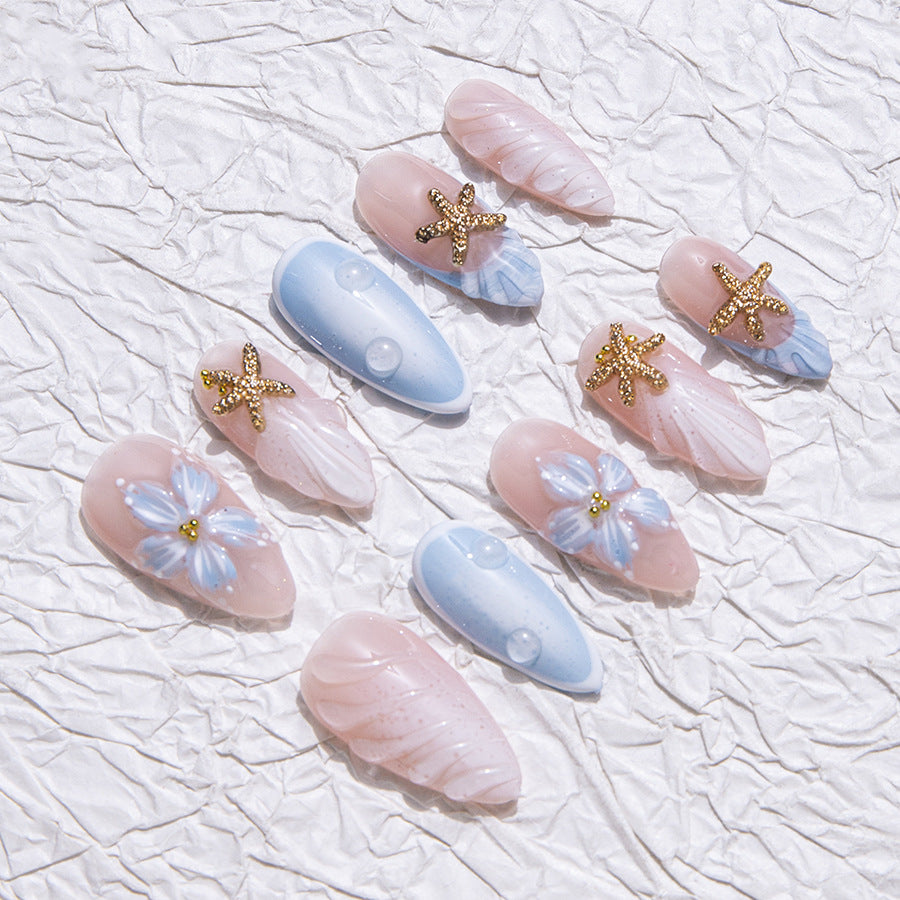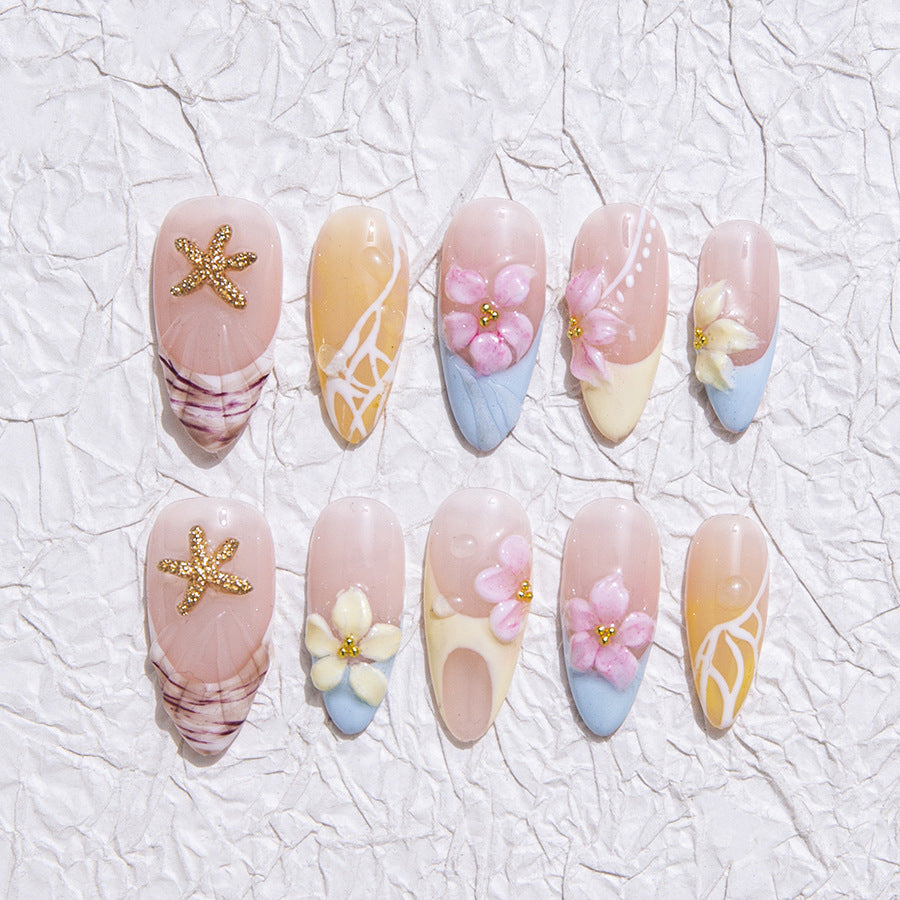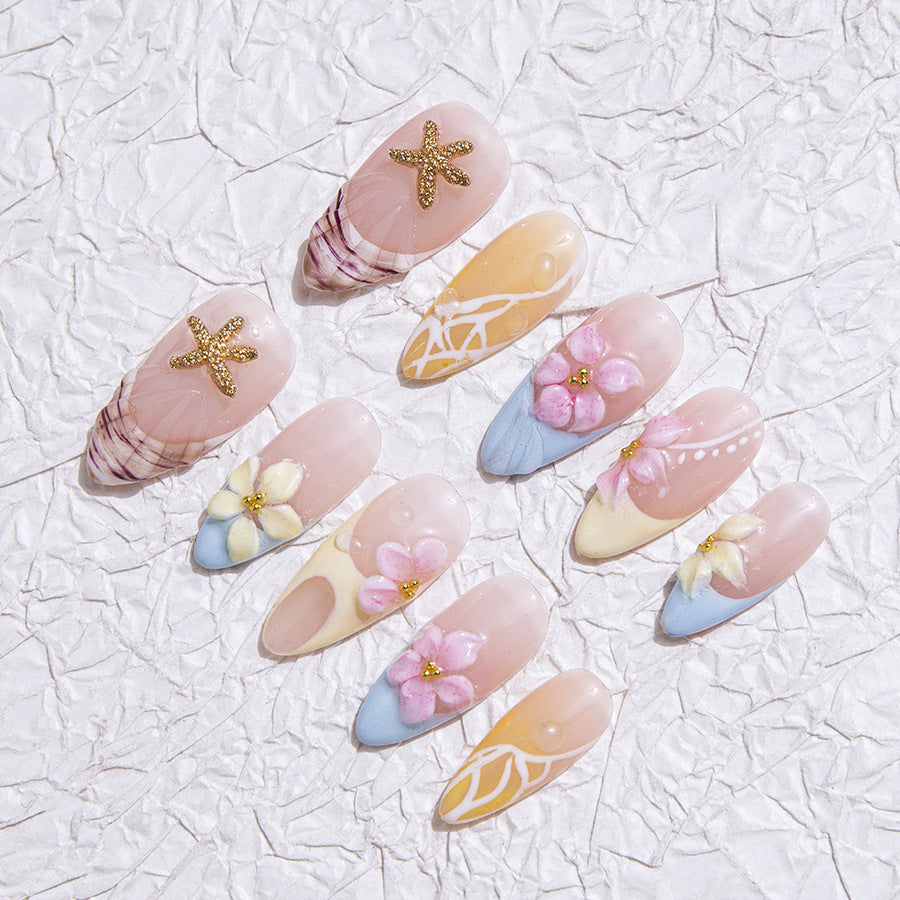
Glue Gel Nails Made Easy and Stunning
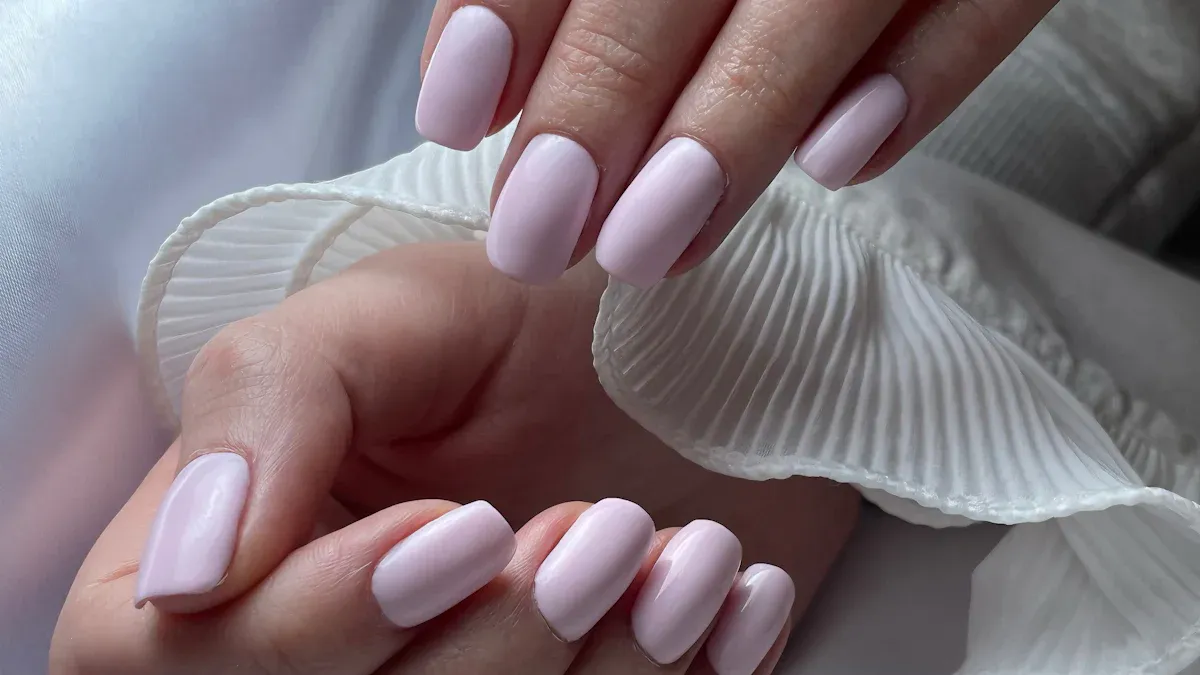
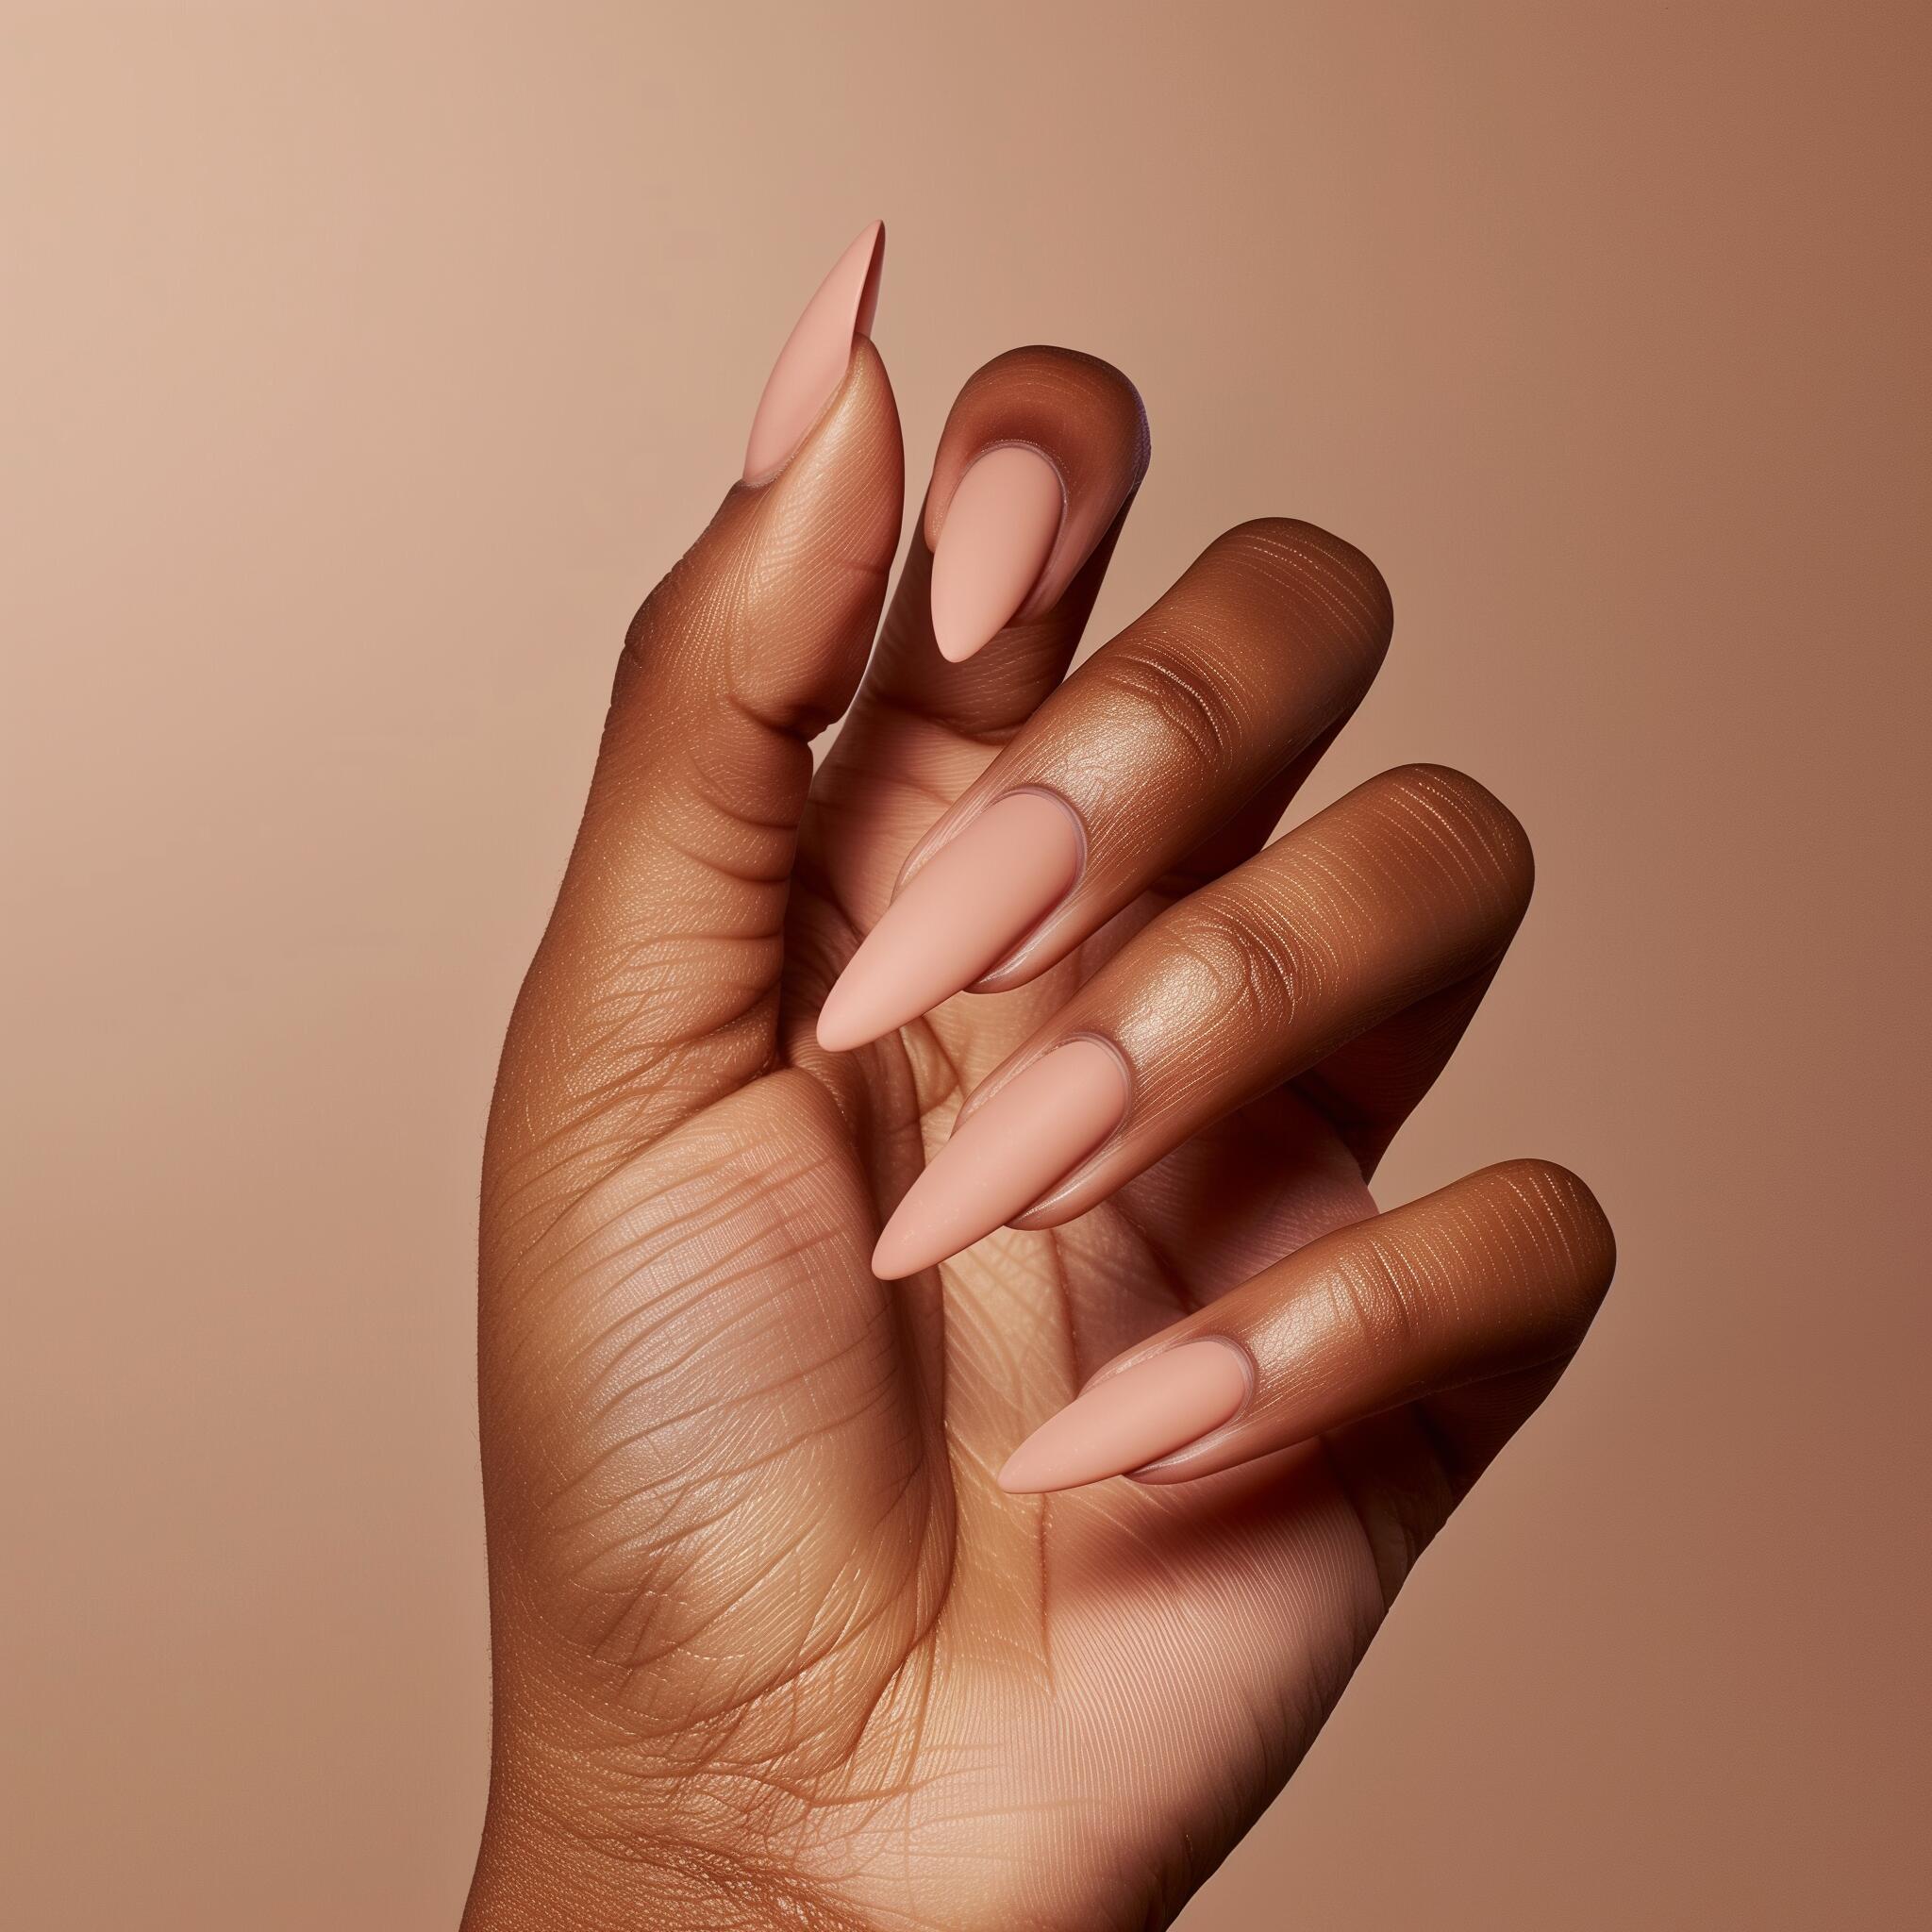
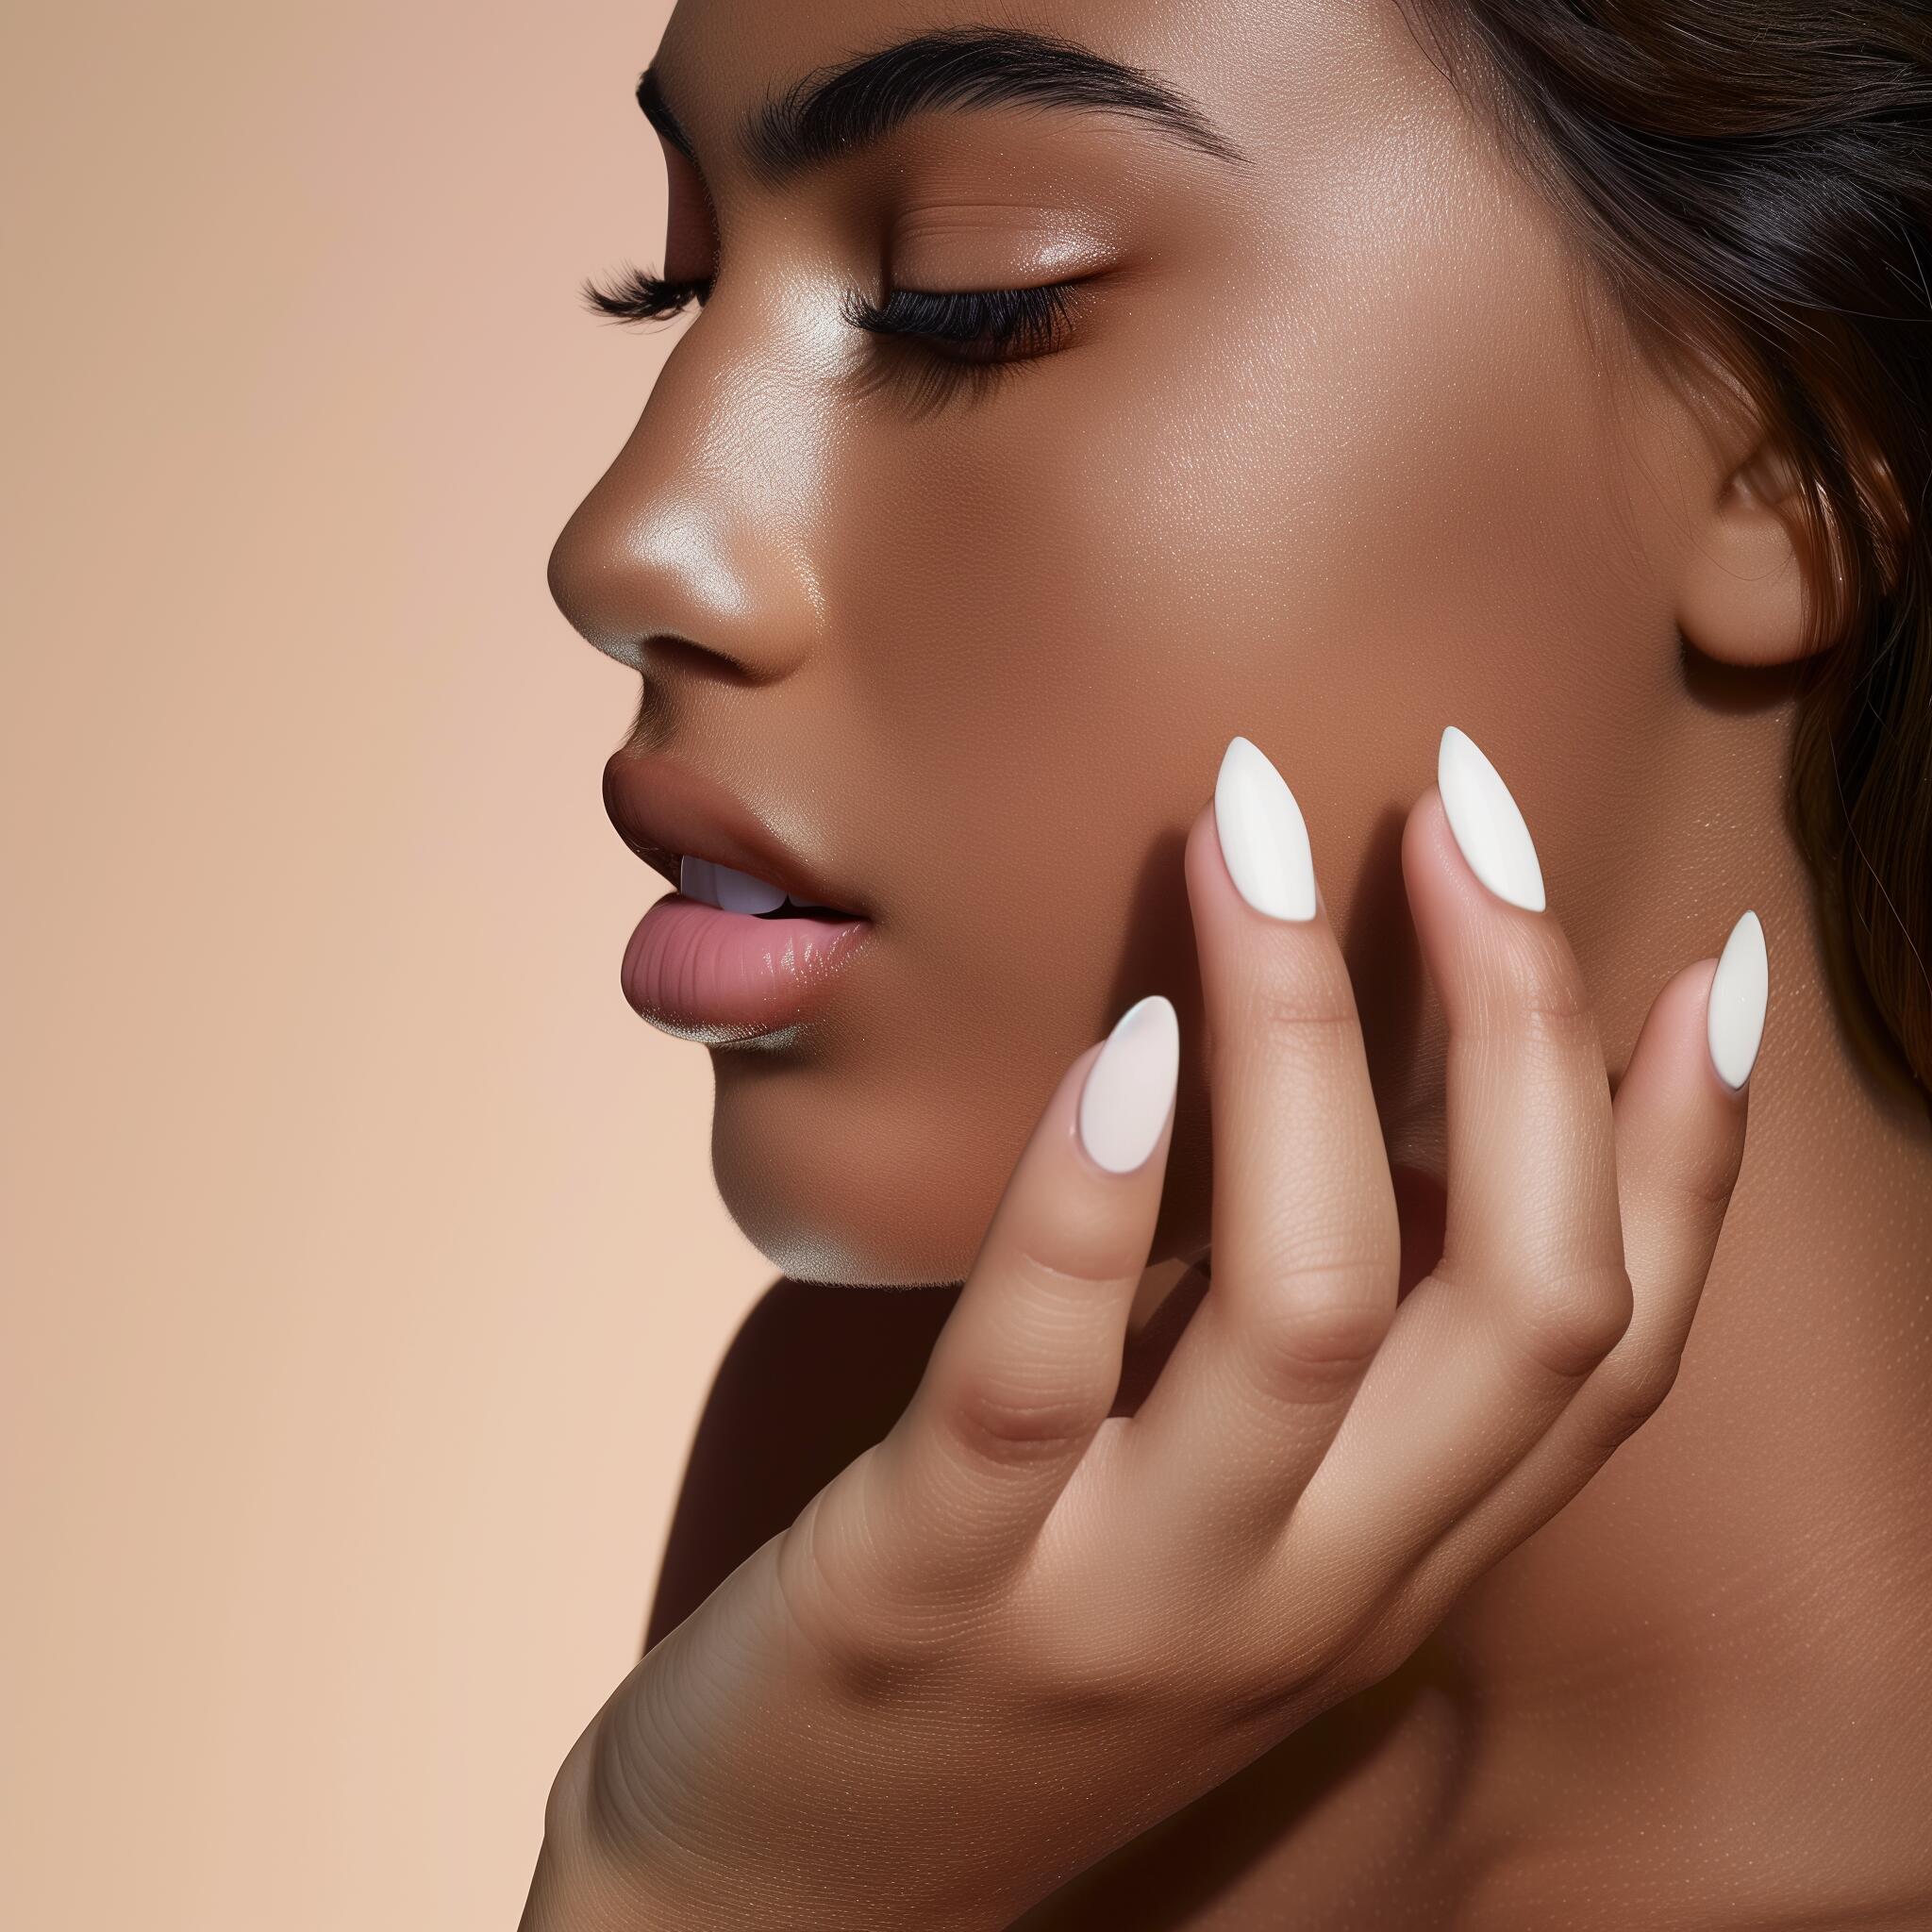
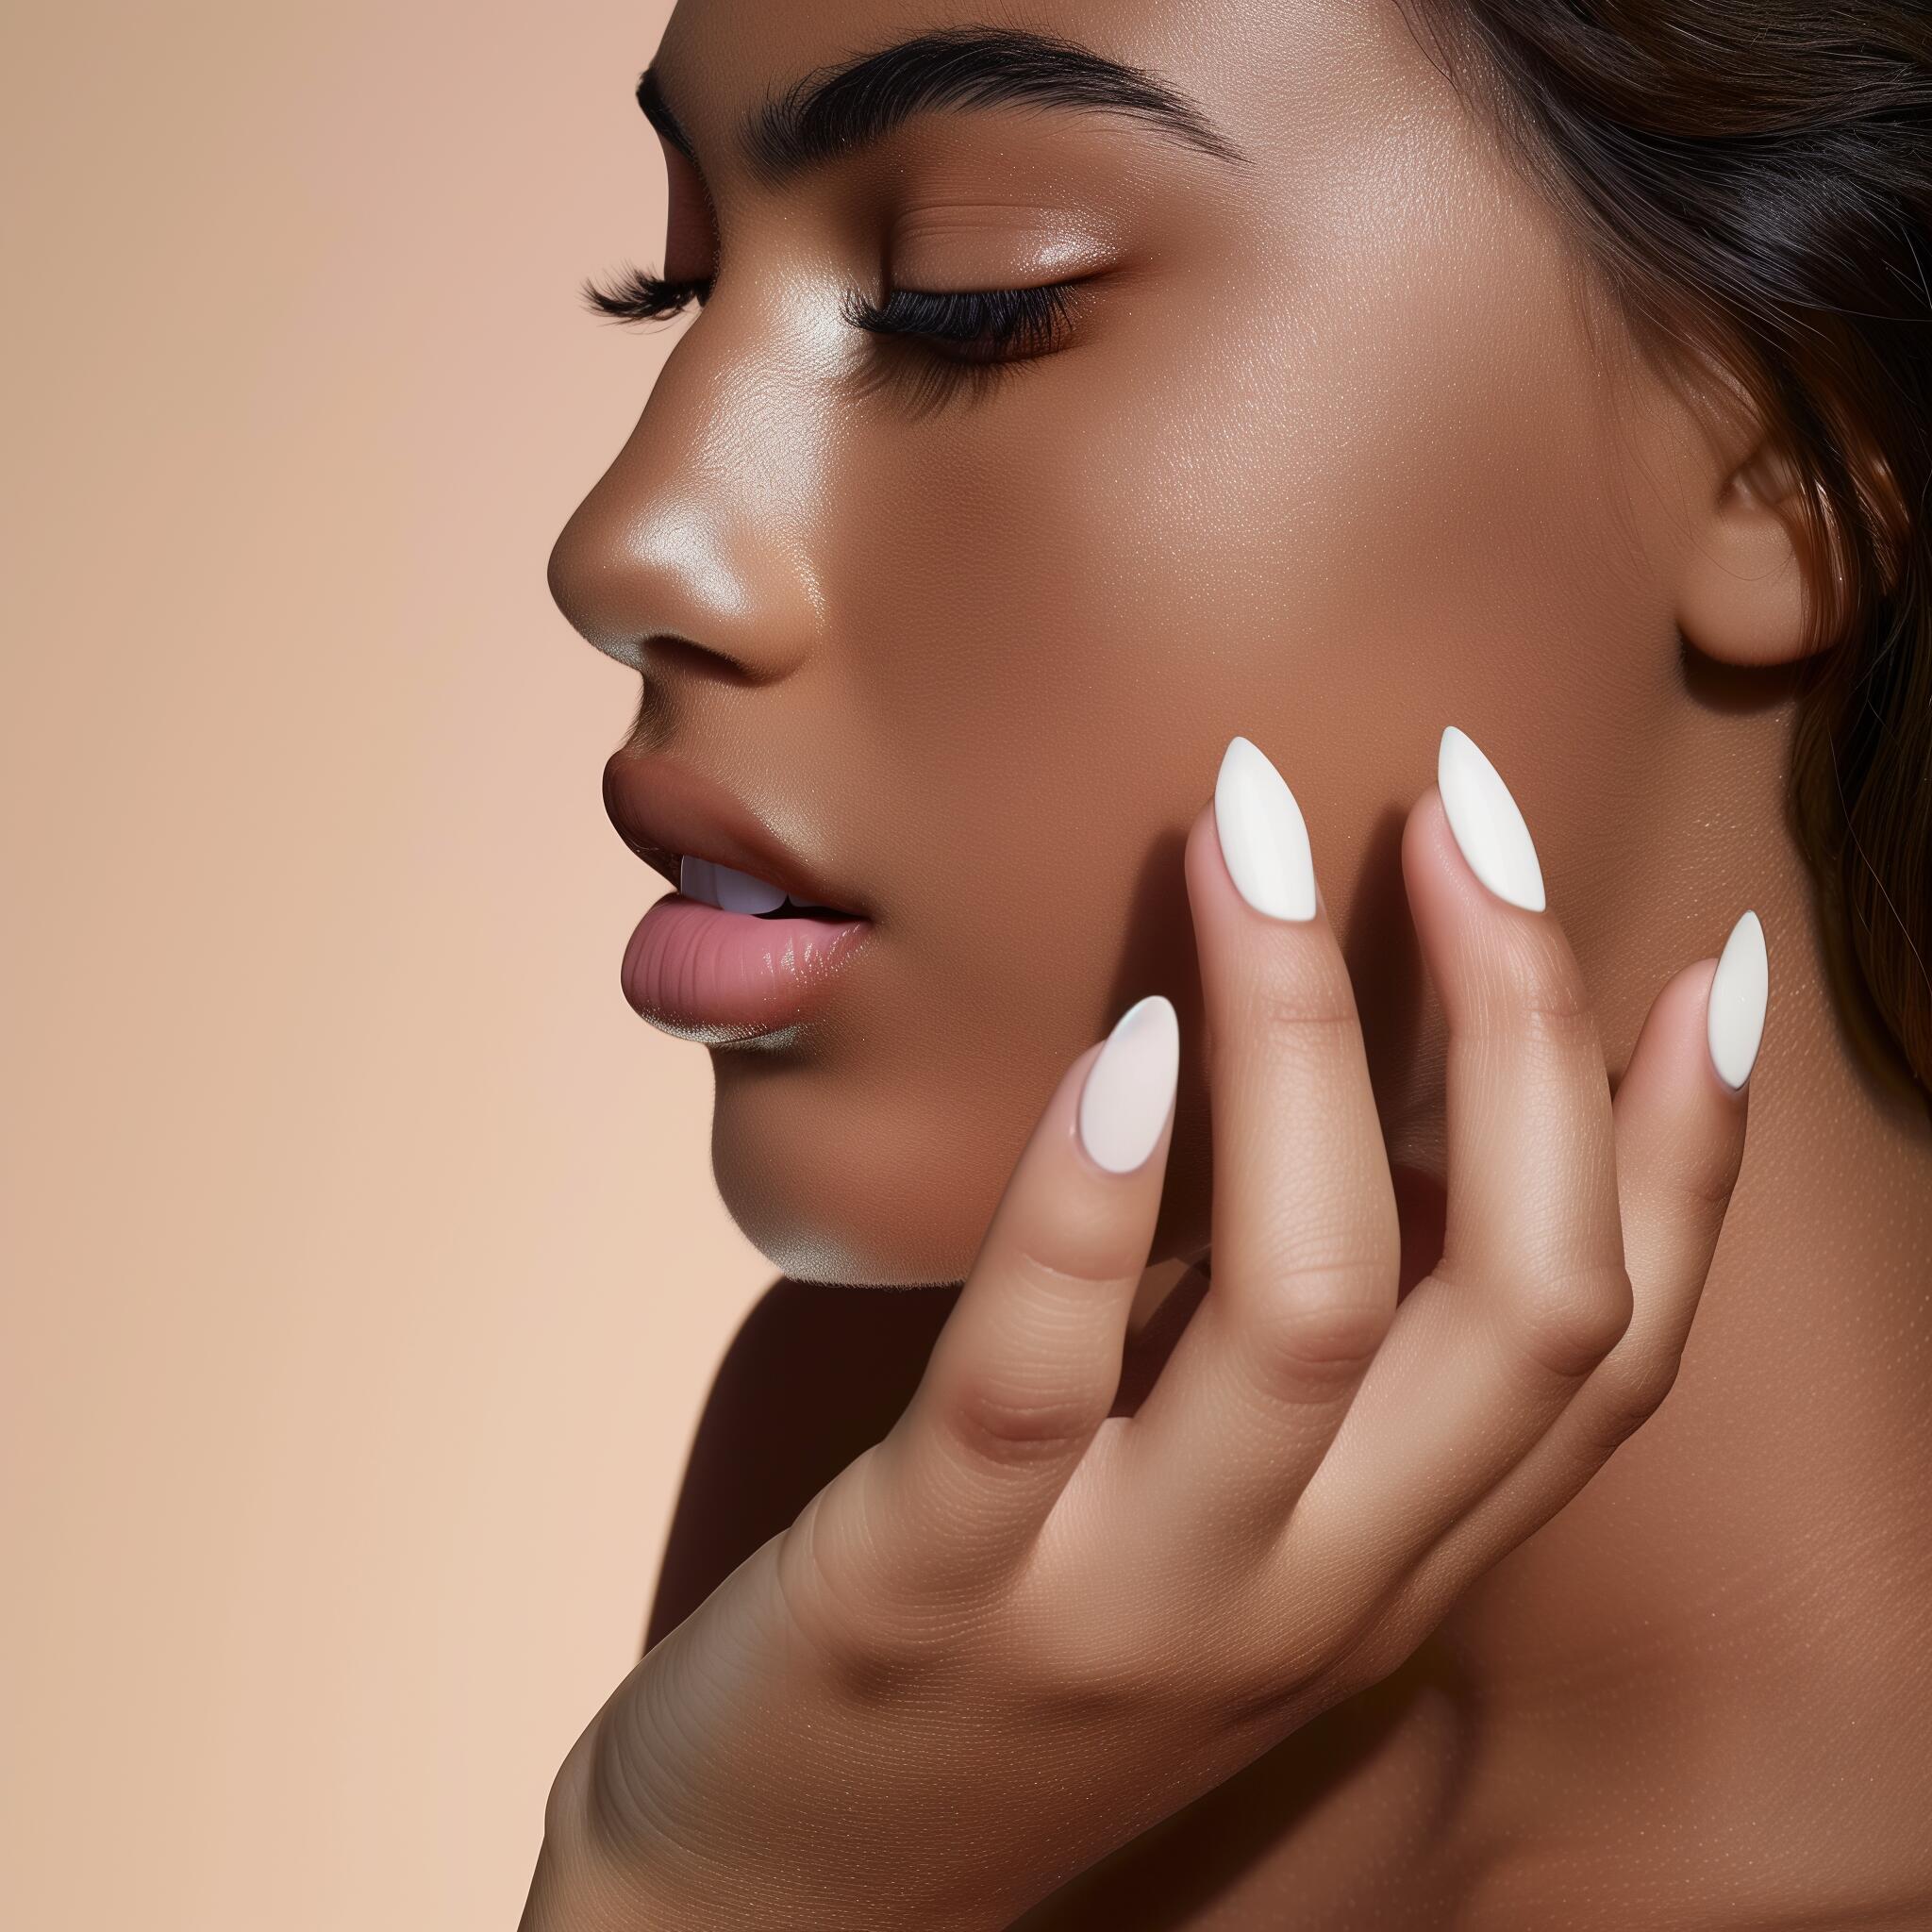
Glue gel nails make it simple to get salon-like nails at home. They are easy to use and have many great benefits. Why are they so popular? First, the gel glue stays on for 3-4 weeks without breaking or peeling. It’s strong and lasts longer than regular nail glue. The gel is also flexible, moving with your nails, so it feels comfortable.
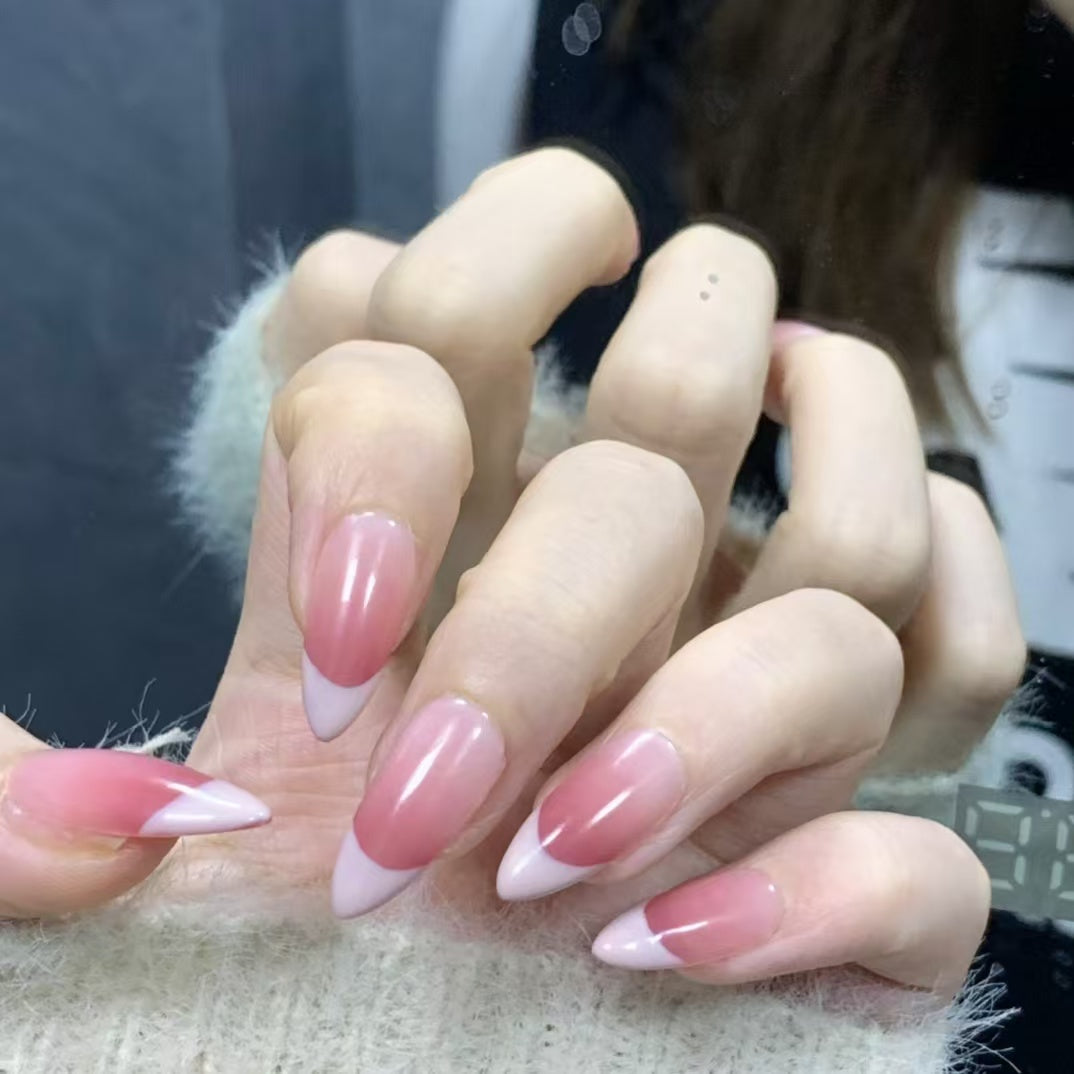
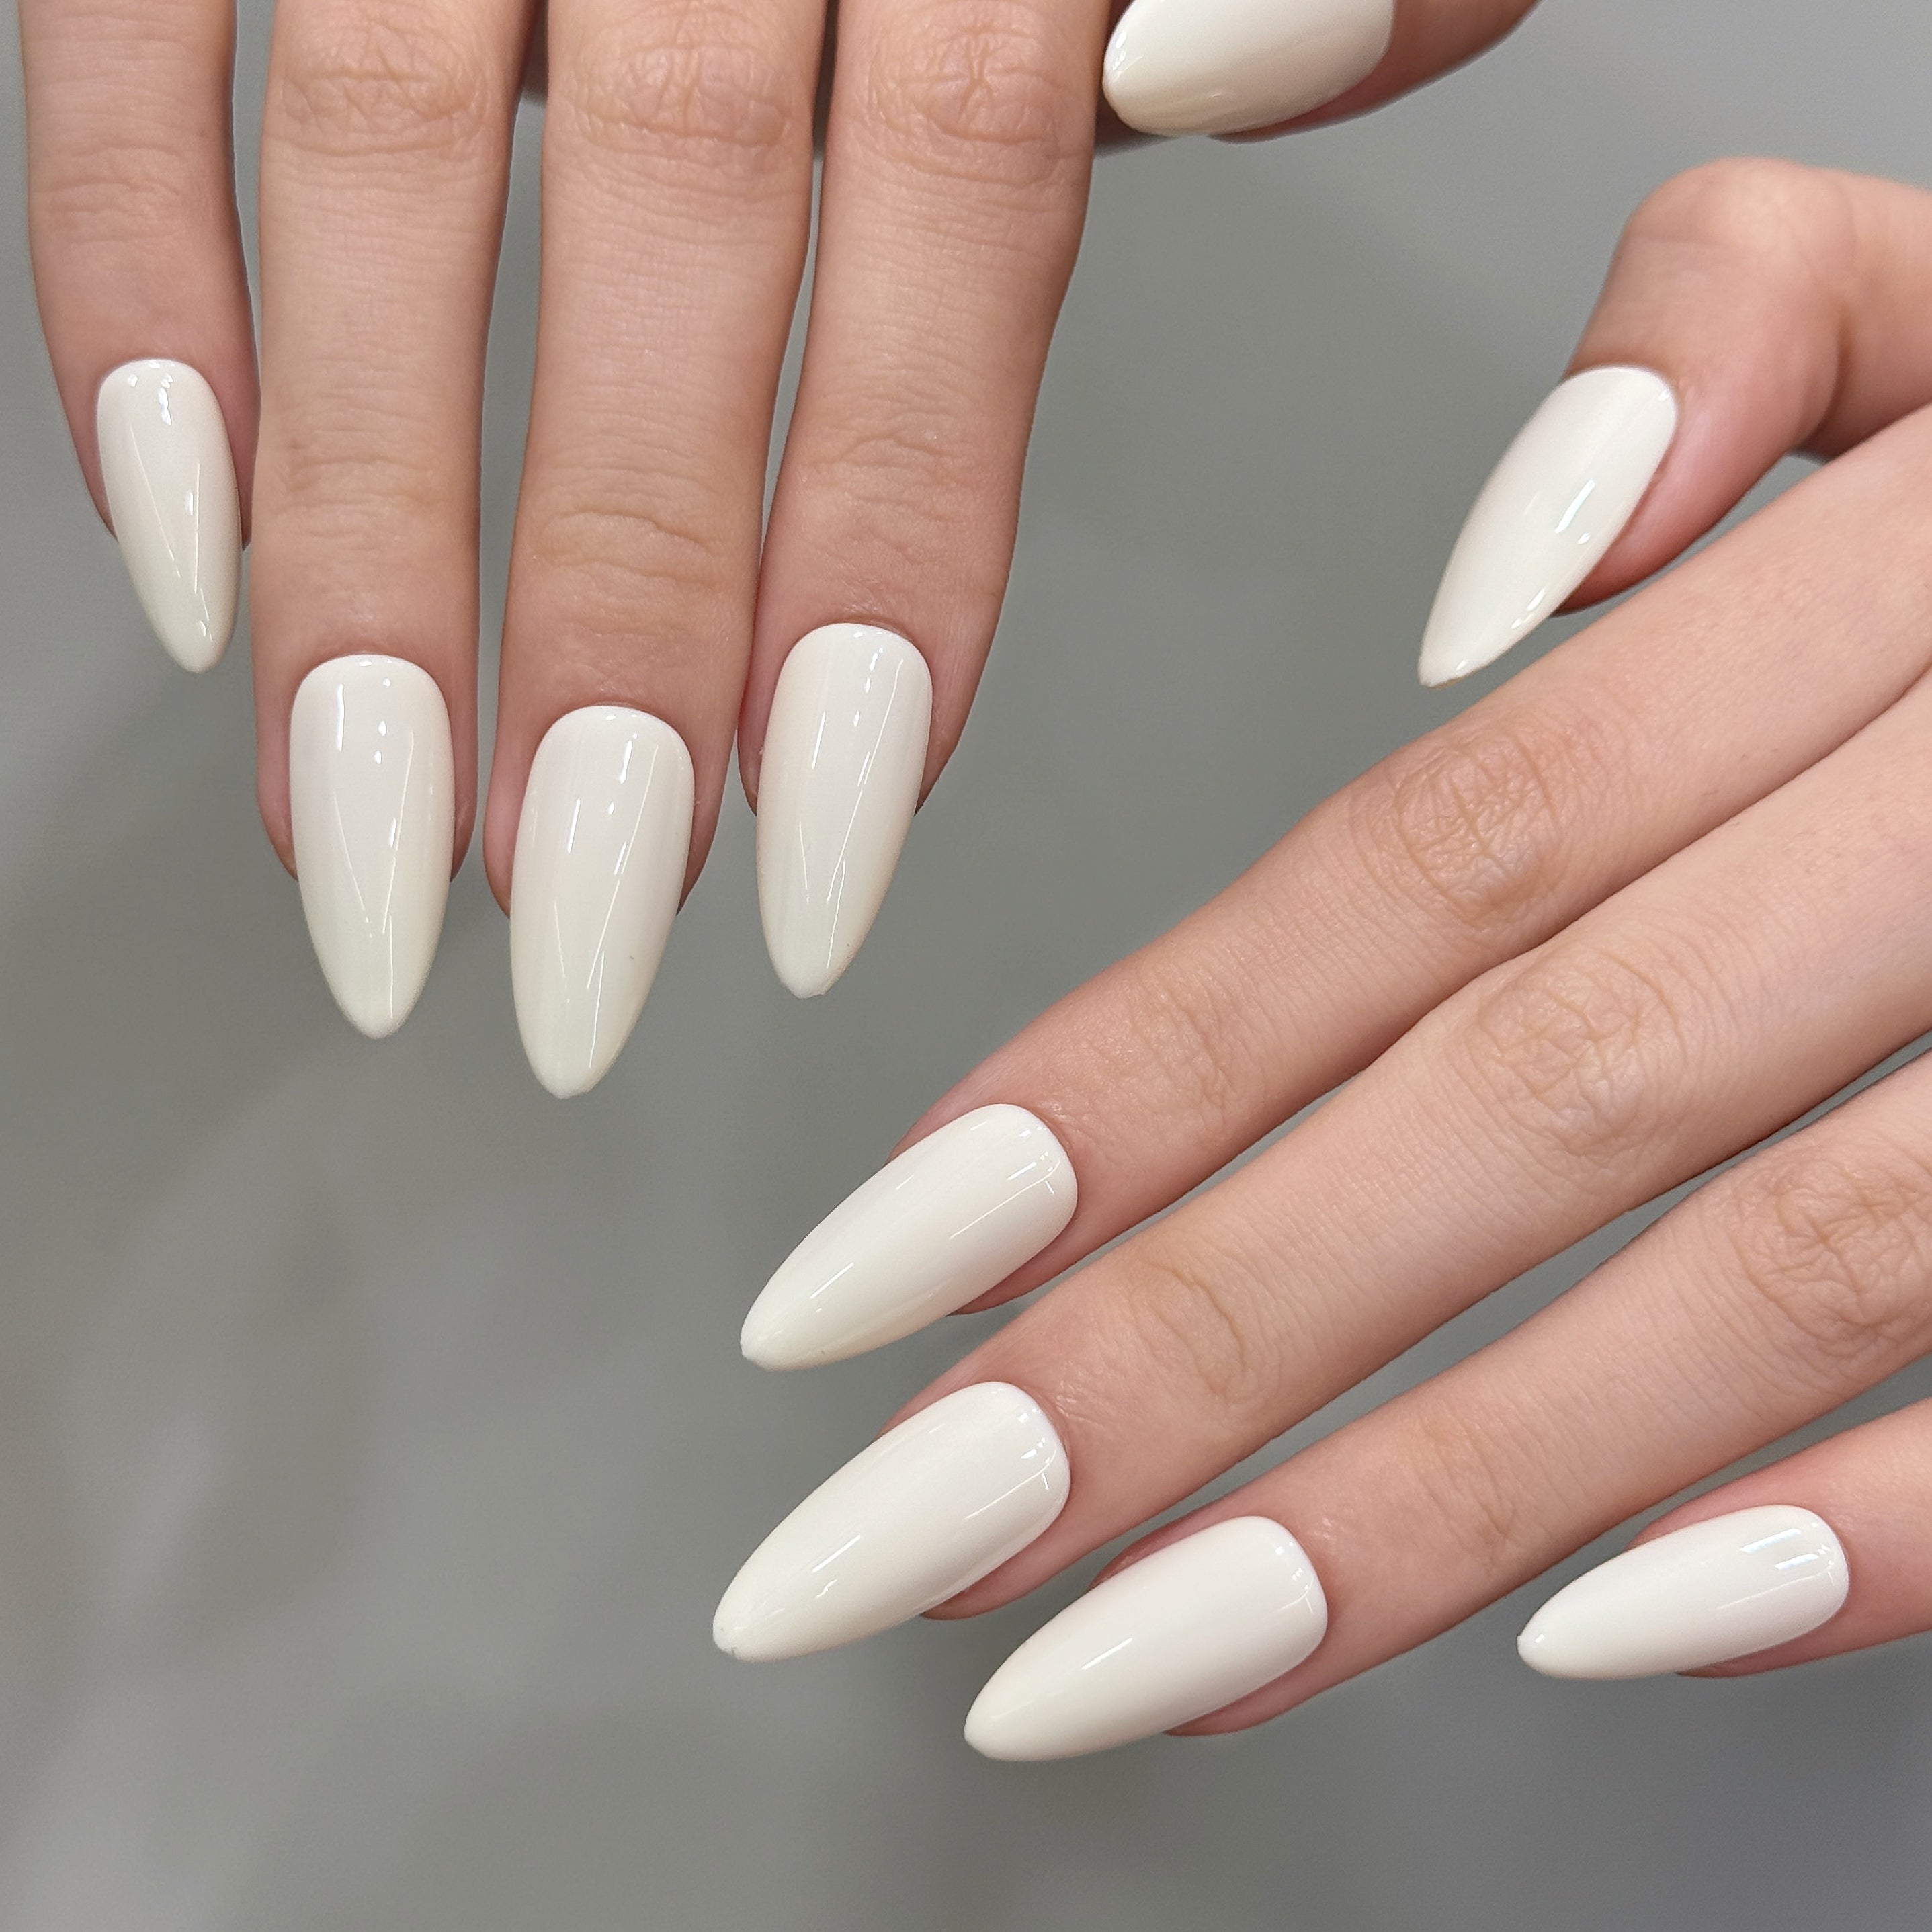
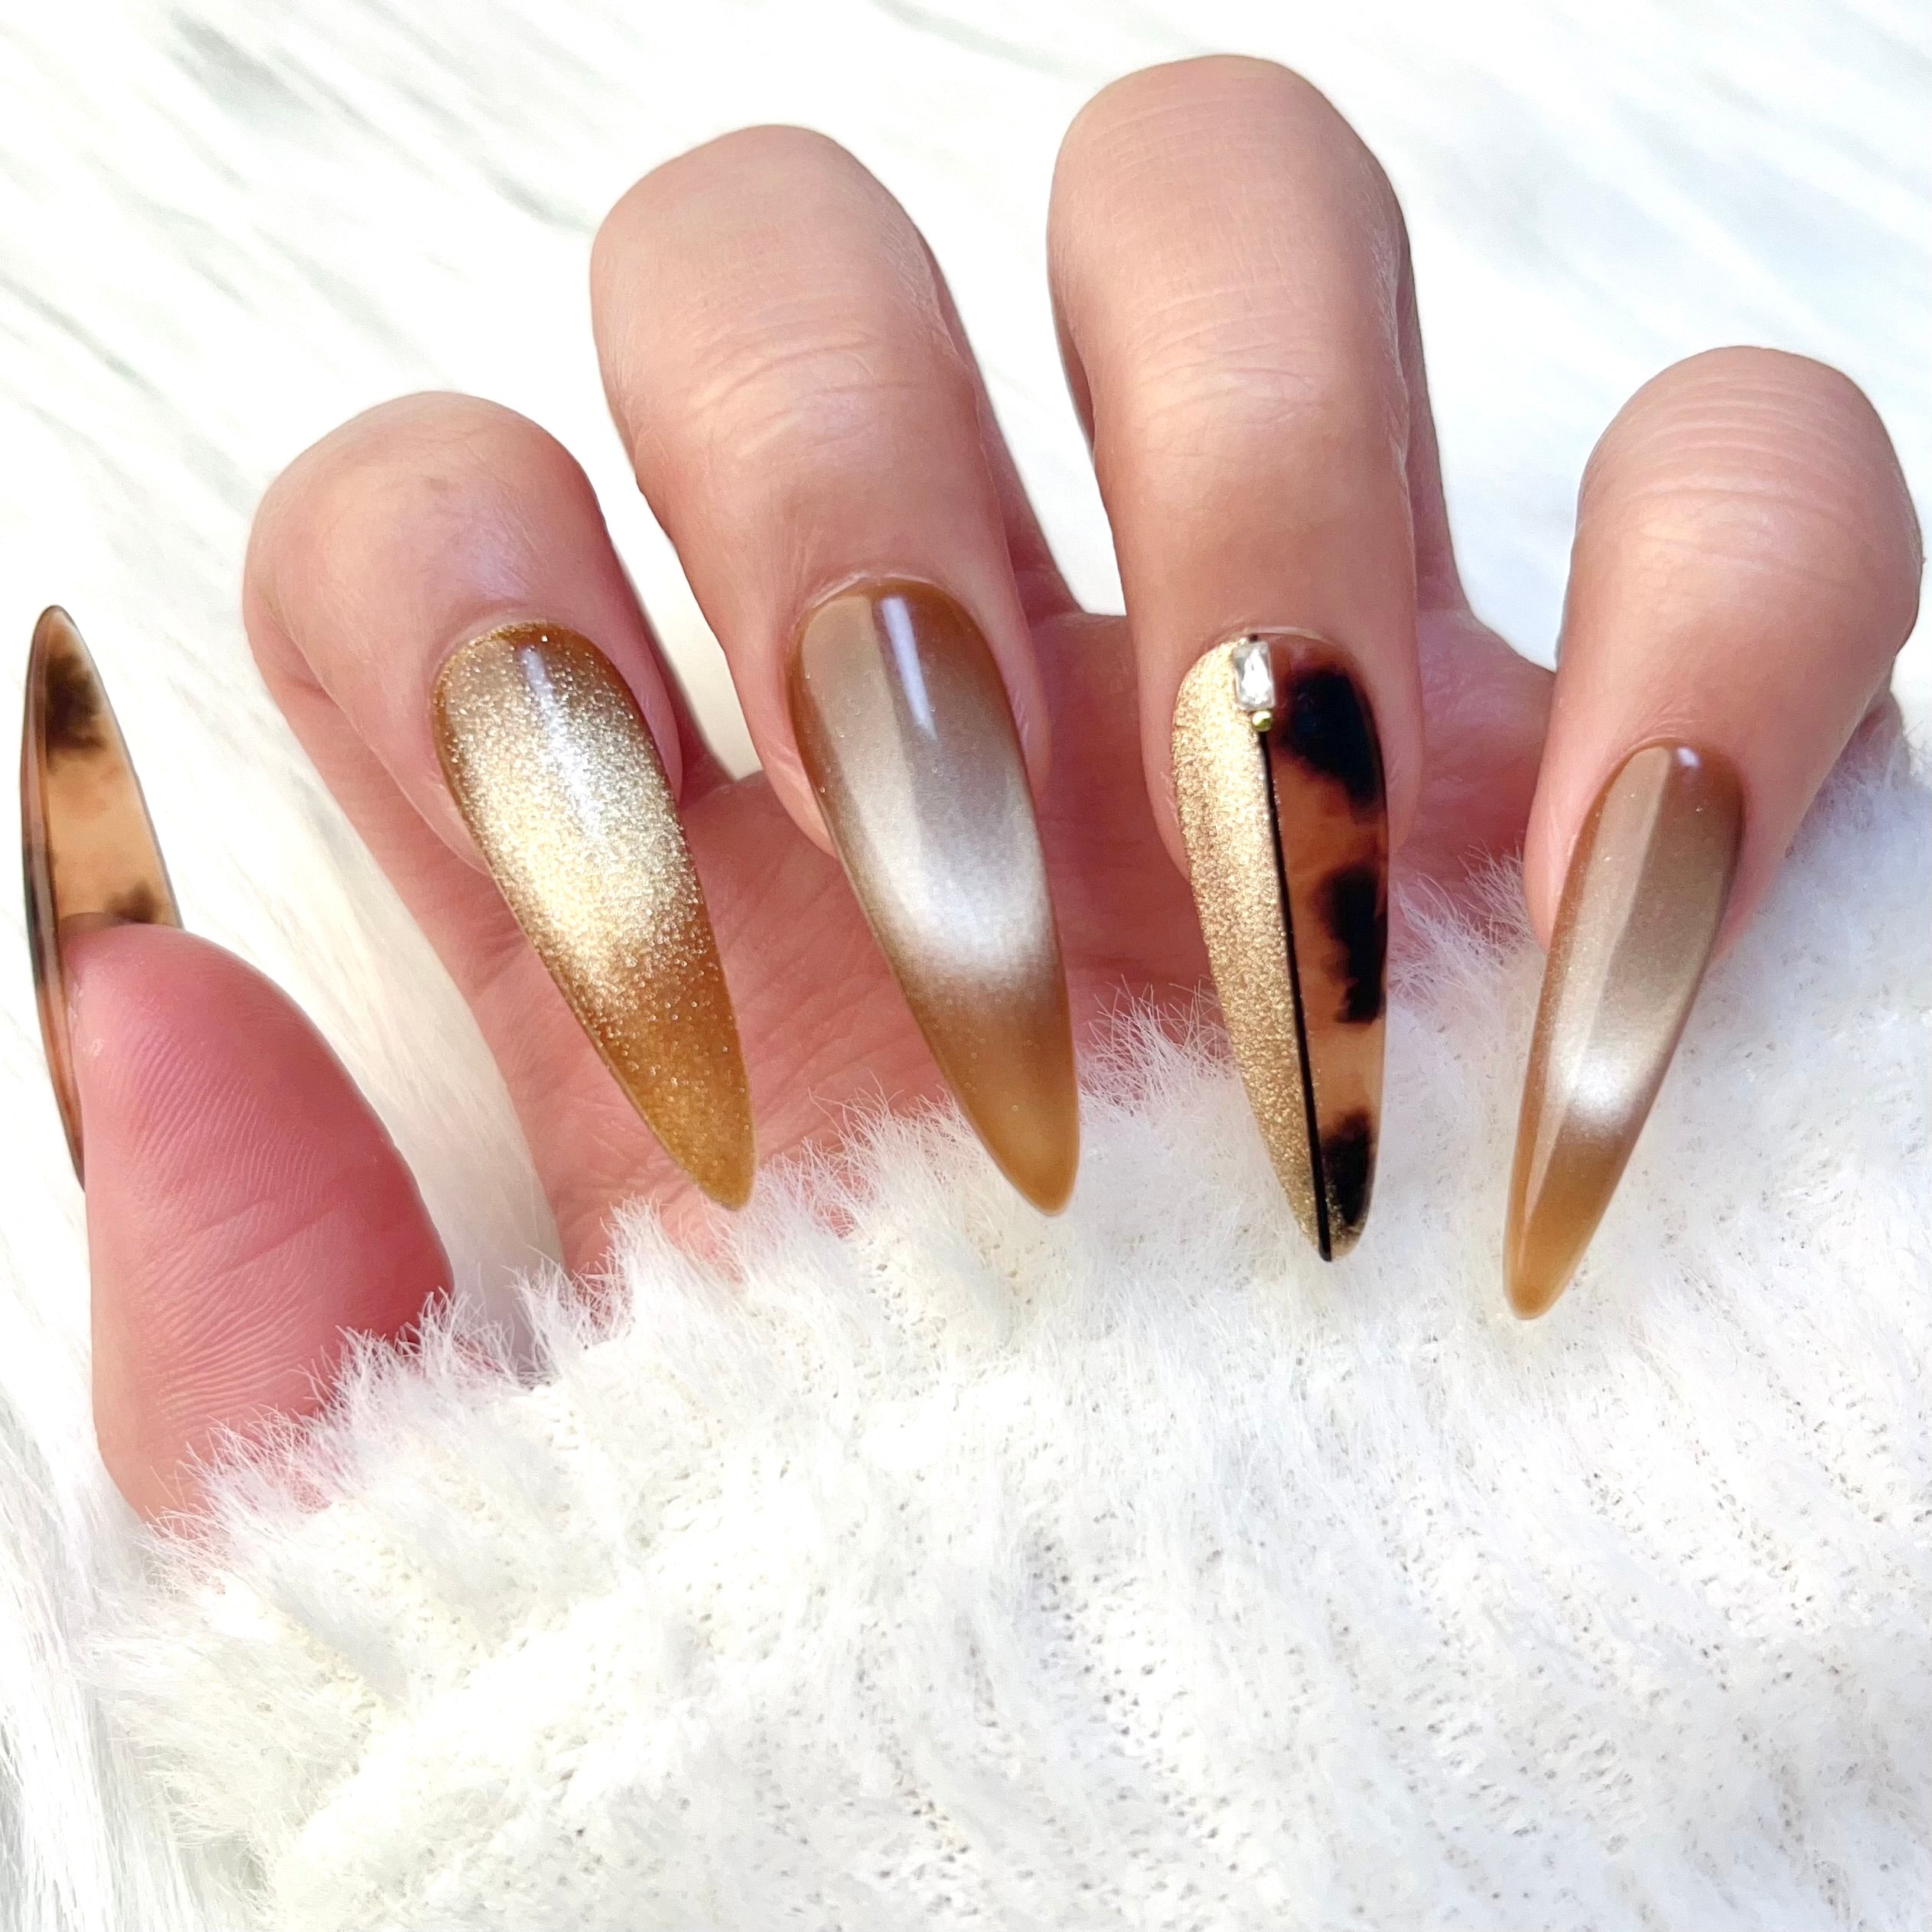
These nails also look amazing and stand out. You can use them to strengthen your nails, fix acrylics, or try fun nail art. Glue gel nails work well with gel nail systems, letting you create smooth and long-lasting designs. If you want a manicure that’s simple and beautiful, glue gel nails are a great choice.
Key Takeaways
- Glue gel nails last a long time, about 3-4 weeks. They don’t break or peel easily.
- Preparing your nails is very important. Clean, shape, and dry them for strong sticking and a smooth look.
- Use thin builder gel layers for better results. Thick layers may bubble or peel.
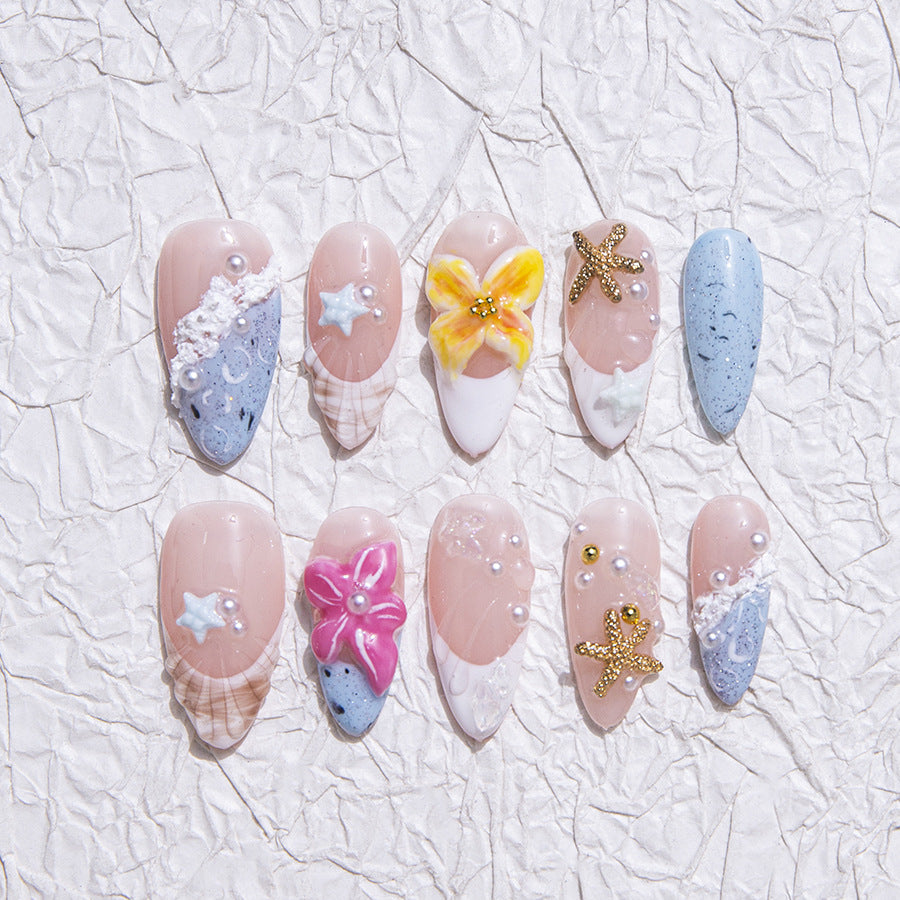
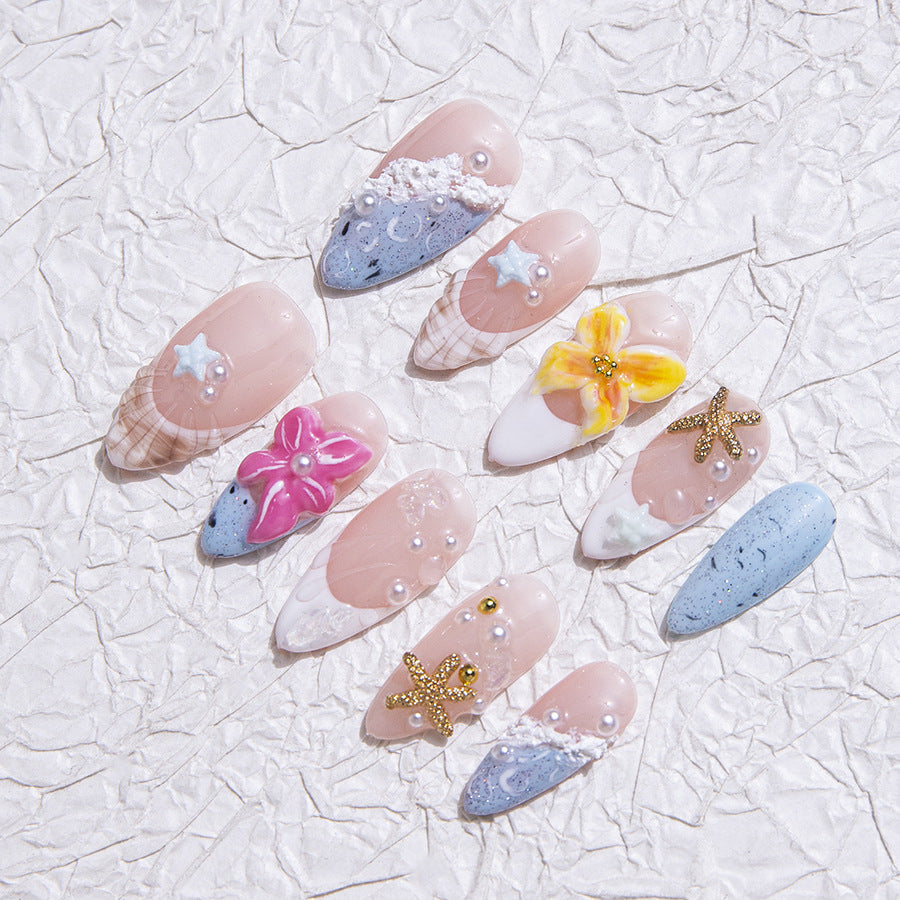
- Try nail art to show your style. Simple designs, glitter, or holiday themes can make your nails look great.
- Remove gel safely to keep your nails healthy. Soak them in acetone and don’t pull the gel off.
Step-by-Step Guide to Glue Gel Nails
Preparing Your Nails
Before you start applying glue gel nails, preparation is key. This step ensures your manicure lasts longer and looks flawless. Here’s how to get your nails ready:
- Clean Your Nails: Wash your hands thoroughly and remove any old polish or residue. Use a non-acetone remover to avoid drying out your nails.
- Shape and Buff: Trim your nails to your desired length and shape. Use a nail file to smooth the edges and a buffer to gently roughen the surface. This helps the gel adhere better.
- Push Back Cuticles: Use a cuticle pusher to gently push back your cuticles. Avoid cutting them, as this can lead to infections.
- Dry Your Nails Completely: Make sure your nails are completely dry. Moisture can weaken the bond between the gel and your nails.
Research shows that proper nail preparation can increase the lifespan of gel nails by up to 50%. Clean, dry nails are essential for strong adhesion and durability.
Applying Glue Gel Nails
Now that your nails are prepped, it’s time to apply the glue gel nails. Follow these steps for a precise and professional-looking application:
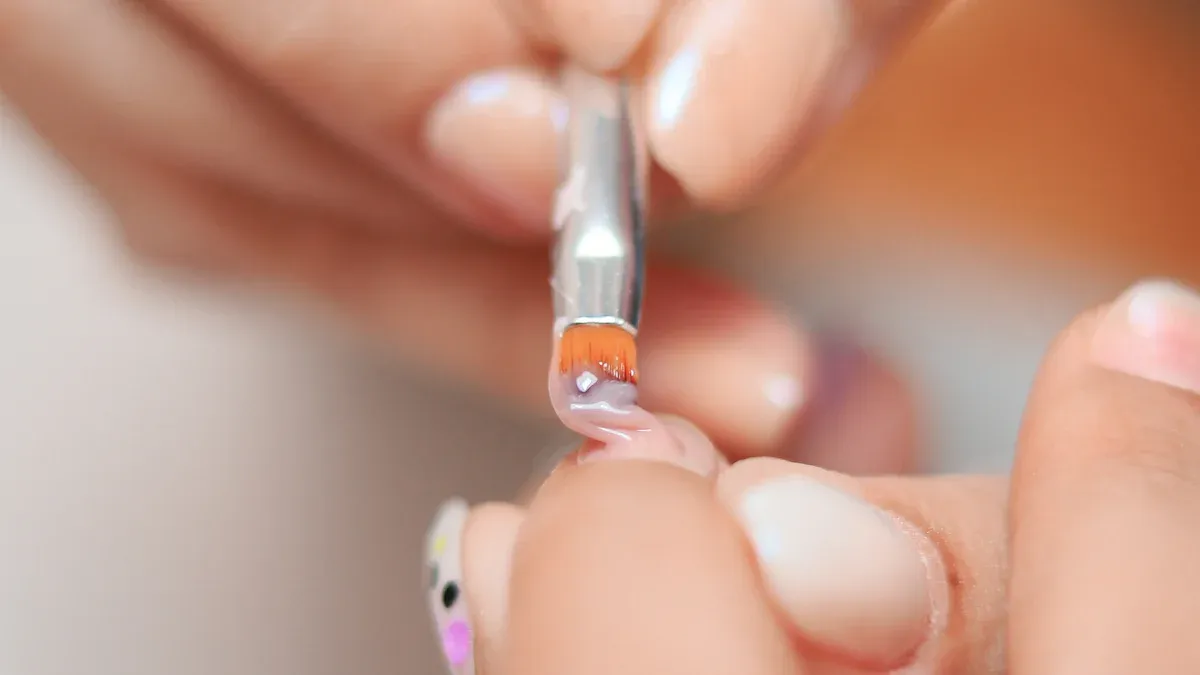
- Choose the Right Brush: If your builder gel doesn’t come with a built-in brush, use a fine, high-quality brush for better control.
- Apply a Base Coat: Some glue gel systems recommend a base coat. Check your product instructions and apply it if needed. Cure under an LED or UV lamp as directed.
- Use Nail Forms or Tips: If you’re creating extensions, attach nail forms or artificial tips securely. Make sure they’re aligned properly with your natural nails.
- Spread the Builder Gel: Start at the tip of your nail and pull the gel toward the base. Keep the layer thin to avoid bubbling or peeling.
- Build the Structure: Apply a thicker layer of builder gel in the middle of your nail to create an apex. This adds strength and prevents breakage.
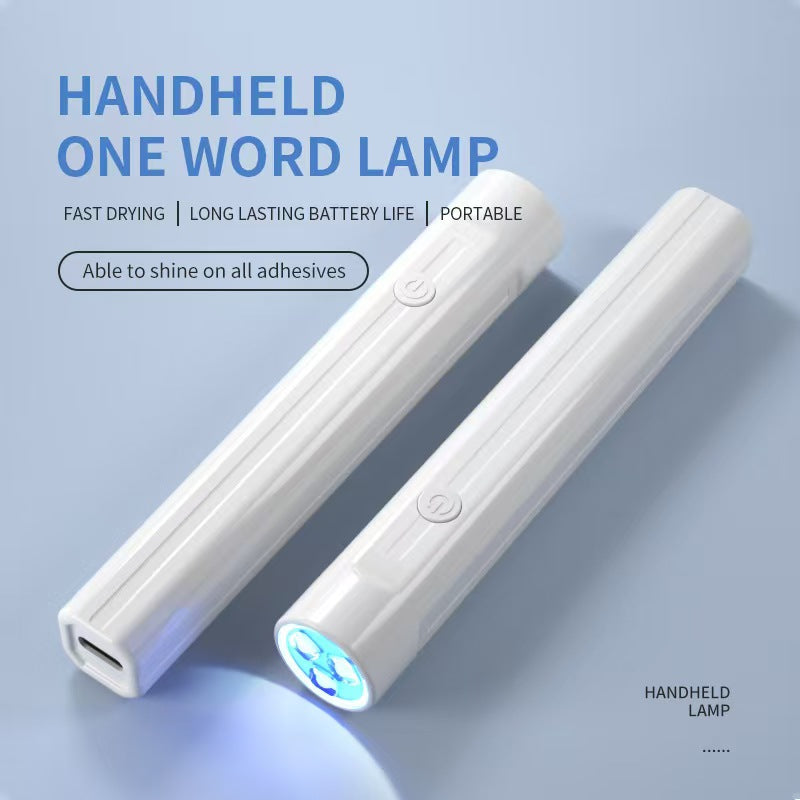
- Cure the Gel: Place your nails under an LED lamp for 30-60 seconds or a UV lamp for 2 minutes. Follow the curing times specified on your product packaging.
| Ingredient | Effect | Description |
|---|---|---|
| Hyaluronic Acid | Boosts hydration | Enhances nail hydration and adhesion, crucial for brittle nails. |
| Mastic Oil | Increases strength | Stimulates keratin synthesis, improving nail thickness and strength. |
| Exogenous Silicium | Supports growth | Reinforces normal growth of periungual tissues, improving nail appearance. |
Curing and Finishing
Curing and finishing are the final steps to lock in your glue gel nails and give them a polished look. Here’s how to do it right:
- Thin Layers Are Key: Apply thin layers of gel polish to prevent bubbling or peeling.
- Cure Properly: Use an LED lamp for 30-60 seconds or a UV lamp for 2 minutes. Proper curing ensures your nails are strong and long-lasting.
- Add the Finishing Touches: Once cured, it’s time to get creative. Apply your favorite gel polish color, add nail art, or keep it simple. Seal everything with a top coat for a glossy finish.
Most gel glues require 30-60 seconds under an LED lamp or 2 minutes under a UV lamp. Proper curing can significantly extend the life of your manicure.
Once cured, it’s time for the finishing touches. Apply your favorite gel polish colors, add some bling, or keep it natural. Don’t forget to seal it all in with a top coat for that glossy, long-lasting finish.
By following these steps, you’ll achieve stunning glue gel nails that look like they came straight from a salon.
Tips for Achieving Stunning Glue Gel Nails
Choosing the Right Products
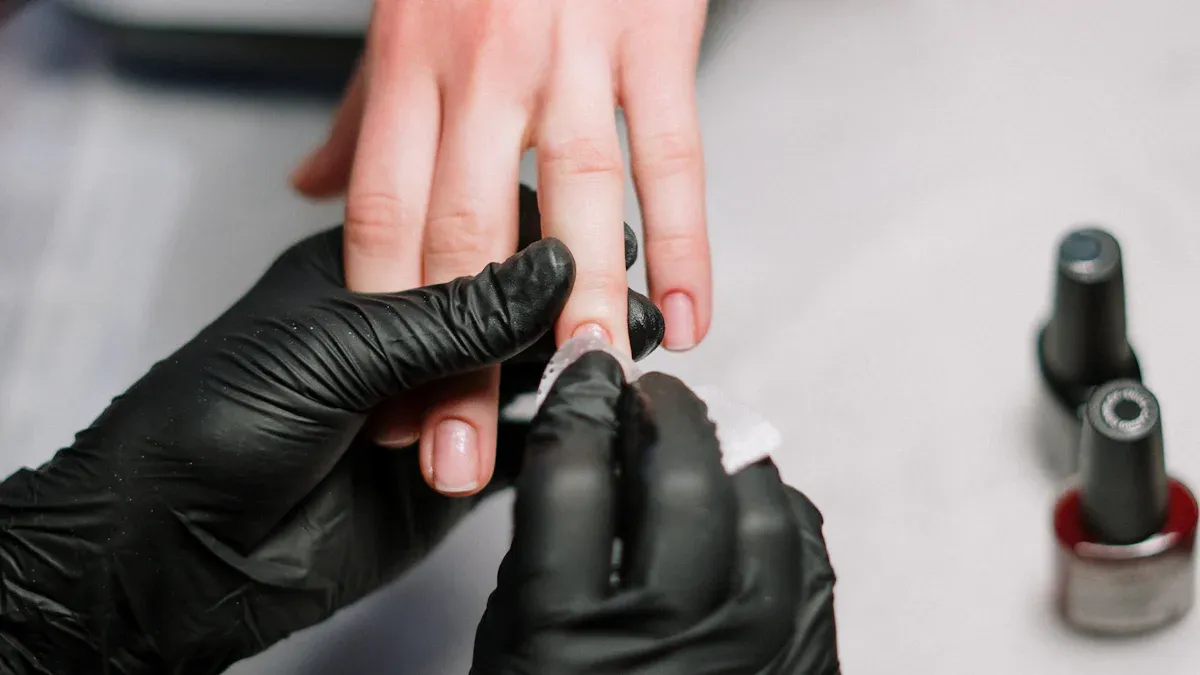
The products you choose can make or break your glue gel nails. Picking high-quality items ensures your manicure lasts longer and looks flawless. Here’s how to select the best ones:
- Builder Gel Quality: Look for builder gels with a smooth consistency. They should be easy to apply and cure evenly under your lamp. Avoid gels that feel sticky or clumpy.
- LED or UV Lamp: A reliable curing lamp is essential. LED lamps cure faster, while UV lamps work with a wider range of gels. Choose one that fits your needs and budget.
- Nail Prep Essentials: Don’t skip the basics. Invest in a good nail buffer, cuticle pusher, and non-acetone remover. These tools help you prep your nails for better adhesion.
- Top Coat and Base Coat: A strong base coat protects your natural nails, while a glossy top coat seals your design. Make sure they’re compatible with your builder gel.
💡 Pro Tip: Always read product reviews before buying. Other users can give you insights into how well a product performs.
When you use the right products, your glue gel nails will look professional and last for weeks.
Nail Art Ideas and Enhancements
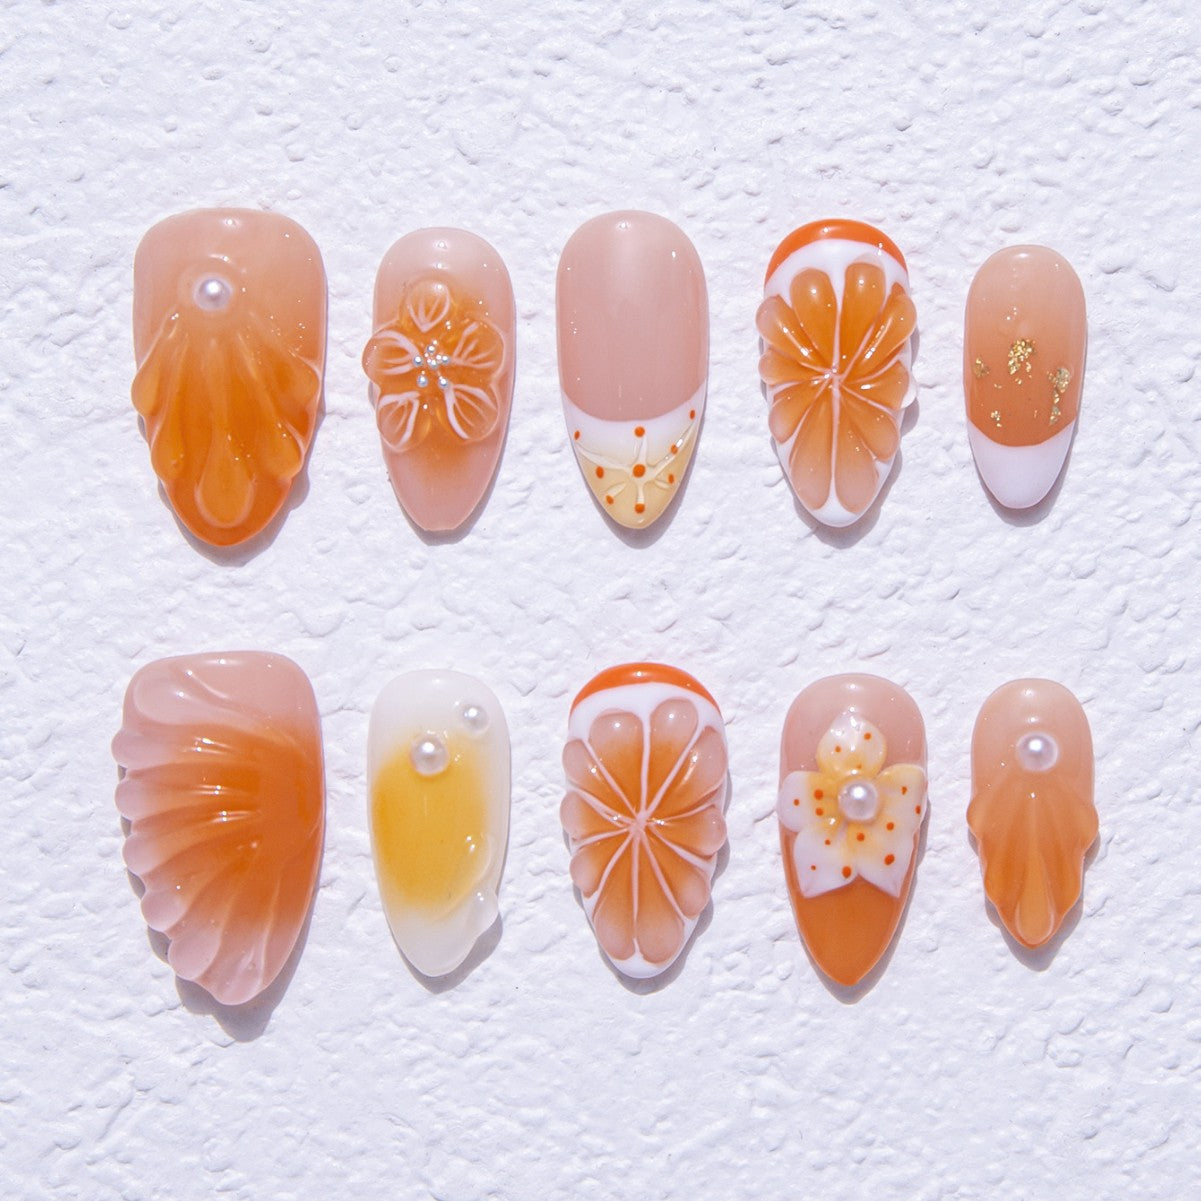
Once your glue gel nails are ready, it’s time to get creative! Nail art lets you express your personality and add a unique touch to your manicure. Here are some fun ideas to try:
- Minimalist Designs: Simple patterns like dots, stripes, or geometric shapes can make your nails look chic without being overwhelming.
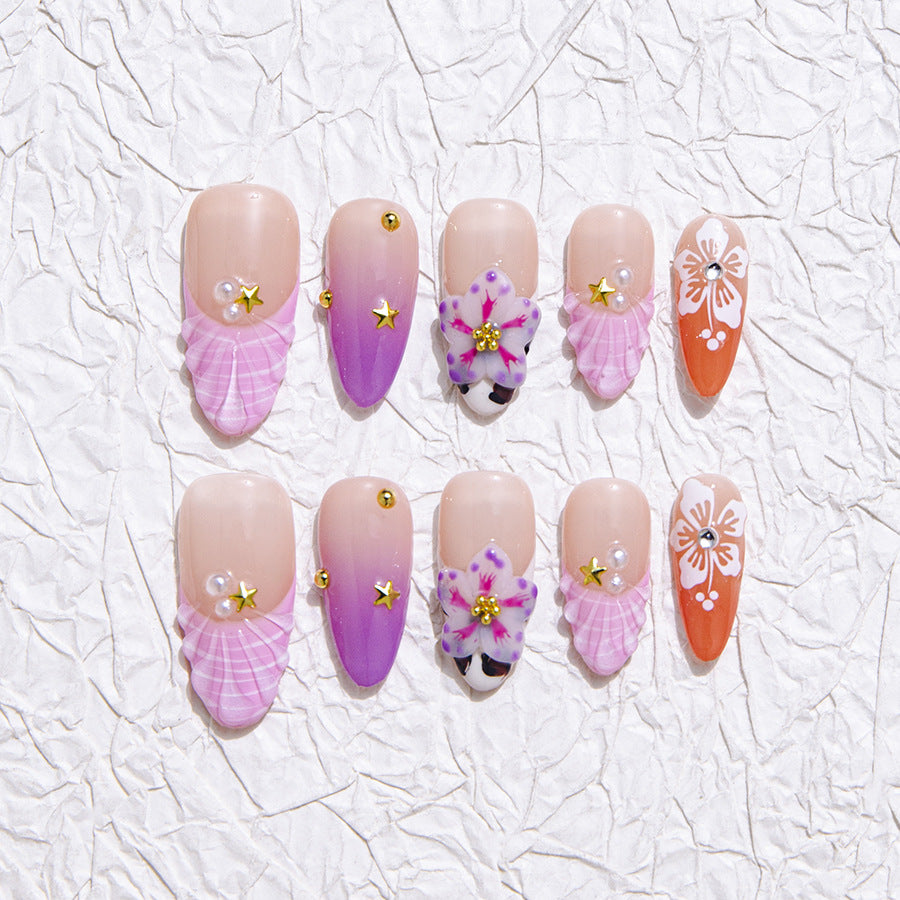
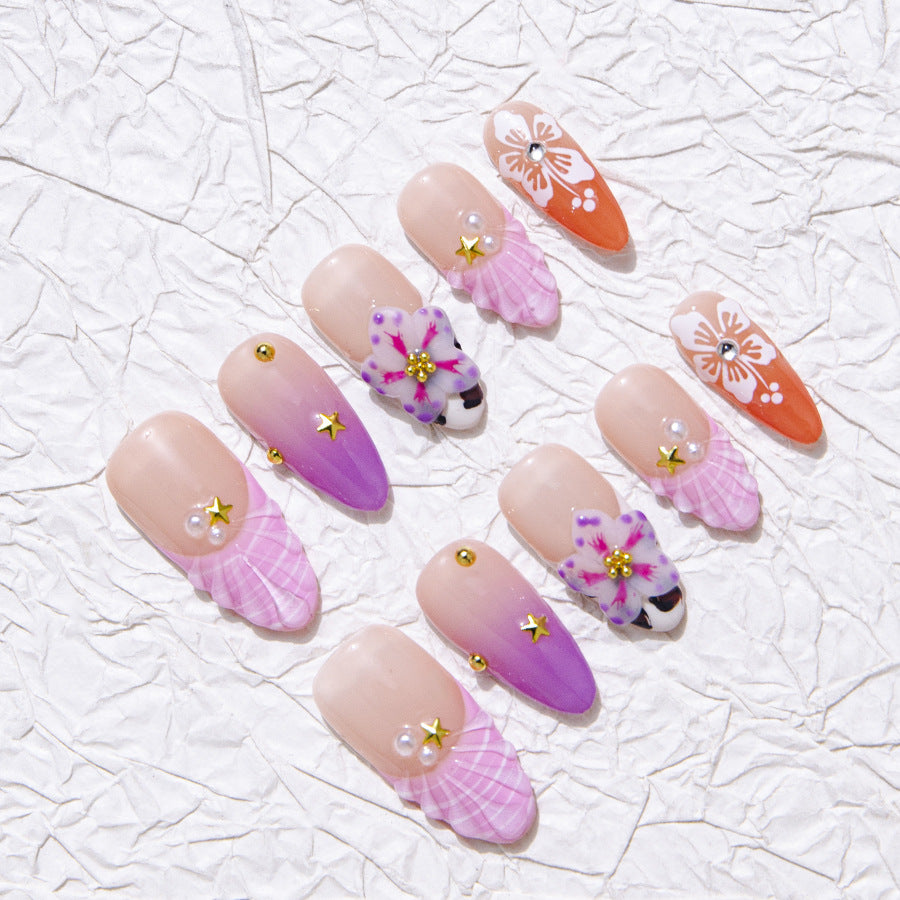
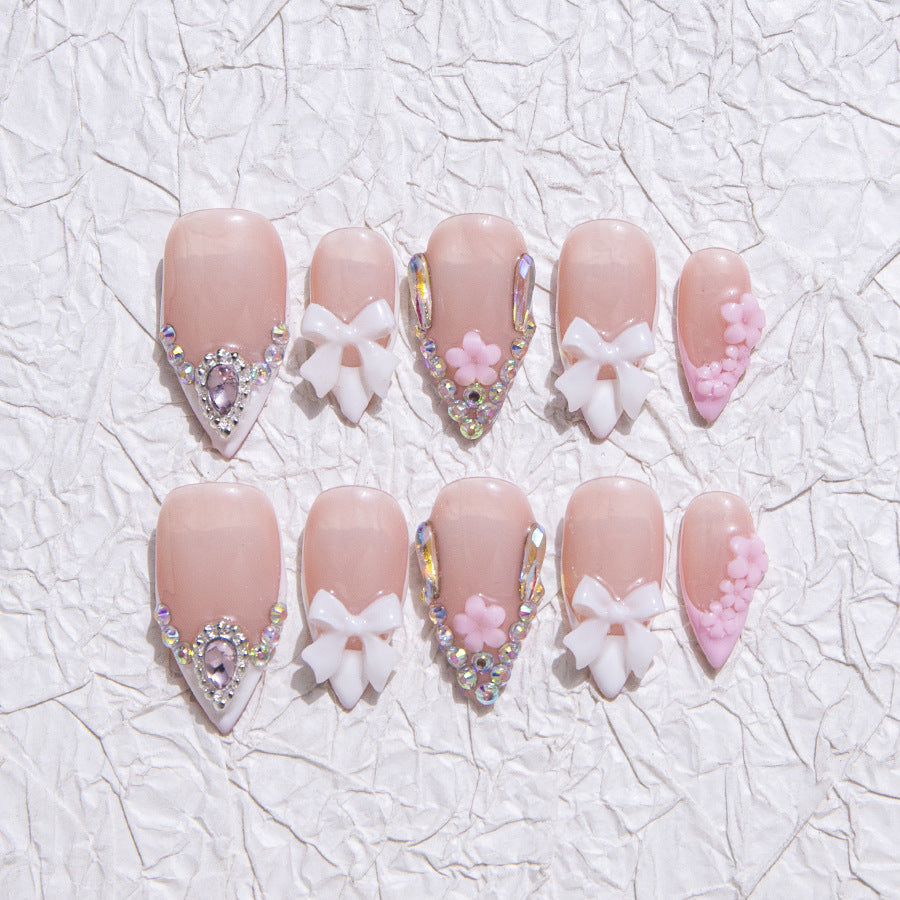
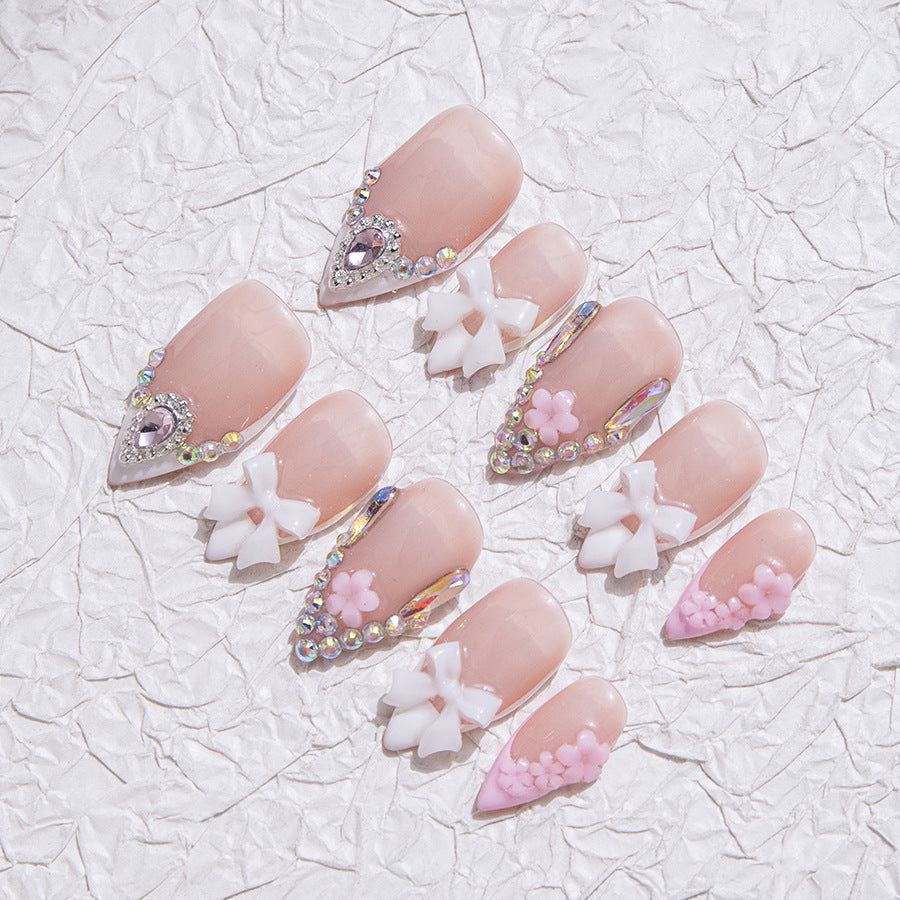
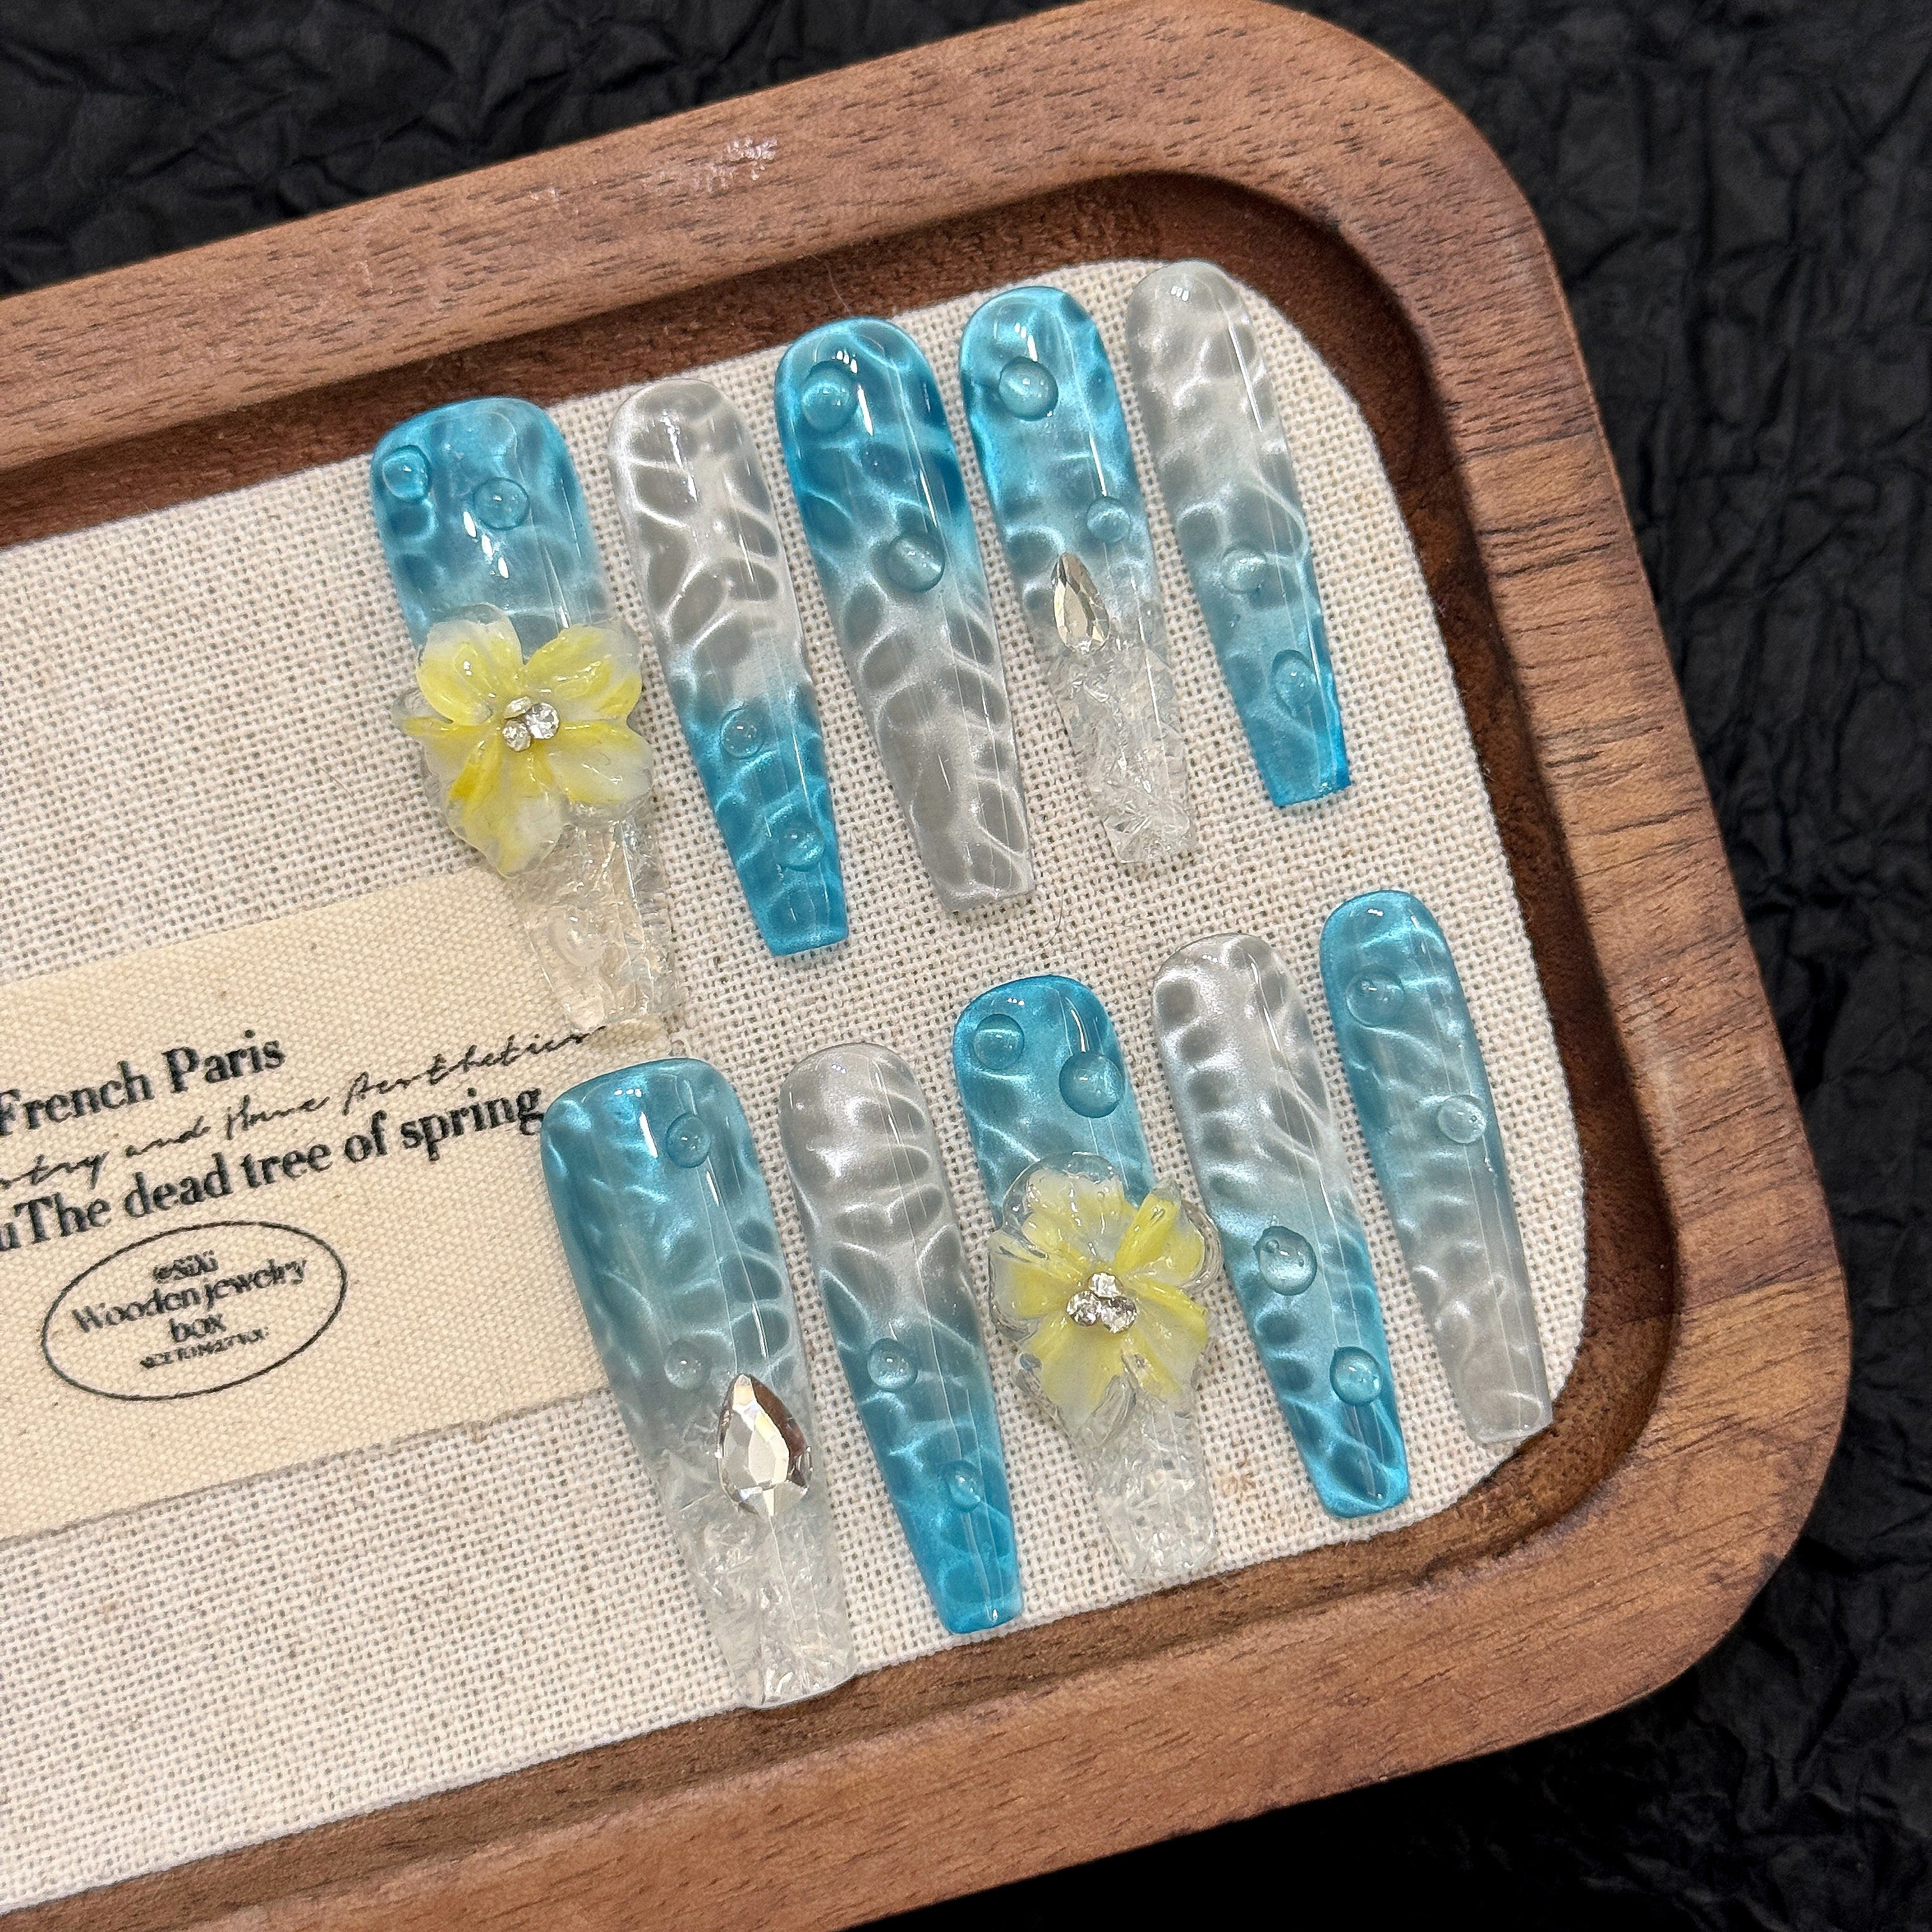
- Glitter and Rhinestones: Add sparkle to your nails with glitter polish or tiny rhinestones. These accents work great for special occasions.
- Ombre Effects: Blend two or more colors for a gradient effect. Use a sponge to dab the colors onto your nails for a smooth transition.
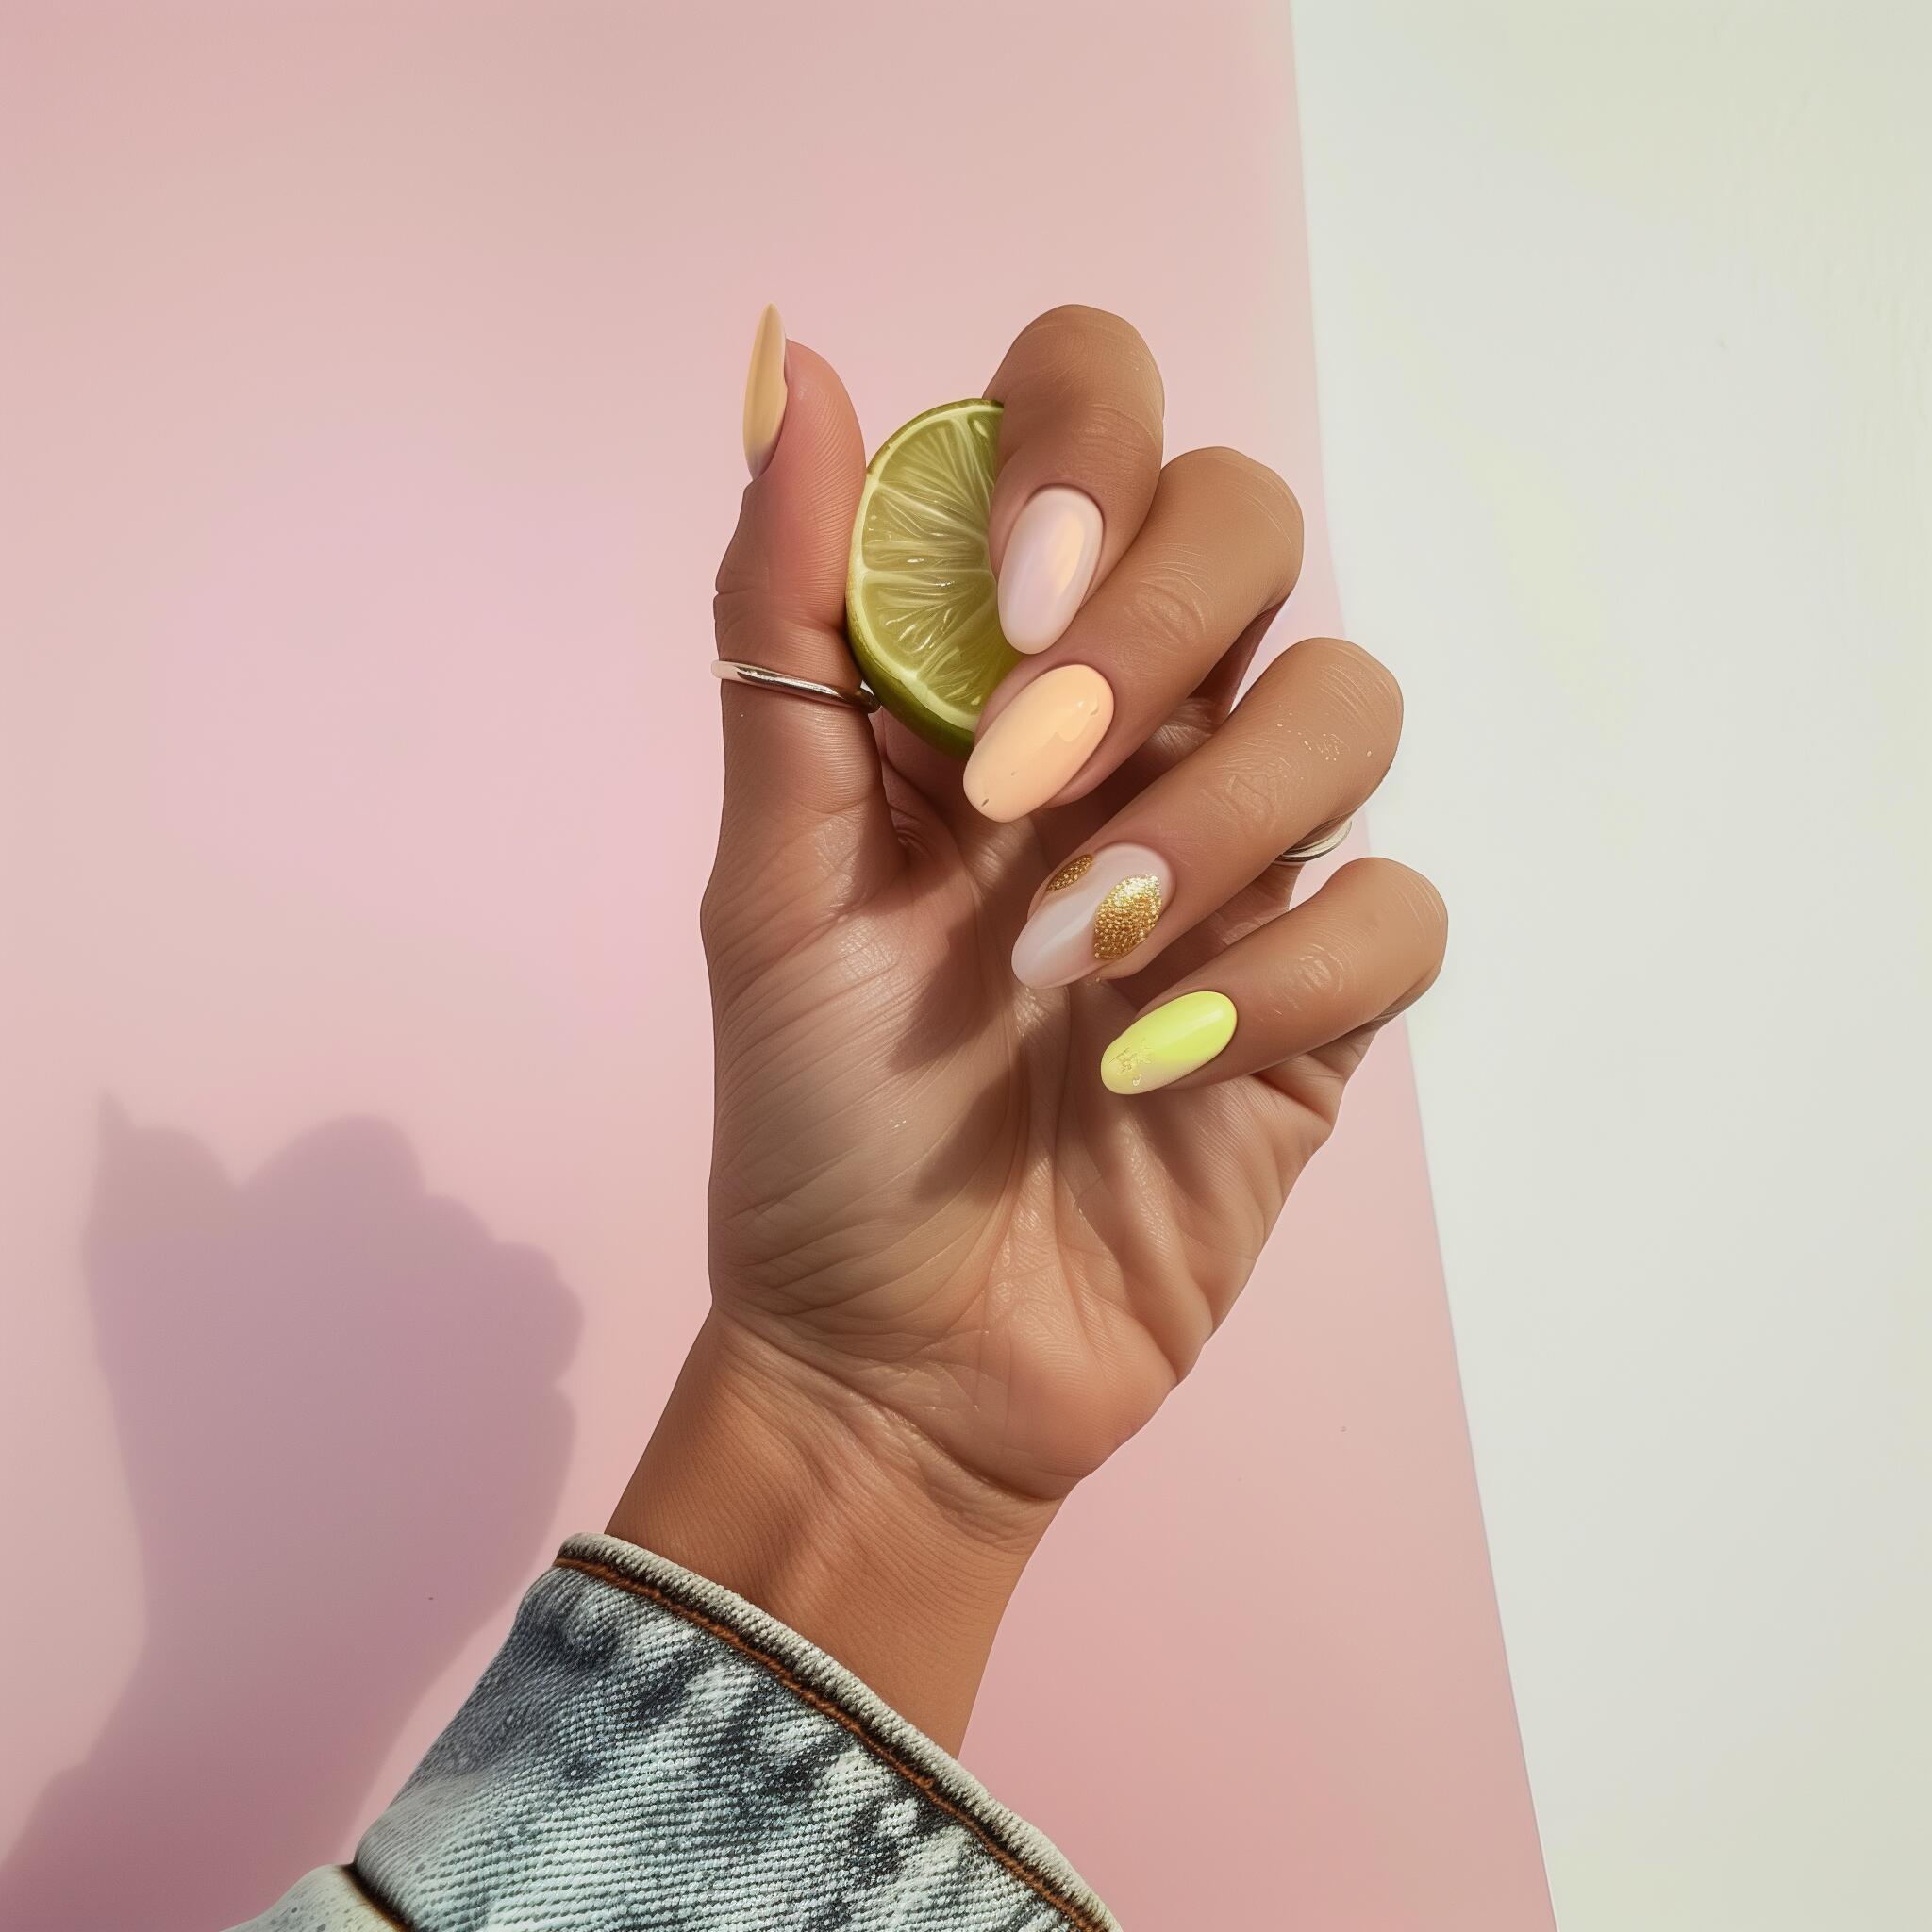
- Seasonal Themes: Match your nails to the season. Try pastel shades for spring, bold colors for summer, or snowflake designs for winter.
🎨 Creative Tip: Use nail stamping kits or stickers for intricate designs. They’re easy to apply and save time.
Enhancements like nail extensions or overlays can also elevate your look. Glue gel nails pair perfectly with these techniques, giving you a sturdy base for your designs.
By experimenting with nail art and enhancements, you’ll turn your glue gel nails into a masterpiece that reflects your style.
Avoiding Common Mistakes with Glue Gel Nails
Application Errors
Applying glue gel nails can be tricky without care. Mistakes can cause peeling, lifting, or harm to your nails. Follow these tips to avoid errors:
- Skipping Nail Prep: Always clean, buff, and dry nails first. Skipping prep weakens the bond and causes lifting.
- Using Too Much Gel: Apply thin layers of builder gel. Thick coats bubble or peel easily.
- Getting Gel on Your Skin: Be careful when applying gel. If it touches skin, it may irritate or cause allergies. Dr. Buckley says to keep gel only on nails.
- Improper Curing: Cure each layer under the lamp for the right time. Rushing leaves nails soft and easy to damage.
💡 Quick Tip: Use a small brush for neat application. It helps avoid messy edges and gives a smooth finish.
Maintenance Mistakes
Even after applying glue gel nails, bad care can ruin them. Avoid these common mistakes:
- Picking or Peeling: Don’t pick at nails. It harms your natural nails and makes removal harder.
- Skipping Moisturizer: Keep nails hydrated. Dry nails crack or lift more easily.
- Using Harsh Chemicals: Stay away from strong cleaners. They weaken glue and shorten your manicure’s life.
- Improper Removal: Never pull off glue gel nails. Soak them in acetone for safe removal.
DIY mistakes can also cause problems. Some adhesives may burn skin if they react with cotton. Always follow instructions to stay safe.
🛑 Important Note: Stop using the product if it irritates or hurts. Ask a professional for help.
Avoiding these mistakes keeps your glue gel nails perfect and your natural nails healthy.
Maintaining and Removing Glue Gel Nails
Keeping Your Nails Healthy
Taking care of your nails while wearing glue gel nails is very important. Healthy nails look nice and help your manicure last longer. Follow these easy tips:
- Wash your nails often to keep them clean and germ-free.
- Cut your nails straight and file the edges round. This stops breaks or snags.
- Keep nails short if you can. Short nails are easier to clean and care for.
- Use nail lotion every day. Moisturized nails don’t crack or peel as much.
- Don’t bite or pick at your nails or cuticles. This can harm your nails and the gel.
Eating healthy foods also helps your nails stay strong. Leafy greens and nuts have vitamins that make nails better from the inside. If your nails hurt or turn red, stop using gel nails for a while to let them heal.
🛑 Health Tip: Too much UV light during curing can hurt nails. If your nails feel bad, use regular polish for a few weeks to recover.
Safe Removal Techniques
Taking off glue gel nails the right way keeps your nails safe. Bad removal can hurt your natural nails. Follow these steps to remove them carefully:
- Buff the Top Layer: Use a nail file to gently rub off the shiny top coat. This helps acetone soak into the gel better.
- Soak in Acetone: Dip cotton balls in acetone and put them on your nails. Wrap your fingers in foil to hold the cotton. Wait for 10-15 minutes.
- Remove the Gel Gently: After soaking, use a wooden stick to push off the soft gel. Be gentle to avoid hurting your nails.
- Moisturize After Removal: Wash your hands and apply hand cream or cuticle oil. This brings back moisture lost during removal.
💡 Pro Tip: Use acetone in a room with fresh air. Gloves can protect your skin from irritation while working with acetone.
If you’re not sure how to remove glue gel nails, go to a salon. Professionals can take them off safely without harming your nails.
Glue gel nails are a game-changer for anyone who loves beautiful nails without the hassle. They’re easy to apply, last for weeks, and give you that salon-quality look right at home. Plus, the creative possibilities are endless! Whether you want a minimalist style or bold nail art, glue gel nails let you express yourself effortlessly.
Why not give them a try? You’ll love how simple it is to create stunning designs that turn heads. Grab your tools, unleash your creativity, and let your nails shine!
FAQ
What are glue gel nails, and how are they different from regular nail glue?
Glue gel nails use a thicker gel adhesive that lasts longer and feels more flexible. Unlike regular nail glue, which can crack or peel, glue gel moves with your nails, making it more durable and comfortable.
Can I use glue gel nails if I’m a beginner?
Absolutely! Glue gel nails are beginner-friendly. The application process is simple, and with practice, you’ll get salon-quality results at home. Just follow the steps carefully and take your time.
How long do glue gel nails last?
When applied correctly, glue gel nails can last 3-4 weeks. Proper nail prep, thin gel layers, and curing under a lamp help extend their lifespan.
Are glue gel nails safe for my natural nails?
Yes, they’re safe if you apply and remove them properly. Avoid peeling or picking at them. Use acetone for removal and keep your nails moisturized to maintain their health.
Can I do nail art on glue gel nails?
Of course! Glue gel nails provide a smooth, sturdy base for nail art. You can try glitter, rhinestones, or even intricate designs using stamping kits or stickers. Let your creativity shine!
💡 Pro Tip: Always cure your nails properly under a lamp to ensure your designs last longer.
