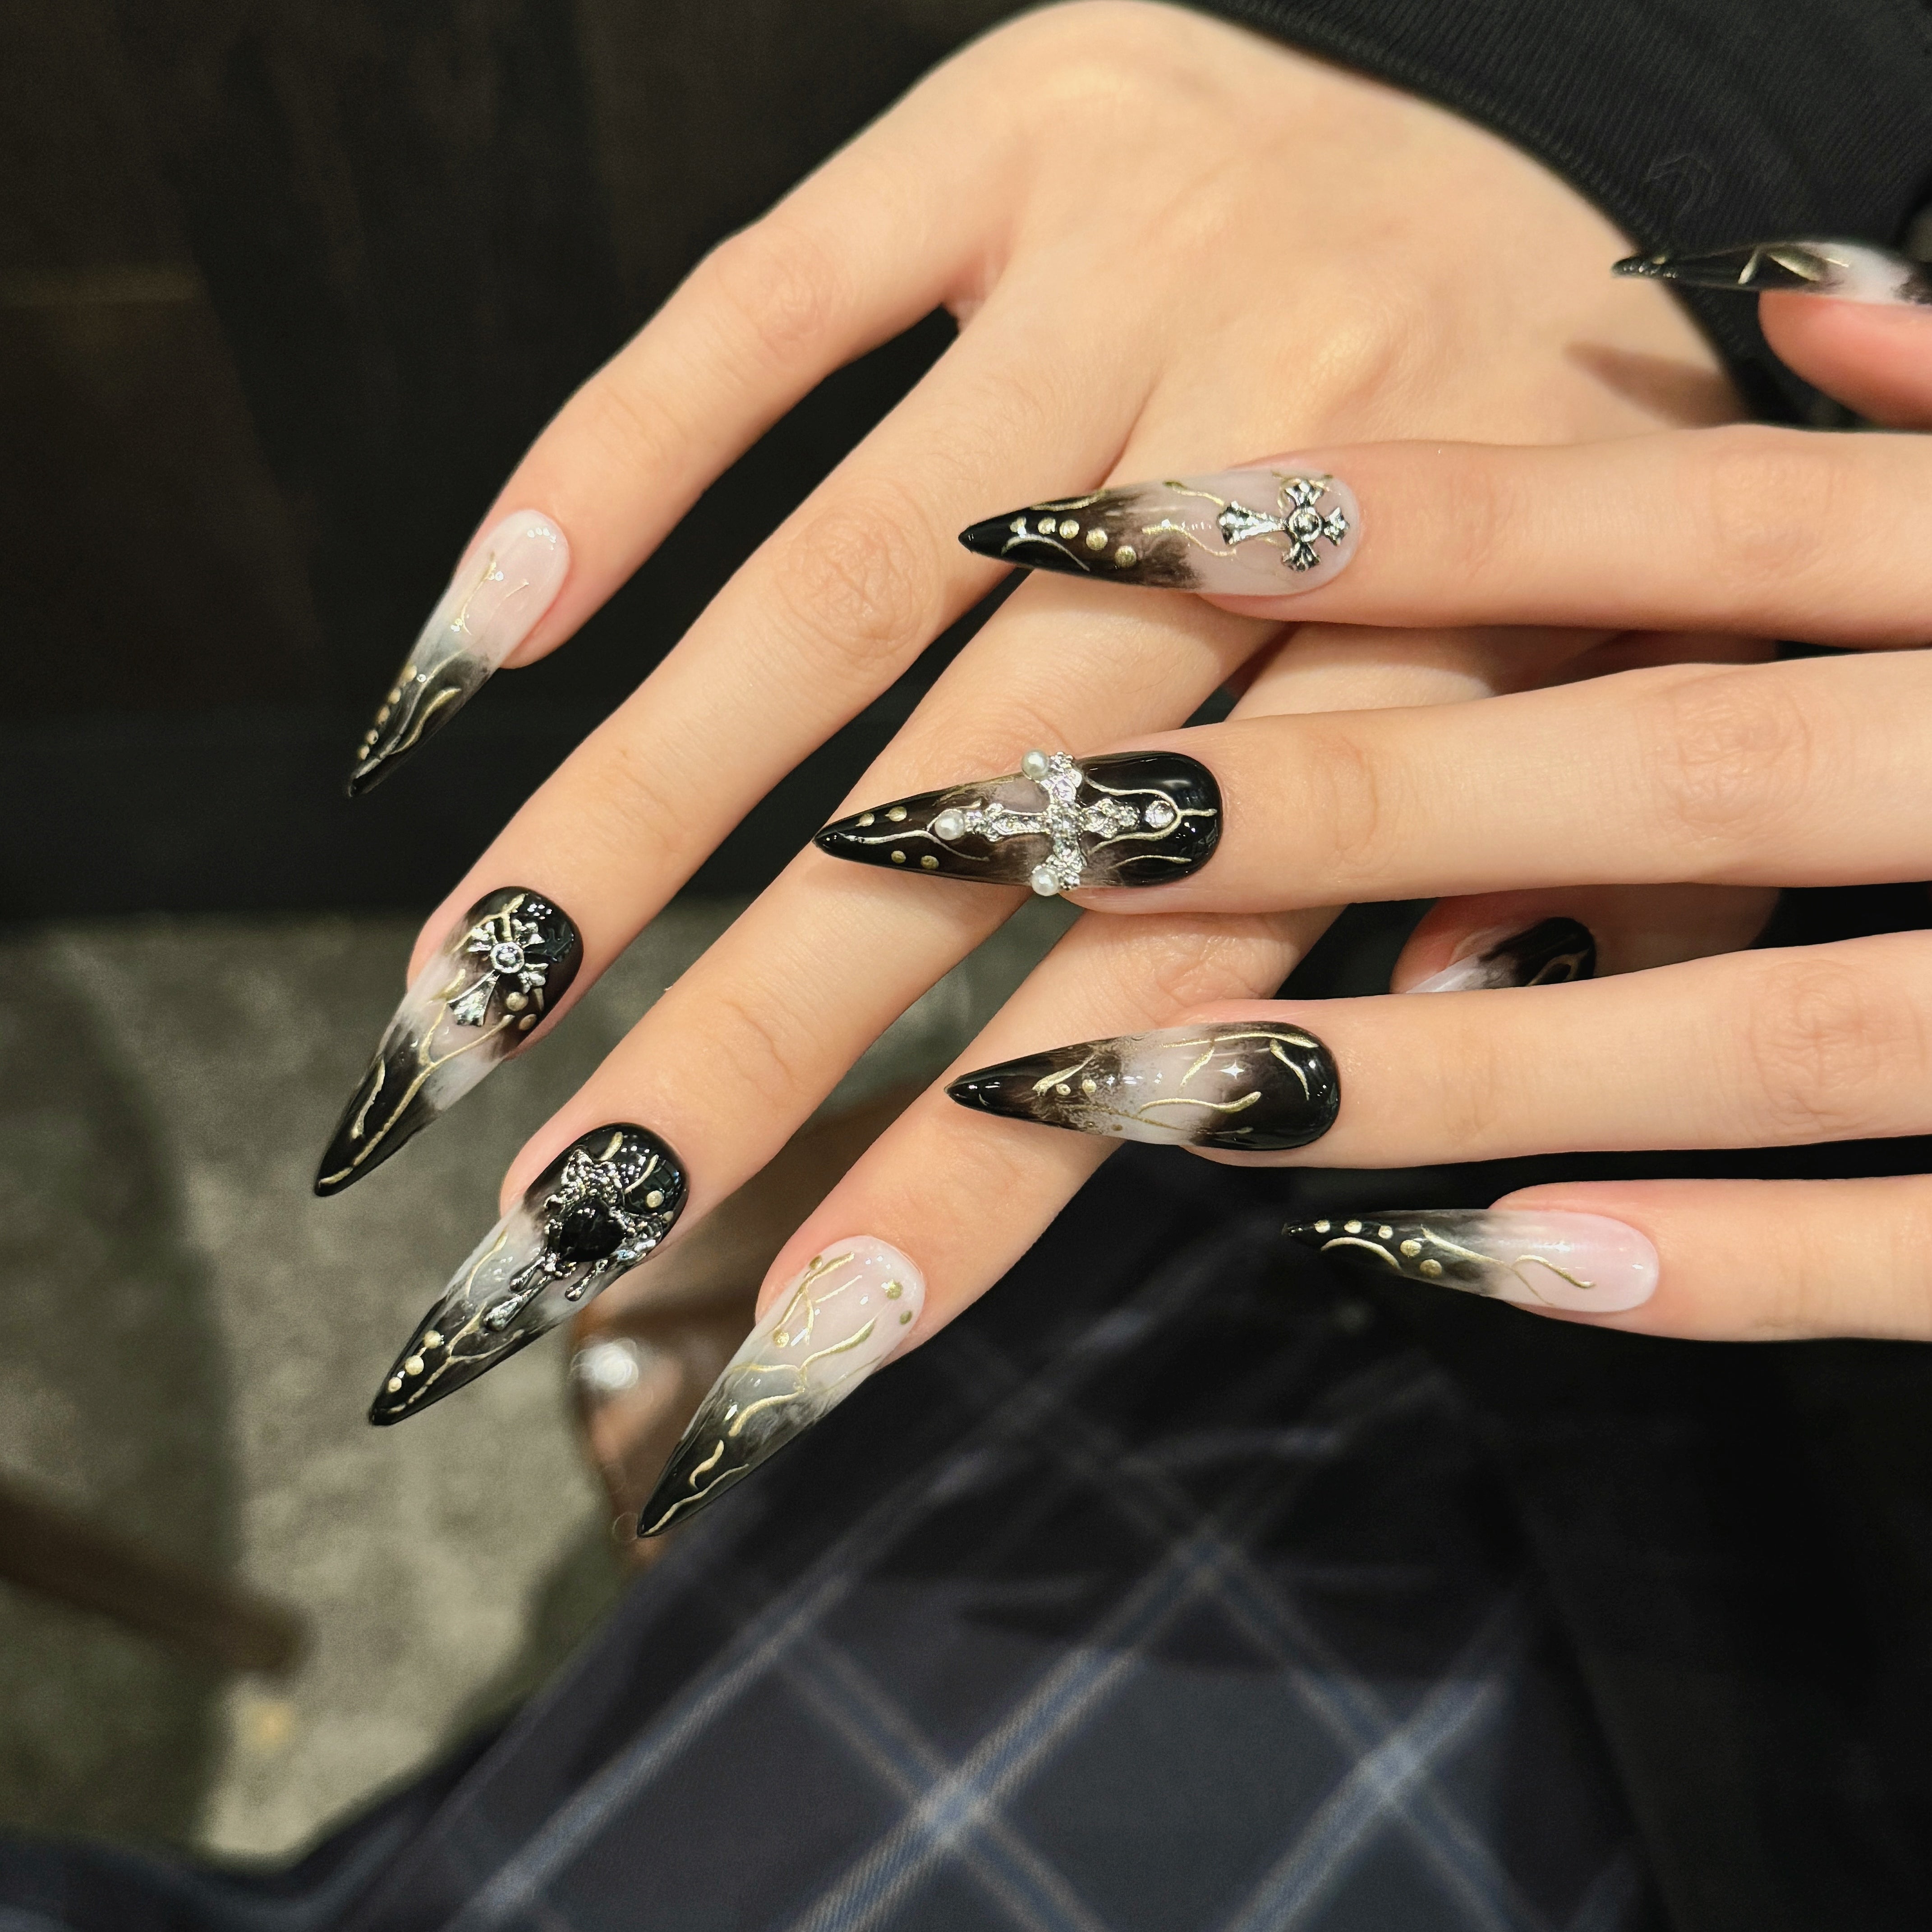
Achieve Stunning Black and White Gothic Nails Without a Salon
You can create stunning black and white gothic nails right at home—even if you’re new to nail art. These bold nails work for any style or mood, from everyday looks to special events. You have options, too. Try press-ons or classic polish with just a few simple tools. The numbers say it all:
| Product Segment | CAGR (2024-2030) | What’s Driving the Trend? |
|---|---|---|
| Gel Press-on Nails | 7.1% | Realistic look, easy at-home use |
| Coffin Press-on Nails | 7.7% | Social media influence, trendy shapes |
| Online Sales Channels | 8.3% | E-commerce convenience, huge variety |
Let your imagination run wild—experiment with shapes, patterns, and motifs that show off your personality.
Key Takeaways
- Gather all essential tools before starting to make your nail art process smooth and fun.
- Prepare your nails well by cleaning, shaping, and buffing to help polish or press-ons last longer.
- Apply thin coats of polish or glue carefully and let each layer dry to avoid smudges and bubbles.
- Use nail art brushes and dotting tools to create unique gothic designs like stripes, skulls, or webs.
- Protect your designs with a clear topcoat and reapply it every few days to keep nails shiny and strong.
Tools and Prep
Essentials
Before you start your gothic nail journey, you need to gather a few must-have items. Having everything ready makes the process smooth and fun. Here’s what you’ll want on hand:
- Black nail polish (matte or glossy)
- White nail polish (matte or glossy)
- Clear topcoat for shine and protection
- Nail art brushes for detailed designs
- Dotting tools for easy patterns and dots
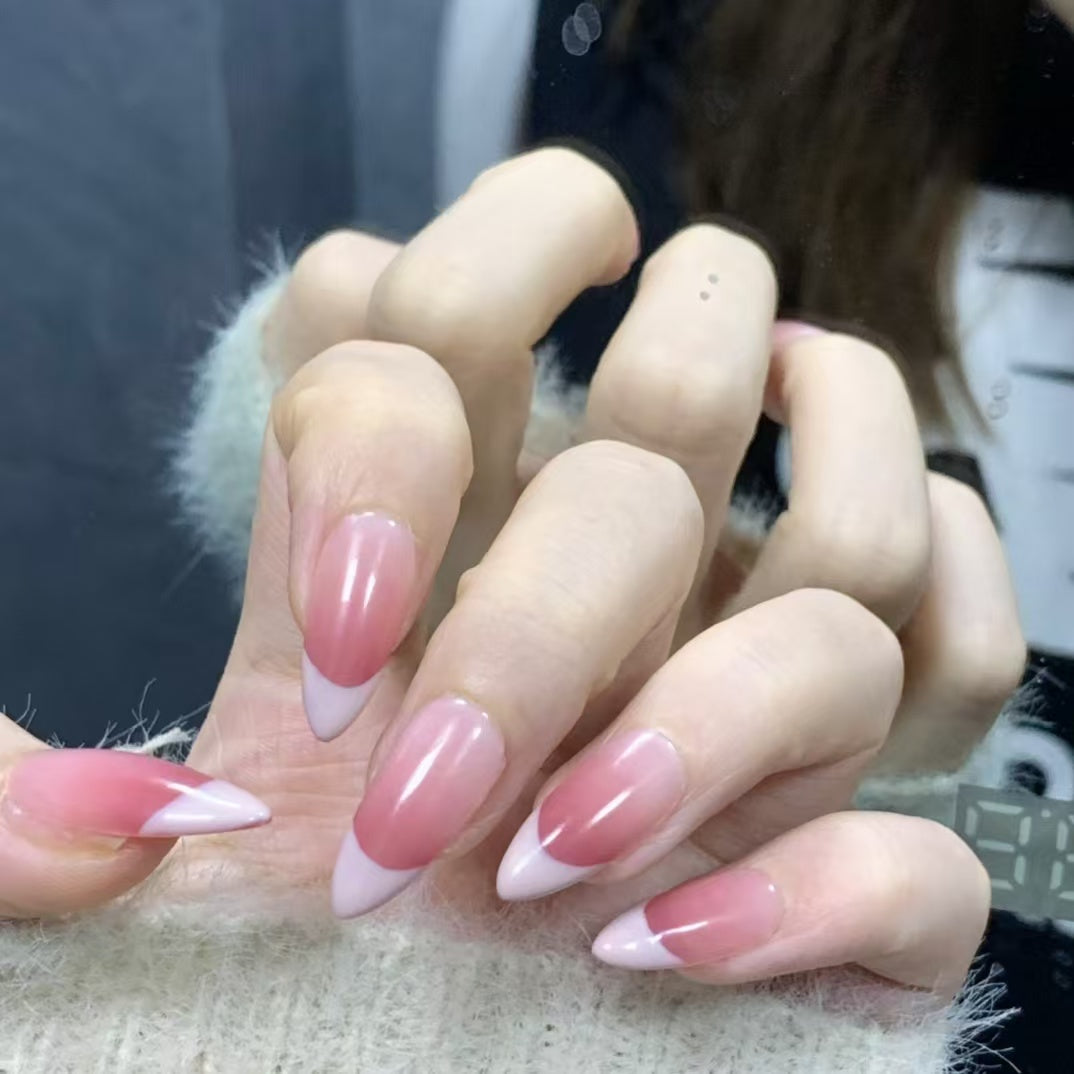
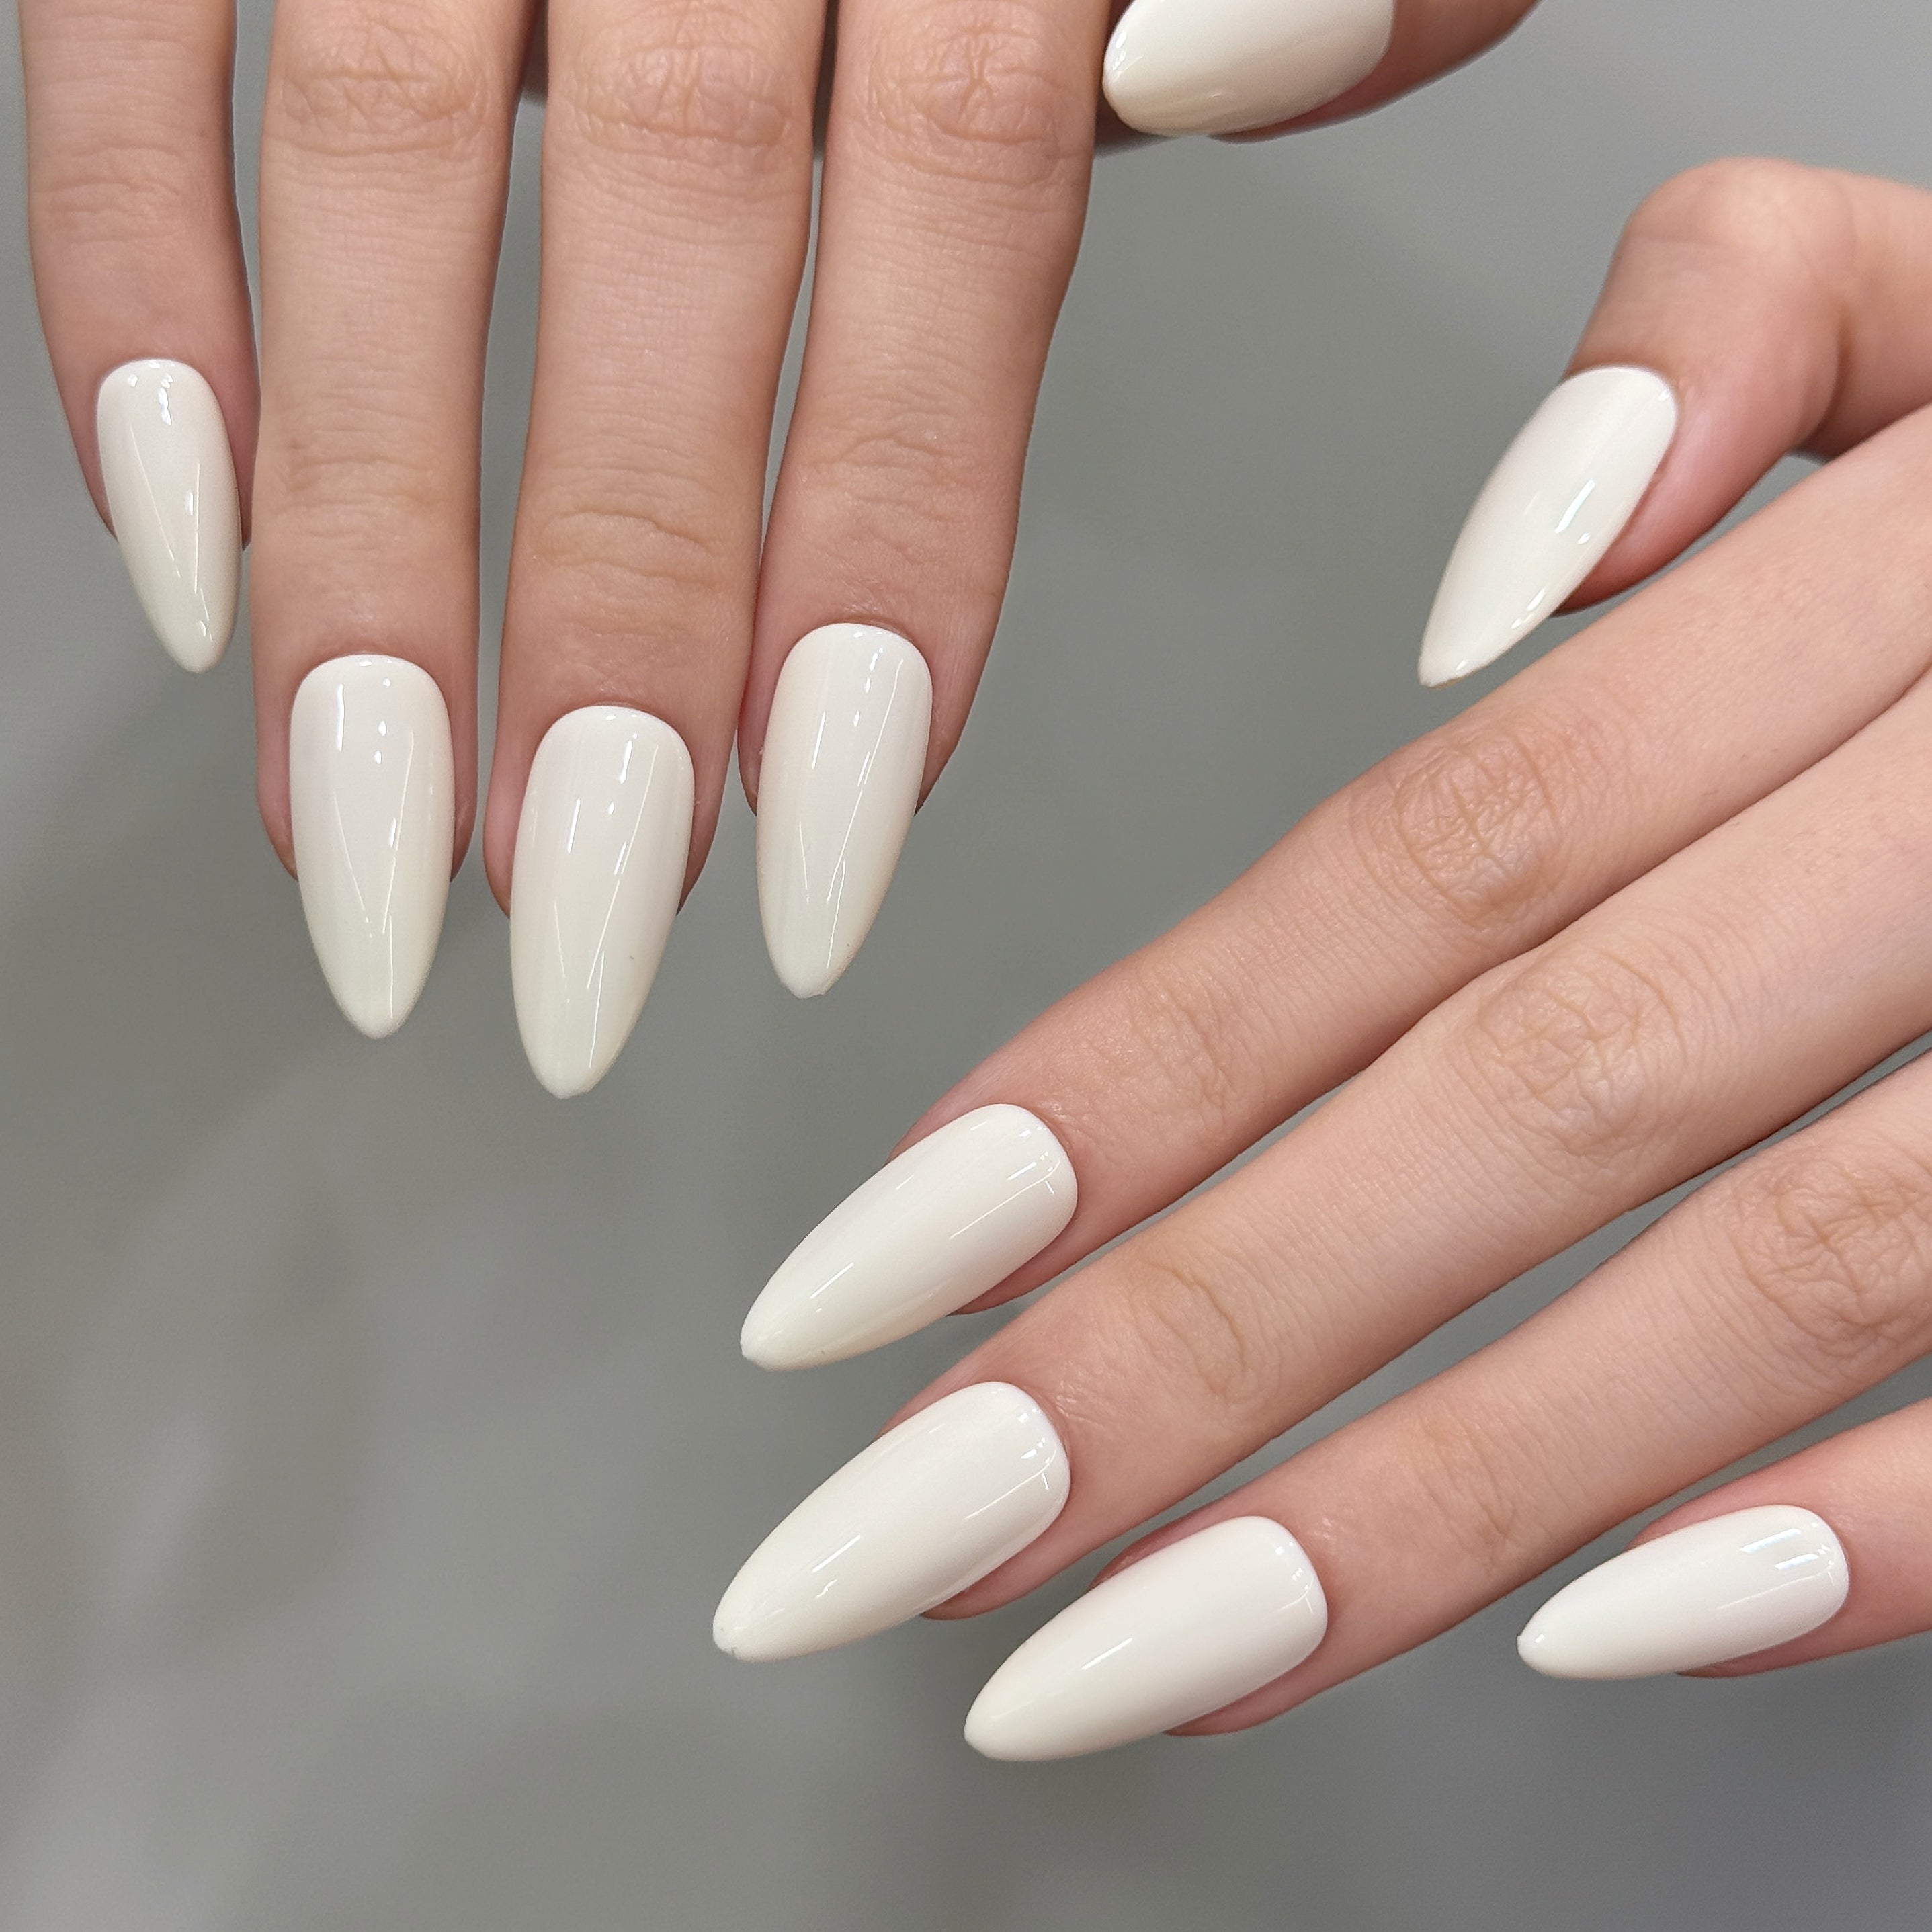
- Press-on nail kits (almond or stiletto shapes look extra gothic)
- Nail glue for press-ons
- Mini nail file for shaping and smoothing
- Wooden stick (like an orange stick) for pushing back cuticles
- Acetone or rubbing alcohol for cleaning nails
Tip: You can find most of these supplies at your local drugstore or online. If you want to try press-ons, look for kits that include glue and a file.
Nail Prep
Great nails start with good prep. If you skip this step, your polish or press-ons might not last as long. Here’s how you can get your nails ready:
- Wash your hands with soap and water. Dry them well.
- Remove old polish with acetone or nail polish remover.
- Shape your nails using a mini file. Almond and stiletto shapes work well for a gothic look, but you can choose what you like.
- Push back your cuticles gently with a wooden stick. This gives you more space for designs.
- Buff the nail surface lightly. This helps polish or glue stick better.
- Wipe nails with acetone or rubbing alcohol. This removes oils and dust.
Note: Clean, dry nails help your designs last longer and look more professional. Take your time with prep, and you’ll see the difference!
DIY Steps
Base Application
You want your gothic nails to last and look sharp. Start with a solid base. This step helps your designs pop and keeps your nails chip-free for longer.
- Prep your nails as described earlier. Clean, dry nails make a huge difference.
- Apply a base coat if you use polish. This protects your nails and helps color stick.
- Choose your base color. For a classic gothic look, go with black or white. Paint each nail with two thin coats. Let each coat dry before adding the next.
- For press-ons, pick the right size for each finger. File the sides if needed. Add a small drop of glue to your natural nail and the press-on. Press down for 10-15 seconds.
Tip: Thin coats dry faster and last longer. Rushing this step can cause smudges or bubbles.
Many users notice quick results after following these steps. You see the benefits right away—your nails look smooth and ready for art. People often say that a good base helps their gothic nails stay flawless for days. Brands track how fast users get these results and use feedback to improve the process. You can trust that this method works because so many nail lovers share their success stories online.
Creating Designs
Now comes the fun part—designing your gothic nails. You can keep it simple or go all out. Here’s how to get started:
- Use nail art brushes for lines, swirls, or lace patterns. Dip the brush in black or white polish and draw your design.
- Try dotting tools for polka dots, skull eyes, or marble effects. Dab gently for neat dots.
- Mix and match. Paint some nails black and others white. Add crosses, spider webs, or geometric shapes.
- For press-ons, decorate before you glue them on. This makes it easier to fix mistakes.
Note: If you mess up, dip a small brush in acetone and clean up the edges. Practice makes perfect!
Many people find that guided steps help them create better designs. You can watch your progress and feel proud as you finish each nail. Nail artists often use tools to track which designs are most popular. They also ask for feedback to make tutorials even easier to follow.
Finishing Touches
You want your gothic nails to last as long as possible. The final steps seal your hard work and add shine.
- Let your designs dry completely. Patience pays off here.
- Apply a clear topcoat over each nail. This protects your art and gives a glossy finish.
- Clean up any polish on your skin with a brush dipped in acetone.
- Moisturize your hands and cuticles after everything dries.
Pro Tip: Reapply topcoat every few days to keep your gothic nails looking fresh.
Nail lovers often share that these finishing steps help their designs last longer. Brands use surveys and data to see which products work best for long wear. You can see the difference when you take a little extra time at the end.
Gothic Nails Design Ideas

Minimalist
You don’t need to go over the top to make a statement. Sometimes, less really is more. Try painting your nails with a black base and adding a single white stripe or dot. You can also reverse it—use a white base with a thin black line down the center. These simple looks feel modern and bold. If you want something a bit different, try a marble pattern using just black and white polish. Minimalist gothic nails work well for both short and long nails. You can wear them every day or save them for a special event.
Tip: Minimalist designs dry faster and are easier to fix if you make a mistake.
Motifs
Motifs let you show off your personality. You can paint crosses, skulls, or even spider webs. Many people love the look of black nails with white lace or bone-like patterns. L'Oréal Paris Beauty Magazine features designs like 'Skeleton Stilettos' that use a shiny black base with white bones. These motifs pop because of the strong color contrast. If you want to get creative, try bats, moons, or geometric shapes. These ideas fit right in for Halloween, but you can rock them any time you want a dramatic look.
Here are some popular motif ideas:
- Graveyard scenes with bats or owls
- Blood drip effects for a vampire vibe
- Witch hats, brooms, or web patterns
- Moon phases or haunting lunar shapes
- Creepy eyes or skulls for extra edge
Embellishments
You can take your gothic nails to the next level with a few sparkly touches. Add rhinestones, tiny charms, or silver filigree for extra shine and texture. Many buyers say nails with these details look “absolutely gorgeous” and “so beautifully made.” The gemstones and filigree catch the light and make your nails stand out. You can place a single rhinestone at the base of each nail or create a pattern with several. These embellishments work for both everyday wear and big events like Halloween parties.
Note: Embellishments stick best when you apply them before your topcoat.
Gothic nails give you endless ways to express yourself. You can keep it simple or go all out with motifs and embellishments. Experts suggest trying new designs before each season, so you always stay ahead of the trends.
Pro Tips and Care
Application Tips
You want your gothic nails to look sharp and last as long as possible. Start with clean, dry nails. Lightly buff the surface with a 180-240 grit file. This step makes your nails matte and oil-free, which helps polish or wraps stick better. Use a pH-balanced dehydrator to remove any leftover oils or moisture. This small step can stop lifting before it starts.
Choose products that help your nails stay strong. Some nail systems include vitamins and minerals that protect your nails while you wear them. When you apply polish or wraps, use thin layers. Let each layer dry or cure under a lamp for about two minutes. Thin coats help you avoid bubbles and keep your design smooth.
If you use wraps, try an acid-based primer before you start. This helps the wrap bond to your nail and keeps it from peeling. Use soft-bristled brushes for detail work. These brushes help you place polish or resin exactly where you want it, so your lines stay neat.
Tip: If you make a mistake, dip a small brush in acetone and gently clean up the edges. You can fix most errors this way.
Maintenance
You want your gothic nails to stay fresh and chip-free. Try to avoid oil-based lotions near your cuticles. Oils can break down glue or polish and cause lifting. Moisturize your hands, but keep the lotion away from your nails.
Plan to do a quick touch-up every few days. Reapply a clear topcoat to keep your nails shiny and strong. If you use wraps or extensions, fill in the growth gap every two to three weeks. Lightly file the area and add more resin or polish to keep your nails looking new.
Note: Regular care helps your gothic nails last longer and look their best. A little effort goes a long way!
You can create amazing gothic nails at home with just a few tools and a little practice. Try bold patterns or keep it simple—both styles look great. Don’t worry if your first try isn’t perfect. You’ll get better each time. Want to have more fun? Share your nail art with friends or try new designs you haven’t seen before. Your creativity makes every set unique!
Ready to show off your gothic nails? Snap a photo and inspire others!
FAQ
How long do DIY gothic nails usually last?
You can expect your gothic nails to last about 5 to 7 days with polish. Press-ons can last up to 10 days if you prep your nails well and avoid soaking your hands in water for too long.
Can I use regular nail polish for gothic designs?
Yes! Regular black and white polish works great for gothic nail art. You do not need special gel or expensive products. Just let each layer dry before adding designs or a topcoat.
What if I mess up my design?
No worries! Dip a small brush in acetone and gently clean up the mistake. You can also use a toothpick for tiny fixes. Practice helps you get better each time.
Are gothic nails safe for kids or teens?
Gothic nails are safe for all ages if you use non-toxic polish and gentle glue. Always check the product label. If you are under 13, ask an adult to help with glue or sharp tools.
How do I remove press-on gothic nails?
Soak your nails in warm, soapy water for 10 minutes. Gently lift the press-ons with a wooden stick. Never force them off. This keeps your natural nails healthy and strong.
