Mystical nail art
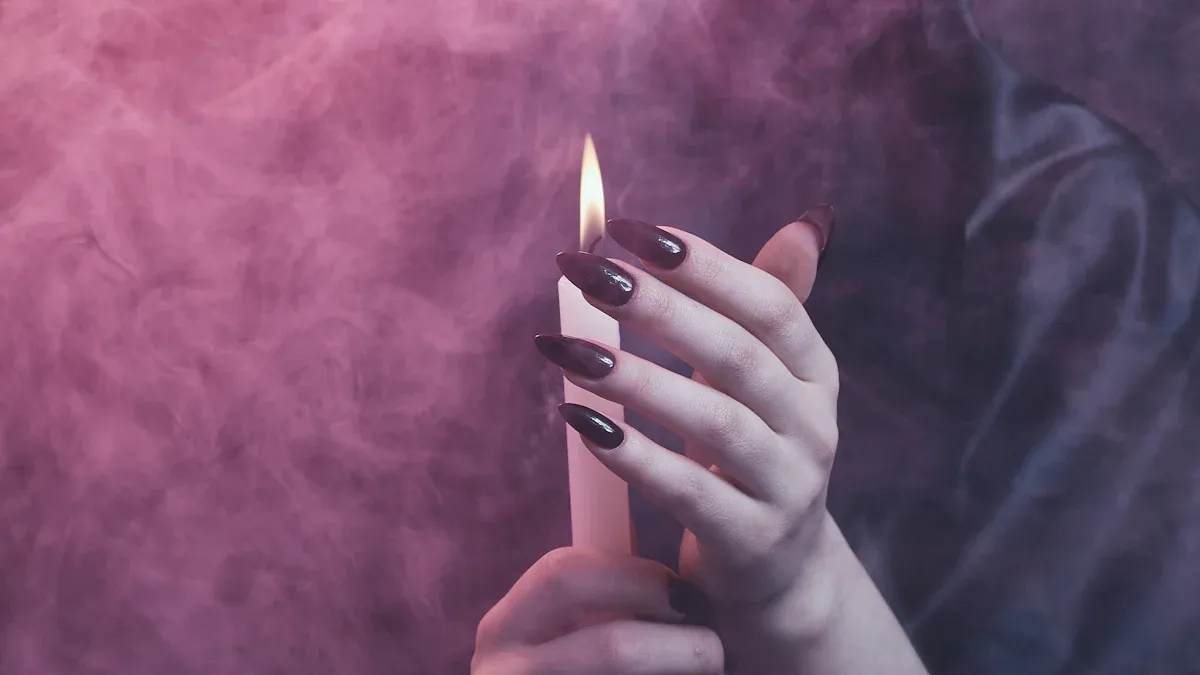
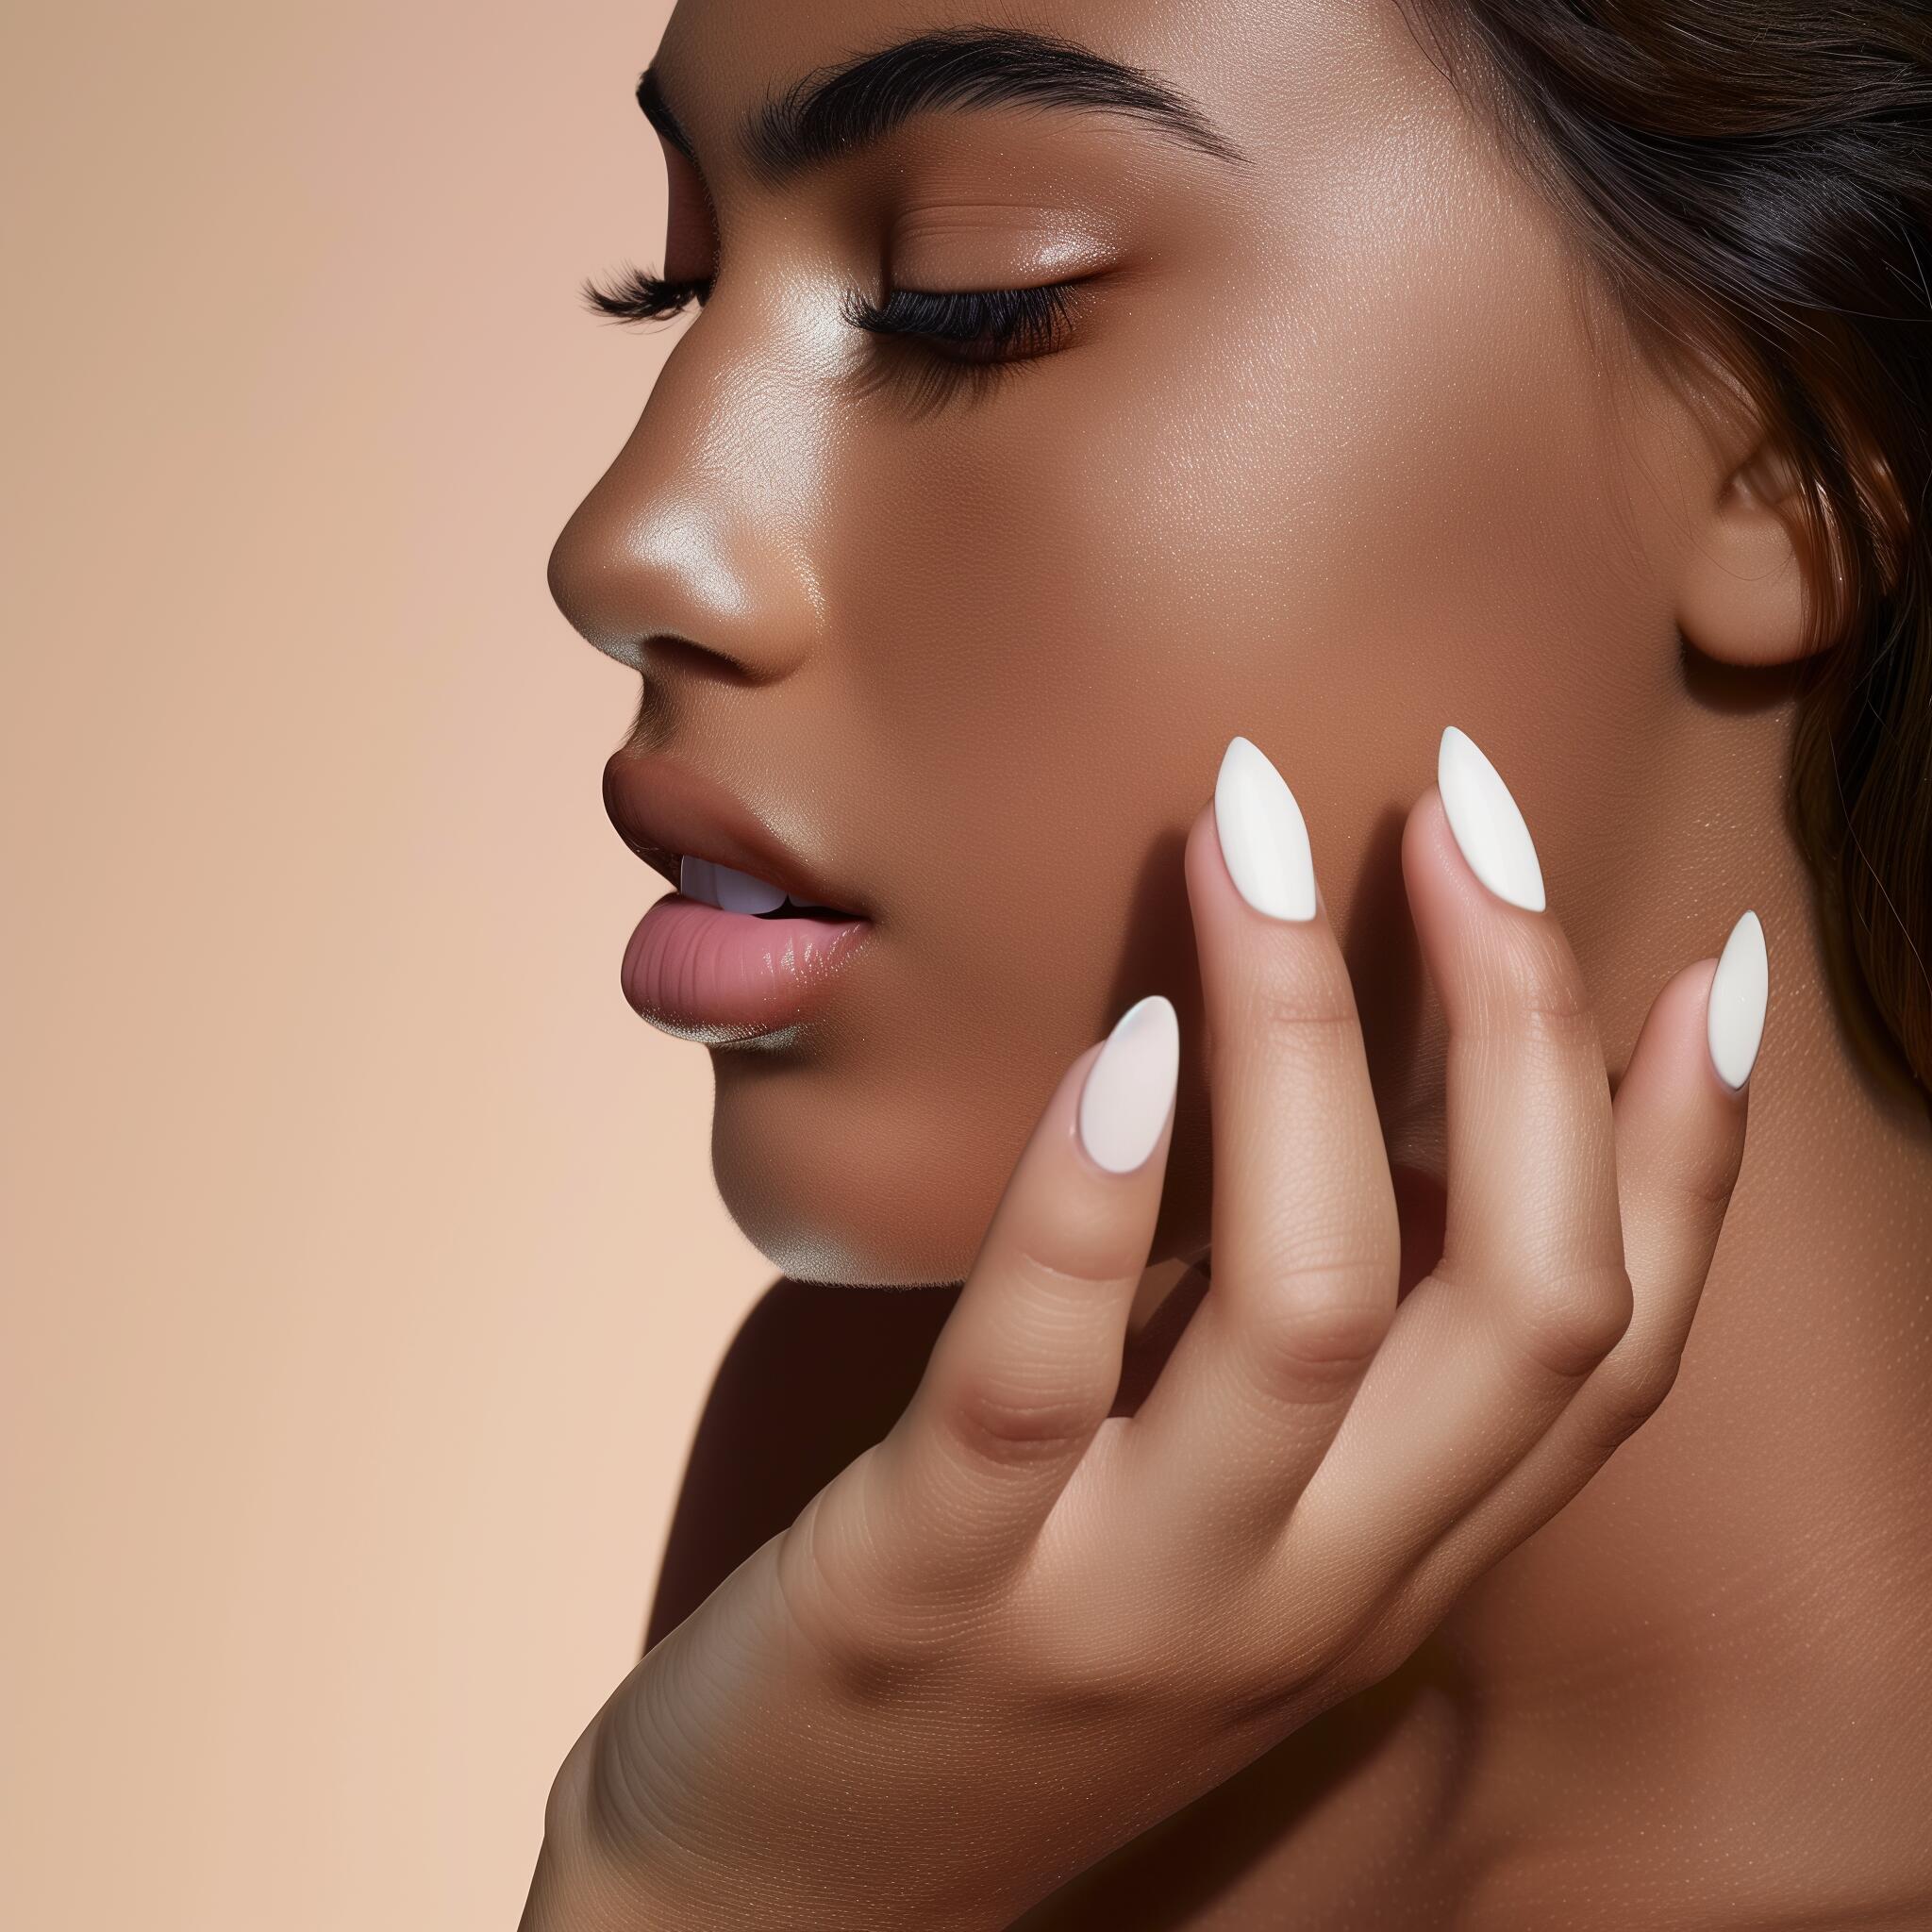
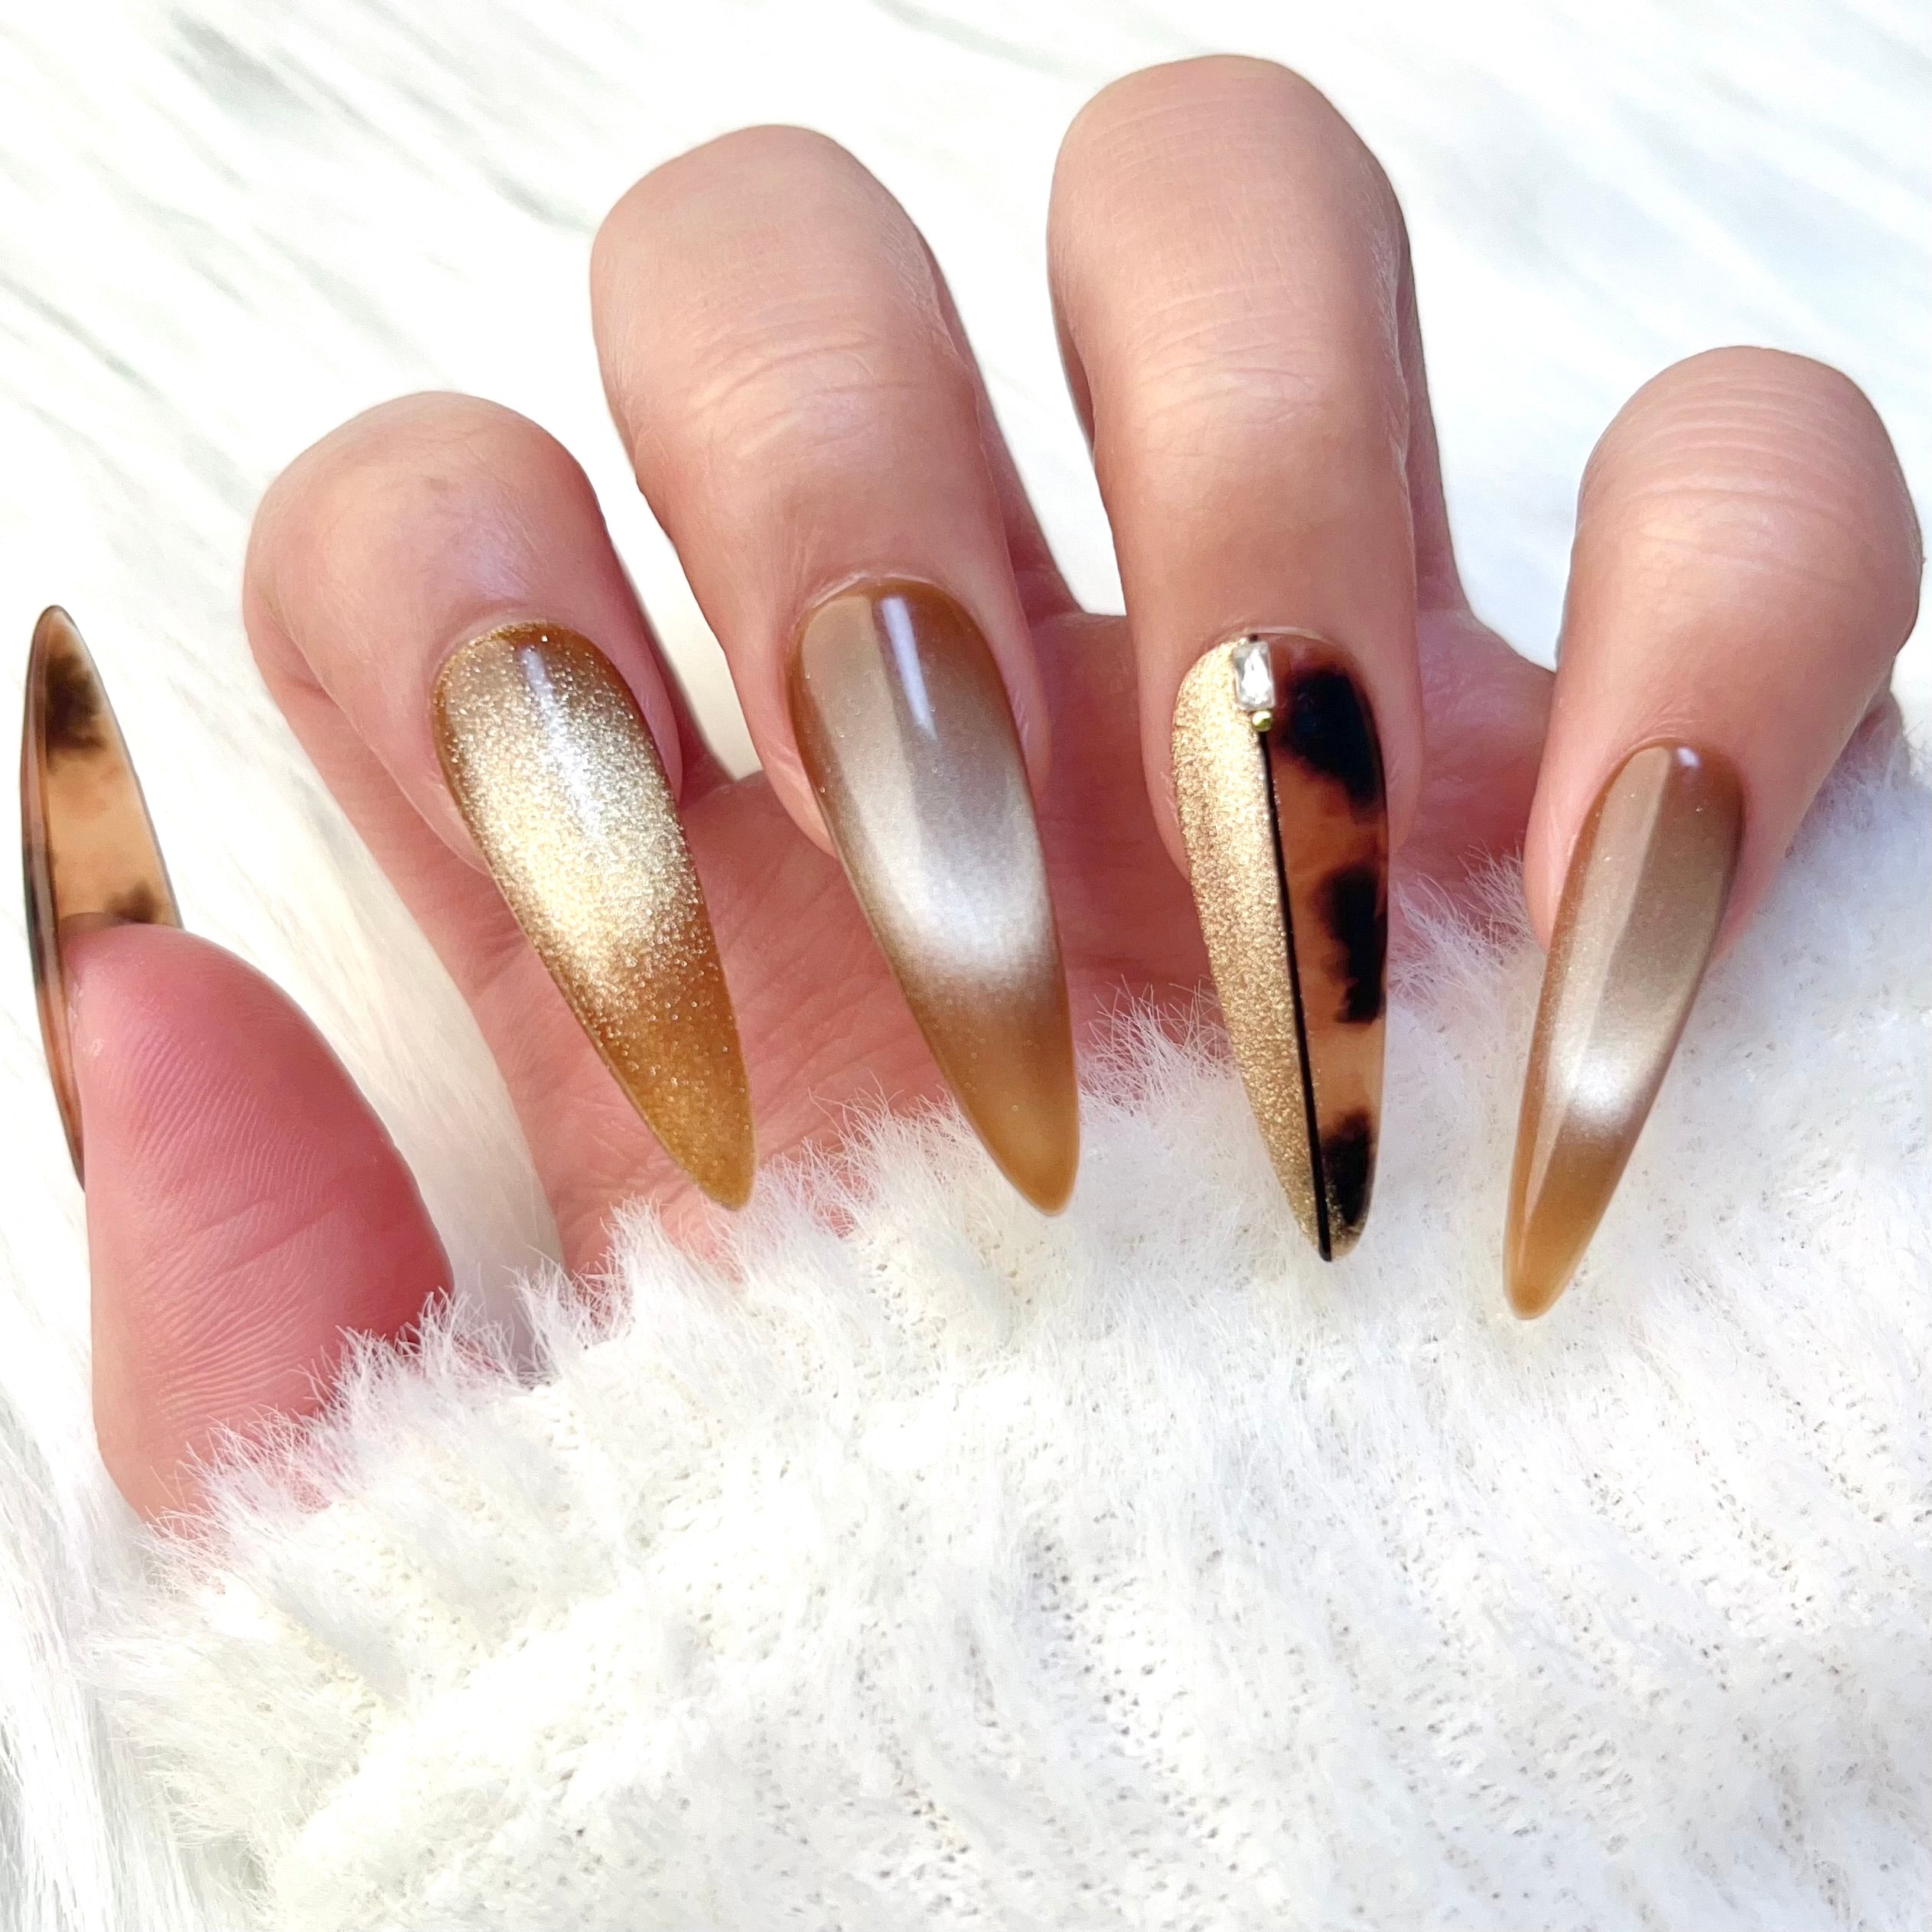
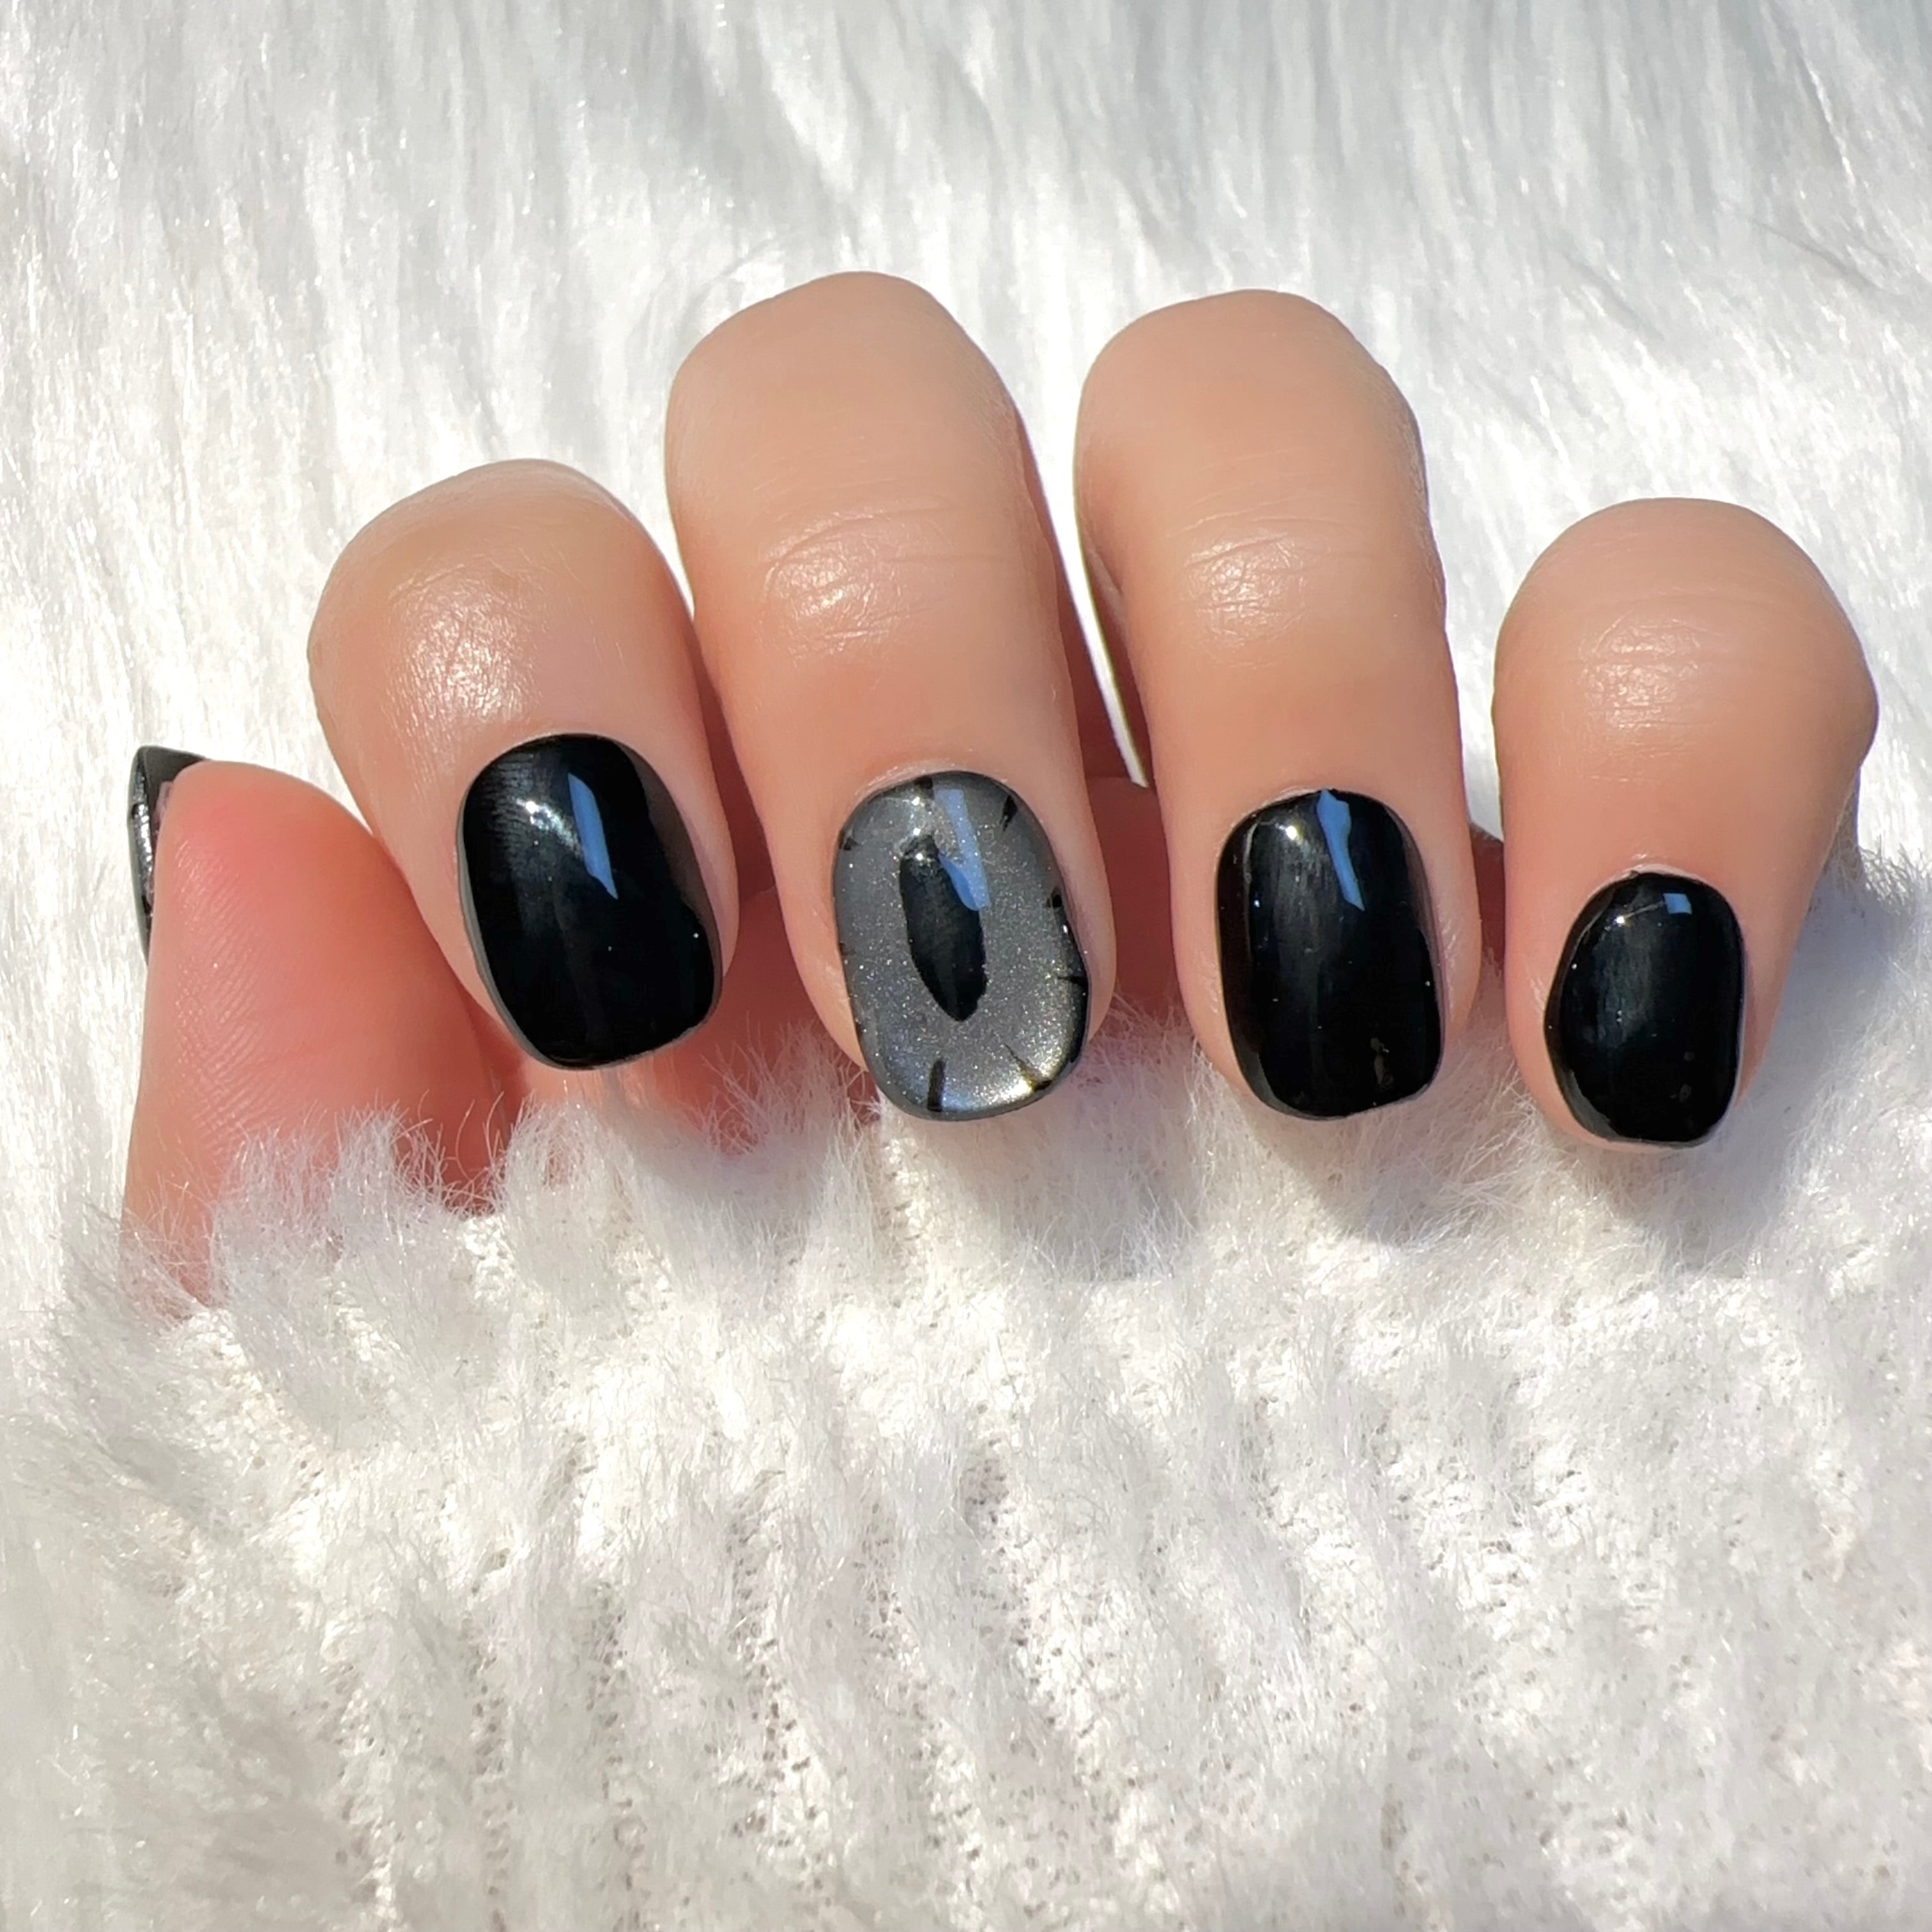
Mystical nail art adds a bit of magic to your nails. You can get ideas from many places. Pinterest and TikTok have lots of cool designs that many people like. Do you want to show your own style? Try these nail types:
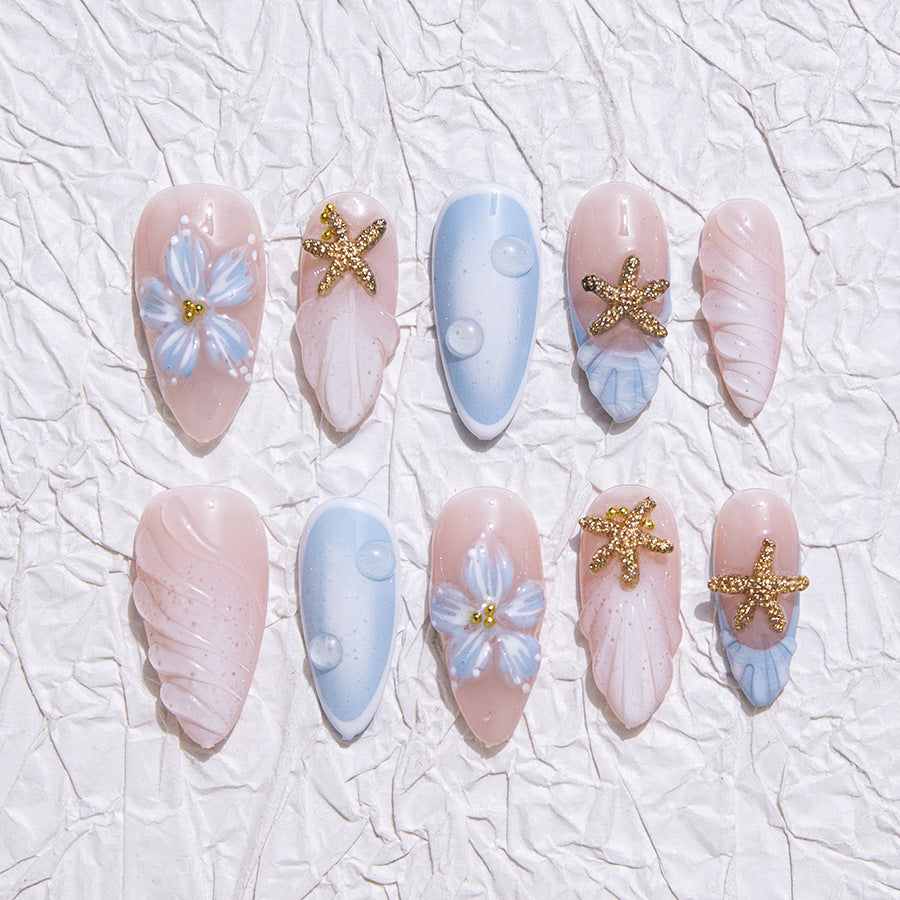
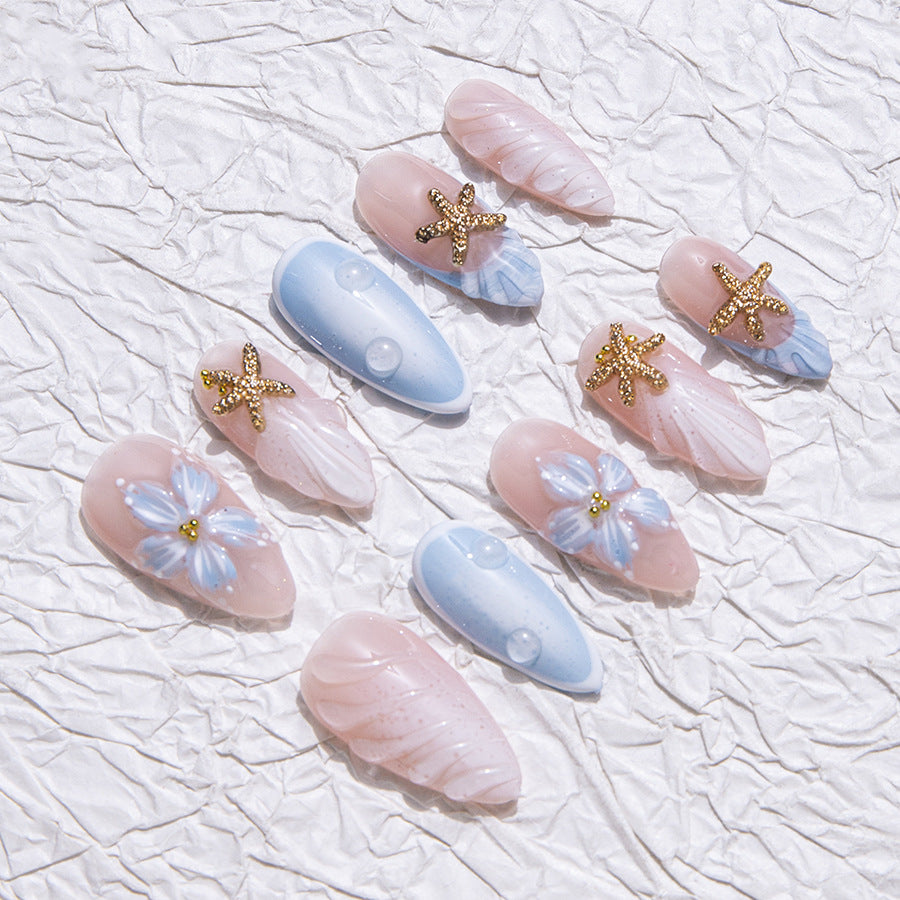
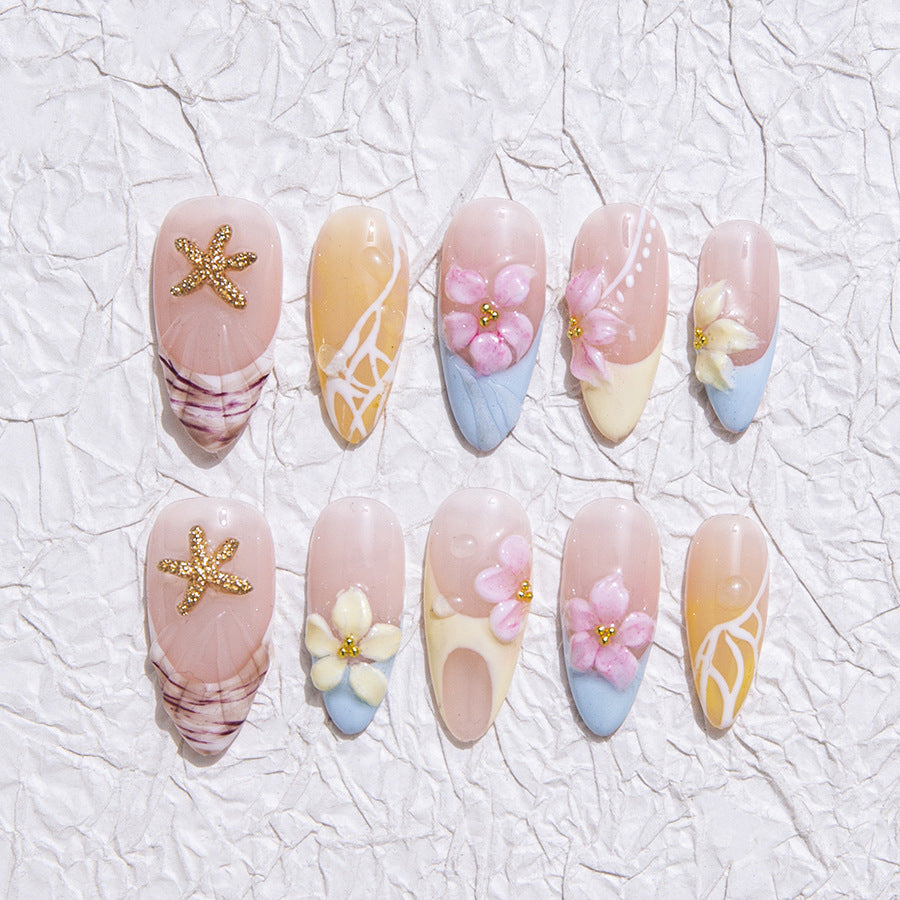
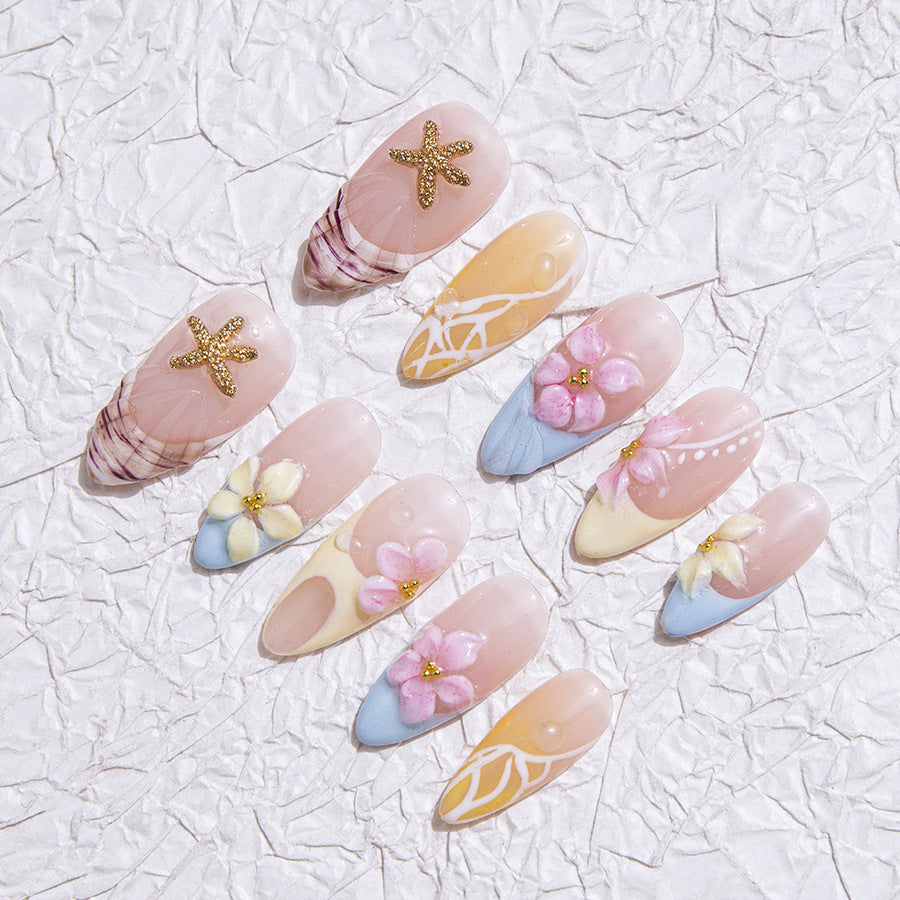
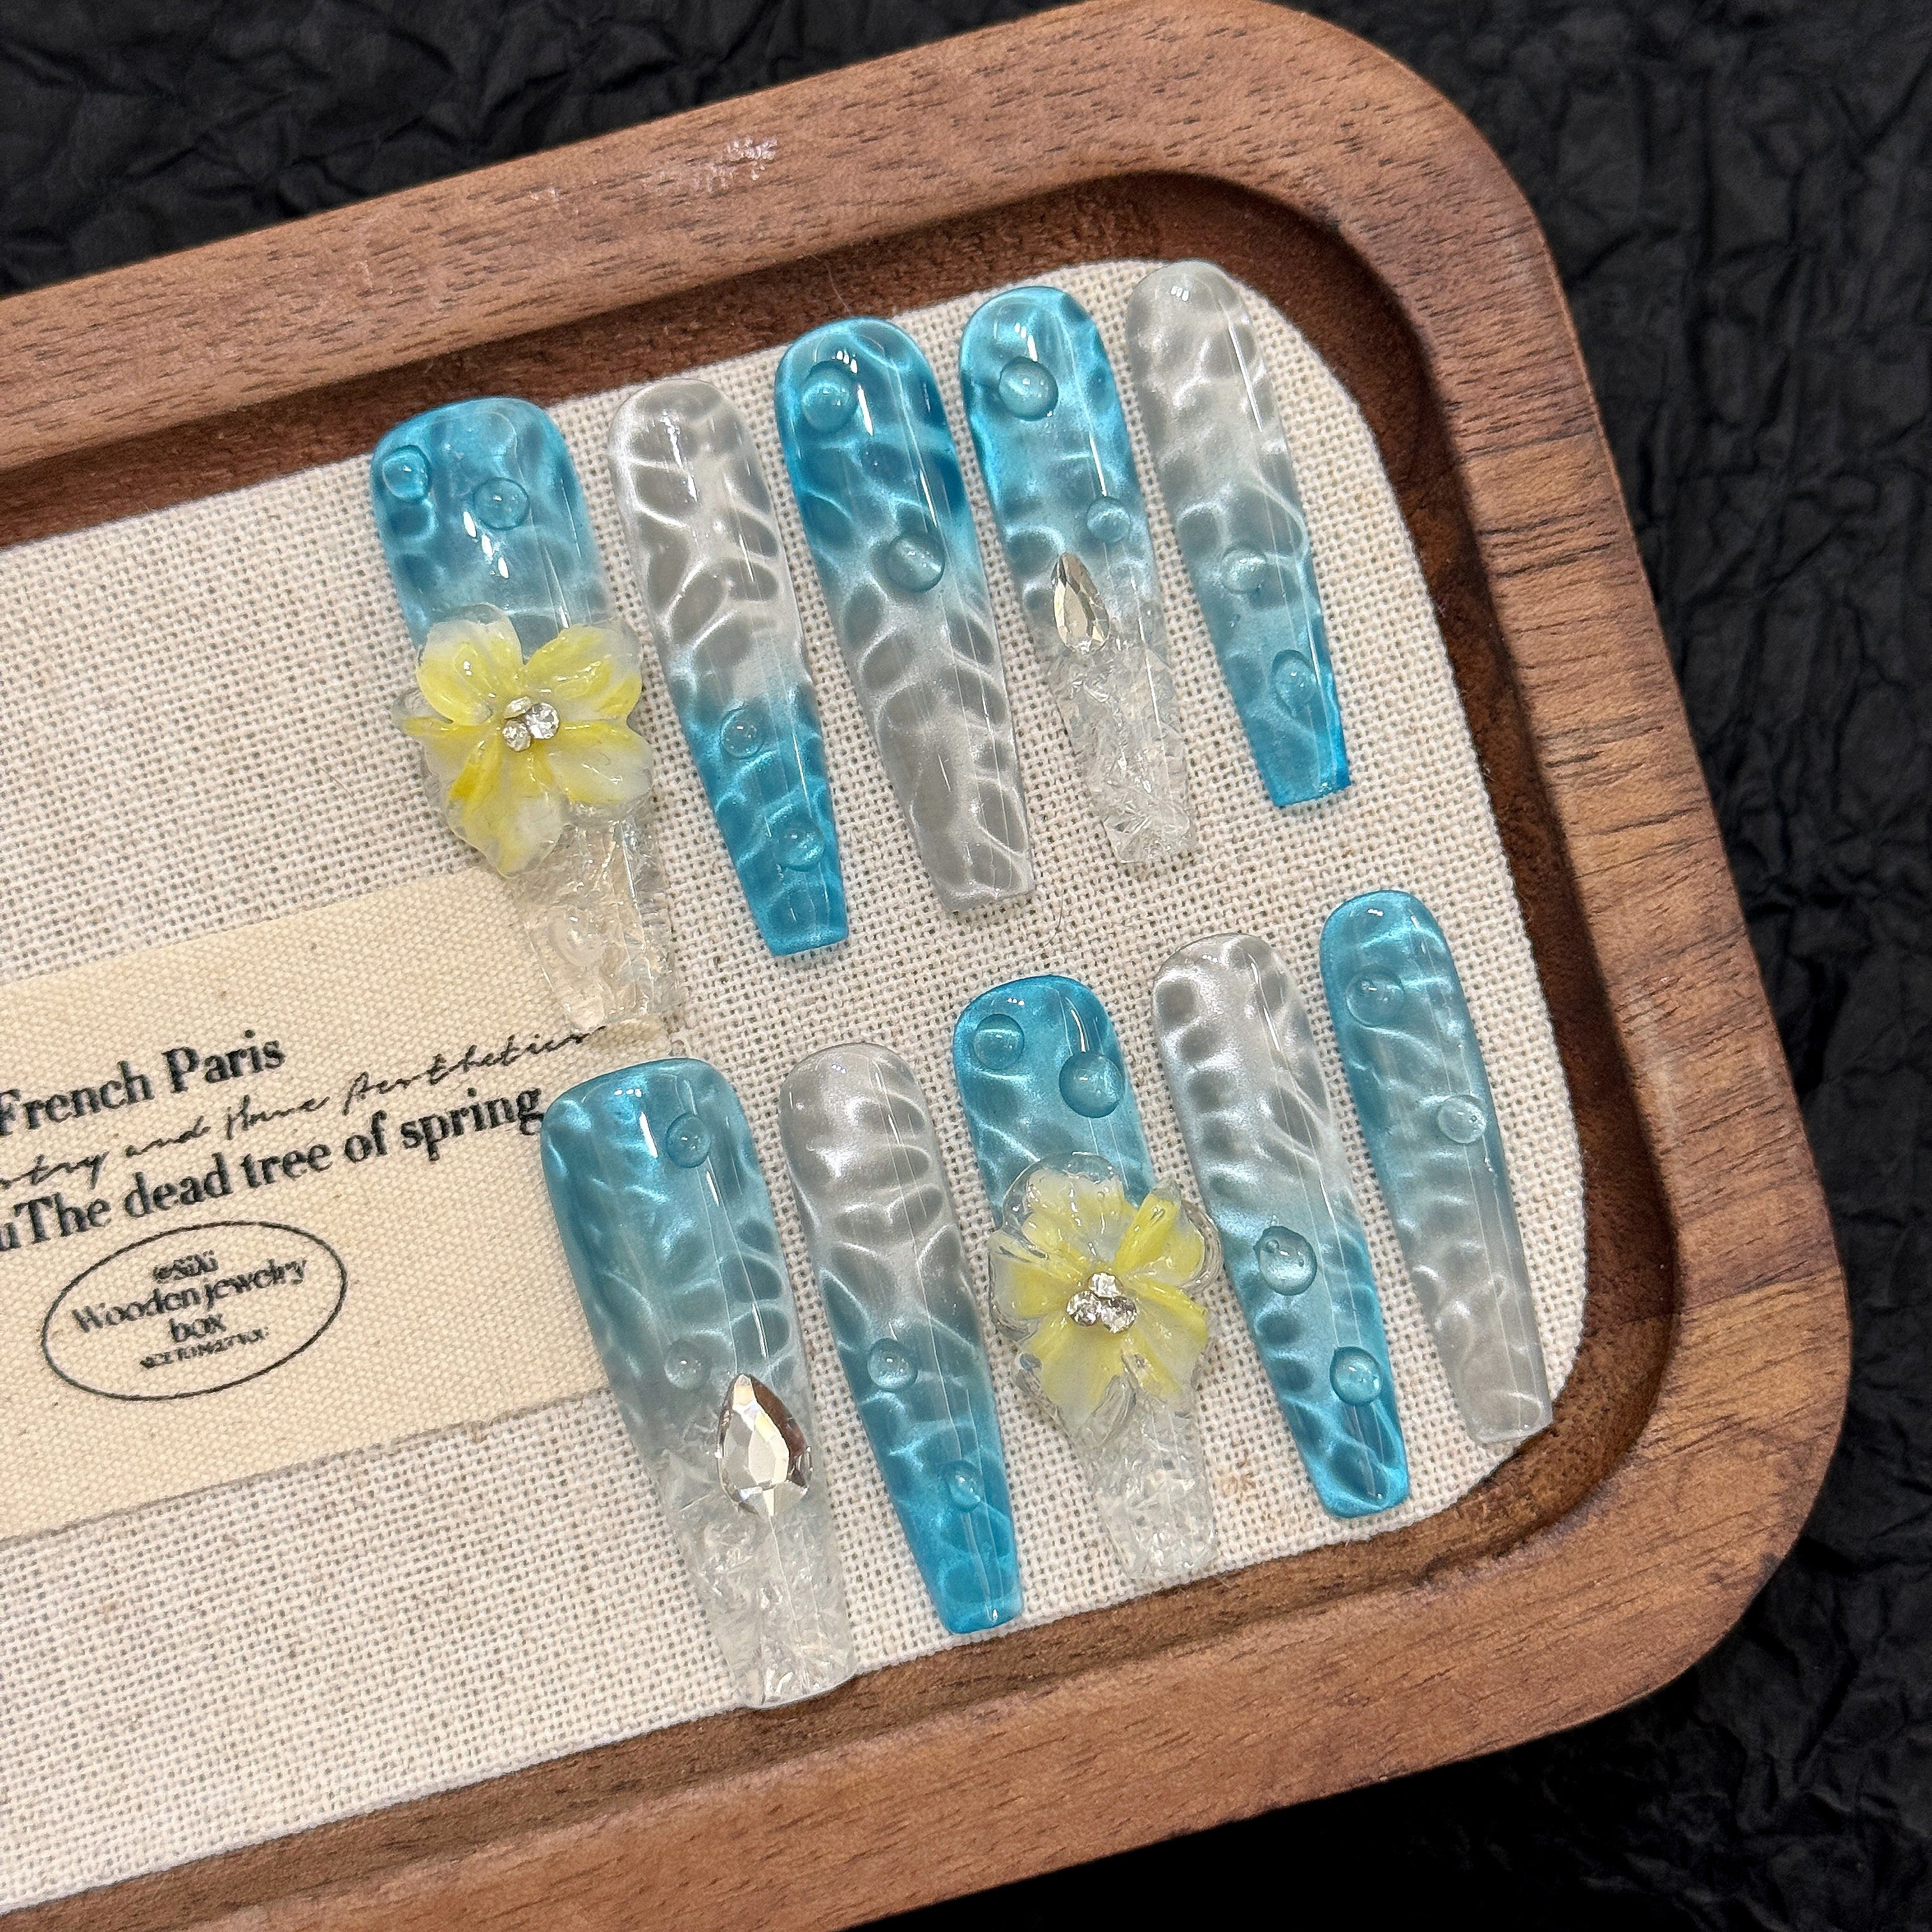
- Press-on nails let you choose fun, cosmic looks you can use again.
- Acrylic nails give you a hard base for detailed and lasting designs.
- Hand-painted nails let you make special art with symbols or tarot cards.
Jump in and let your ideas lead your next mystical nail art adventure!
Key Takeaways
- Mystical nail art uses themes like cosmic, crystal, astrology, and magical creatures. These themes help make special and cool designs.
- People like to use colors such as blue, purple, pink, and black. They often add glitter, gems, or glow-in-the-dark polish for more shine.
- You can make mystical nails at home with simple tools, stickers, or press-on nails. Just follow easy steps like getting ready, painting, and sealing.
- Mixing colors, textures, and symbols lets you make your own style. This helps show your mood and personality.
- If you practice and have patience, you will get better. Sharing your nail art online helps you meet other creative people.
Mystical Nail Art Trends
Celestial Designs
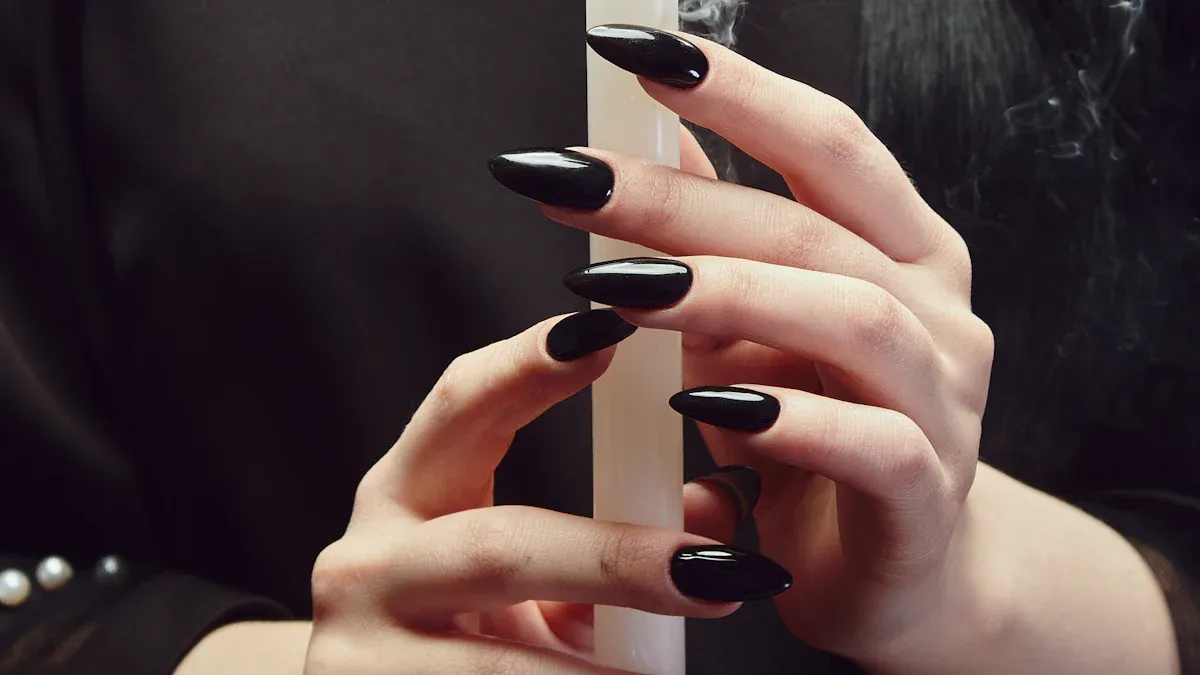
You can make your nails look like the night sky. Celestial designs are very popular online. People really like stars, moons, and suns. Some nails have glitter that looks like shooting stars. Others show gold zodiac signs or tiny constellations with rhinestones. Artists sometimes use color blends for eclipse or galaxy nails. They use shiny blues, purples, and silvers. Glow-in-the-dark polish is fun for nighttime.
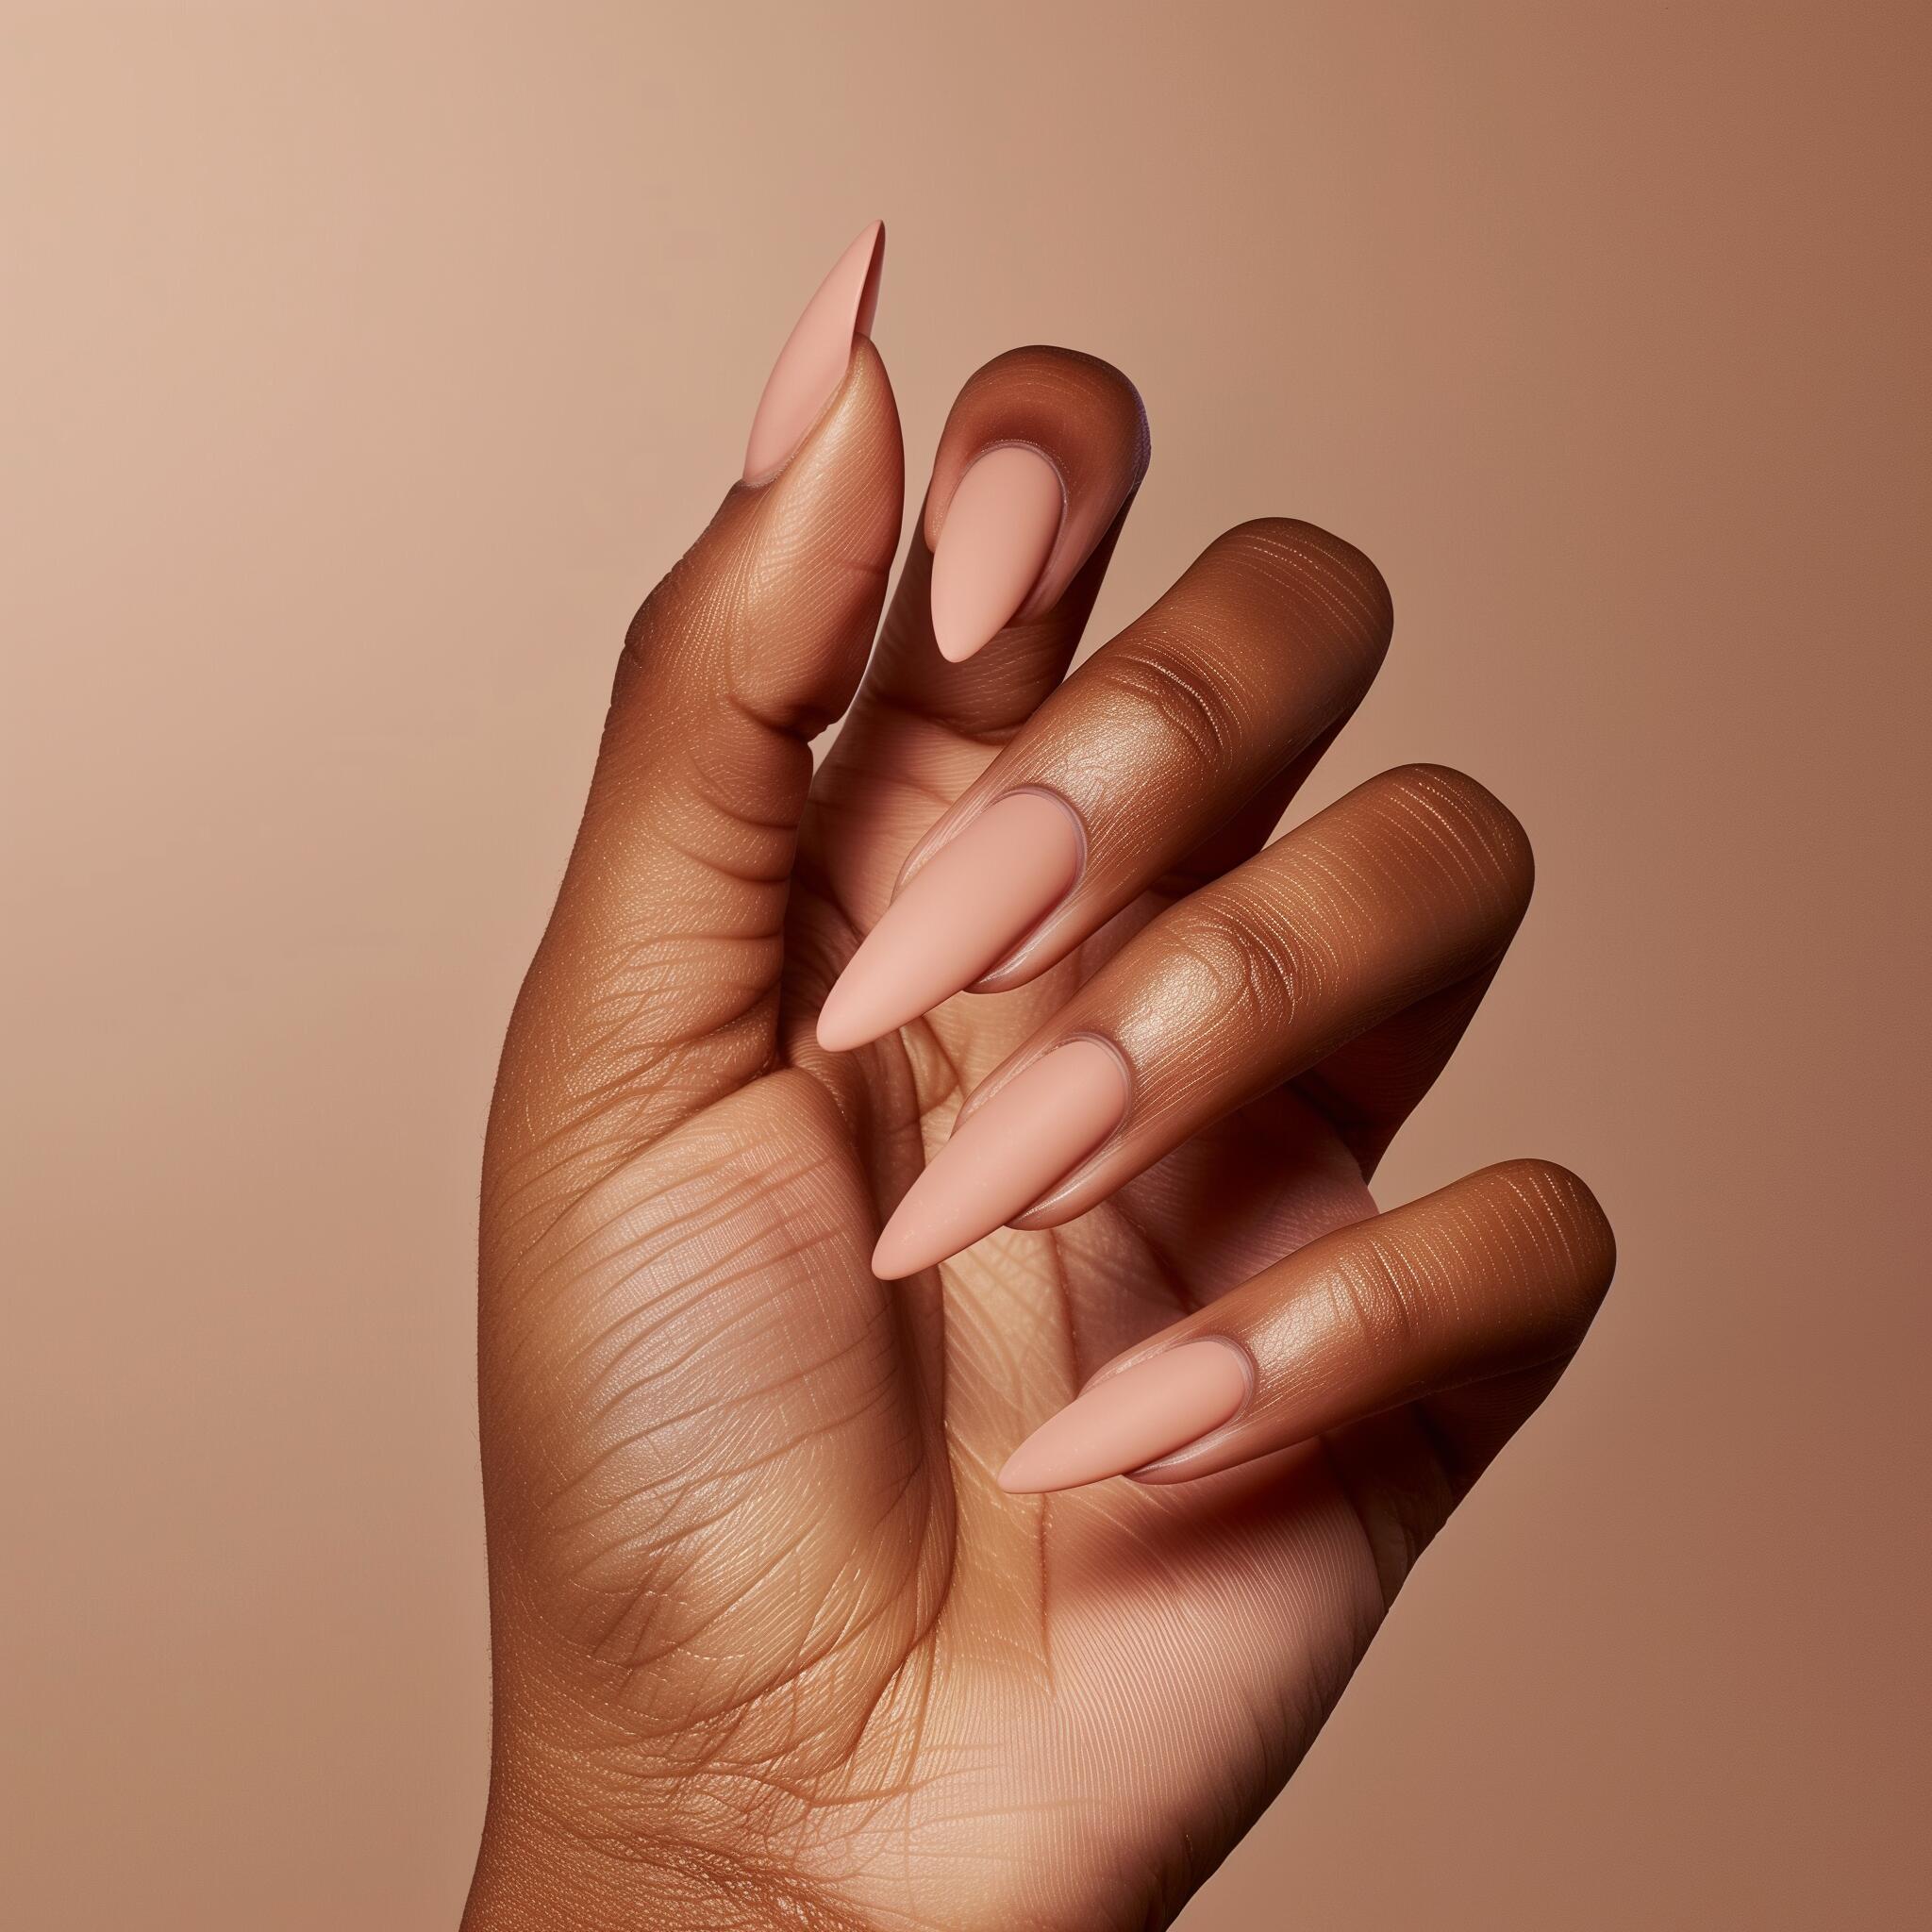
Tip: Pick a stiletto or almond nail shape to show off cosmic art. These shapes give you more room for cool designs.
Common ideas are crescent moons, full moon color blends, and star backgrounds. You can start with black or dark blue polish. Then add gold or silver for a magical look. Shiny and sparkly finishes make your nails twinkle like stars. If you want something different, try a retro moon and star look. Use pastel colors and shiny stickers.
- Popular celestial themes:
- Glittery meteor showers
- Constellation maps with rhinestones
- Zodiac French tips
- Cloud designs with stars and moons
Crystal and Gem Accents
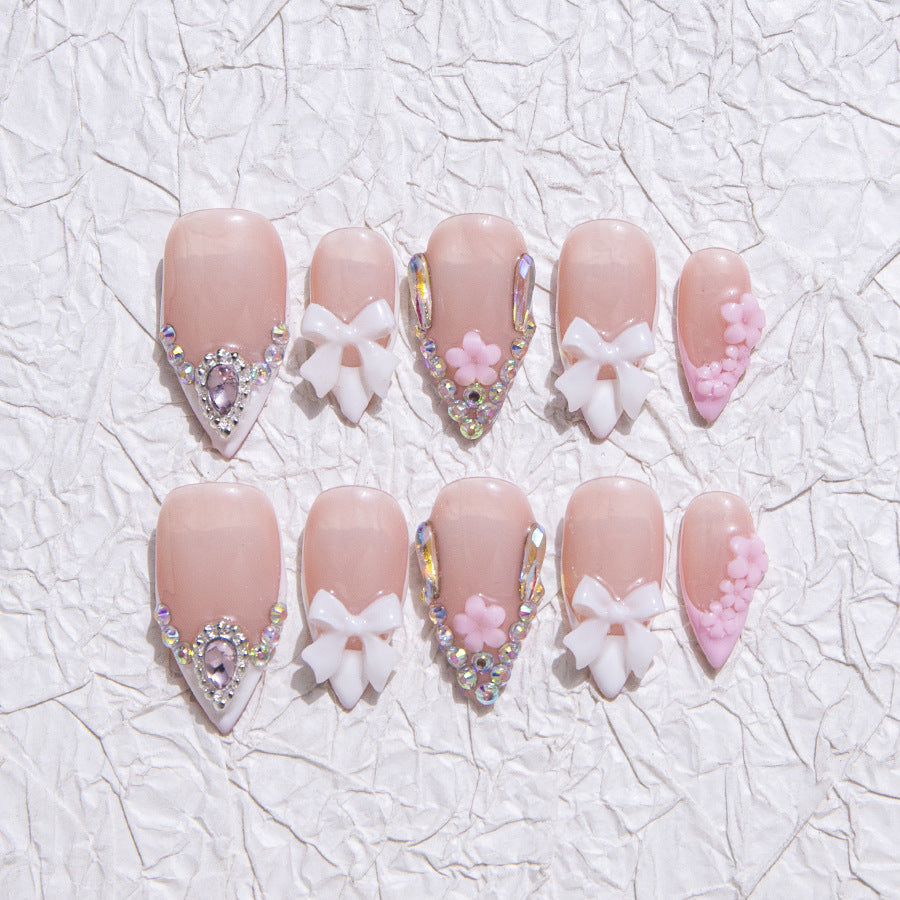
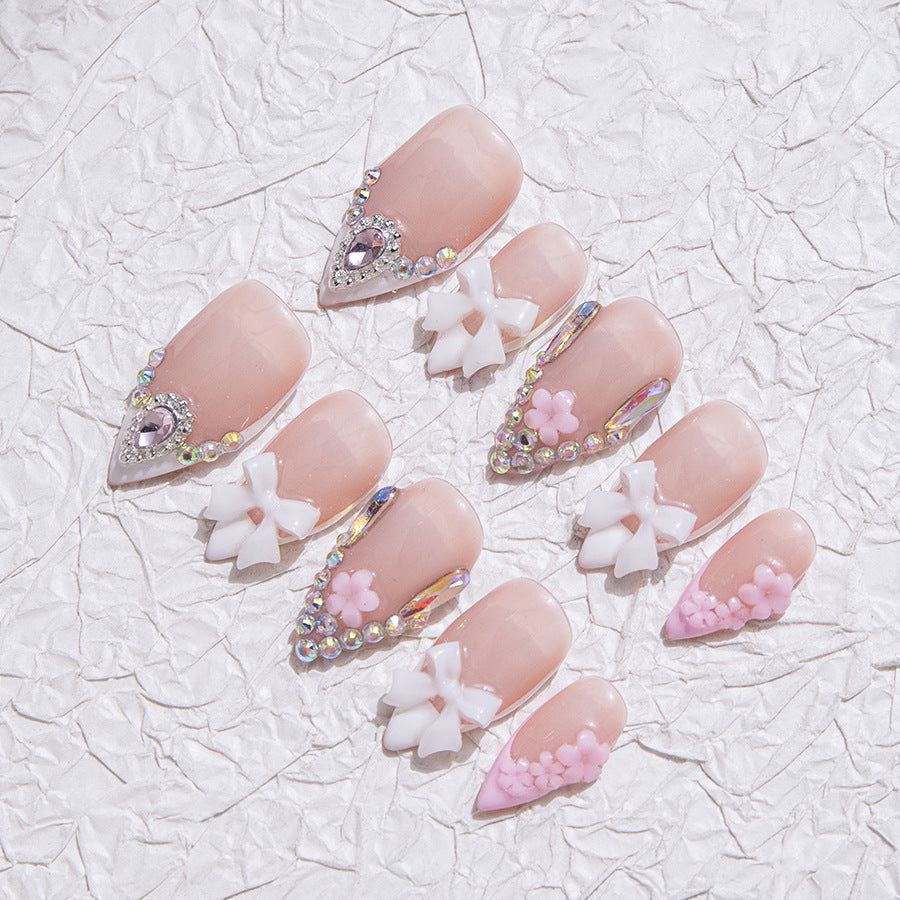
Crystal and gem accents make your nails shine. You can use rhinestones, Swarovski crystals, pearls, or metal studs. Make patterns or cover your nails for a fancy look. Swarovski crystals are super sparkly. Rhinestones come in lots of colors and shapes. Pearls look classic. Metal studs look modern.
Many people mix gems with celestial designs. Try putting star or moon gems on a dark base for a magical look. Some nails look like the ocean, using blue and green gems for scales. Gemstone nails use colors like opal, emerald, or ruby for a rich look.
Note: Use base colors like black, nude, gold, or blue to help gems stand out.
Astrology and Tarot
Astrology and tarot symbols show your style and beliefs. You can paint your zodiac sign or pick a tarot card that means something to you. These designs help you feel connected to your spiritual side. They also help you talk to others who like the same things.
You can keep it simple with a small zodiac sign. Or go big with detailed tarot card art. Many famous people, like Rihanna and Lady Gaga, have worn astrology and tarot nails. This makes the trend even more popular. This style lets you stand out without being too flashy.
- Ways to use astrology and tarot in mystical nail art:
- Zodiac sign designs
- Tarot card pictures
- Constellation patterns
- Horoscope color themes
Magical Creatures
Magical creatures make mystical nail art more exciting. Dragons and fox spirits are favorites, especially in Japanese-inspired designs. Dragons mean power and mystery. Fox spirits stand for balance and harmony. You might see these creatures in deep reds, blacks, and whites for a bold look.
Some people pick unicorns, fairies, or mermaids for a fun style. Each creature brings its own magic to your nails. Use bright colors, shiny finishes, and detailed art to make them pop.
Try mixing magical creatures with other mystical things, like stars or crystals, for a magical manicure.
Design Elements
Color Palettes
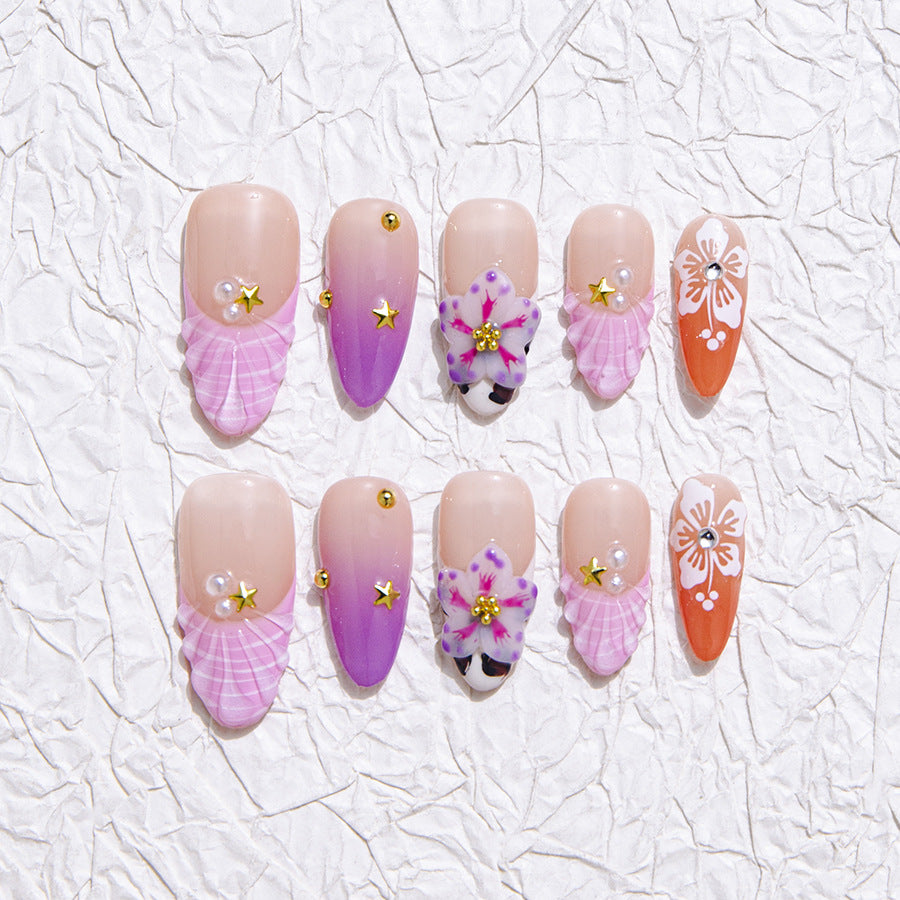
You can make your mystical nails stand out with the right colors. Popular palettes include rainbow hues, soft pinks, dreamy purples, and bold black mixed with pink or green. Many people love ombre effects, where colors blend from light to dark. This creates a glowing, magical look. You might see nails with rainbow French tips, purple ombres with pearls, or black and pink with rhinestones. These colors give your nails a radiant and enchanting vibe.
-
Popular mystical color palettes:
- Rainbow and multi-color blends
- Light pink to hot pink and peachy orange
- Lilac, violet, and deep purple
- Black with pink or green
- Green and pink together
These choices help you show your mood or energy. Pink can mean love, purple feels witchy, and green brings nature magic. You can use sponging or layering to get soft, glowing gradients. Add stars, gems, or pearls for extra sparkle.
Stickers and Decals
Stickers and decals make mystical nail art easy and fun. You can find stickers with stars, moons, crystals, butterflies, and even tarot cards. Some stickers have holographic or aurora effects that change with the light. This makes your nails look like gemstones or shattered glass. You can cut and shape them any way you want, so you get lots of creative freedom.
Many stickers work on natural, acrylic, or gel nails. They stick well, last long, and are safe for everyone. Some even have 3D patterns for extra texture. You can mix and match designs to create your own magical story on your nails.
Tip: Try layering stickers over ombre or glitter polish for a multi-dimensional look.
Handmade and Press-On Nails
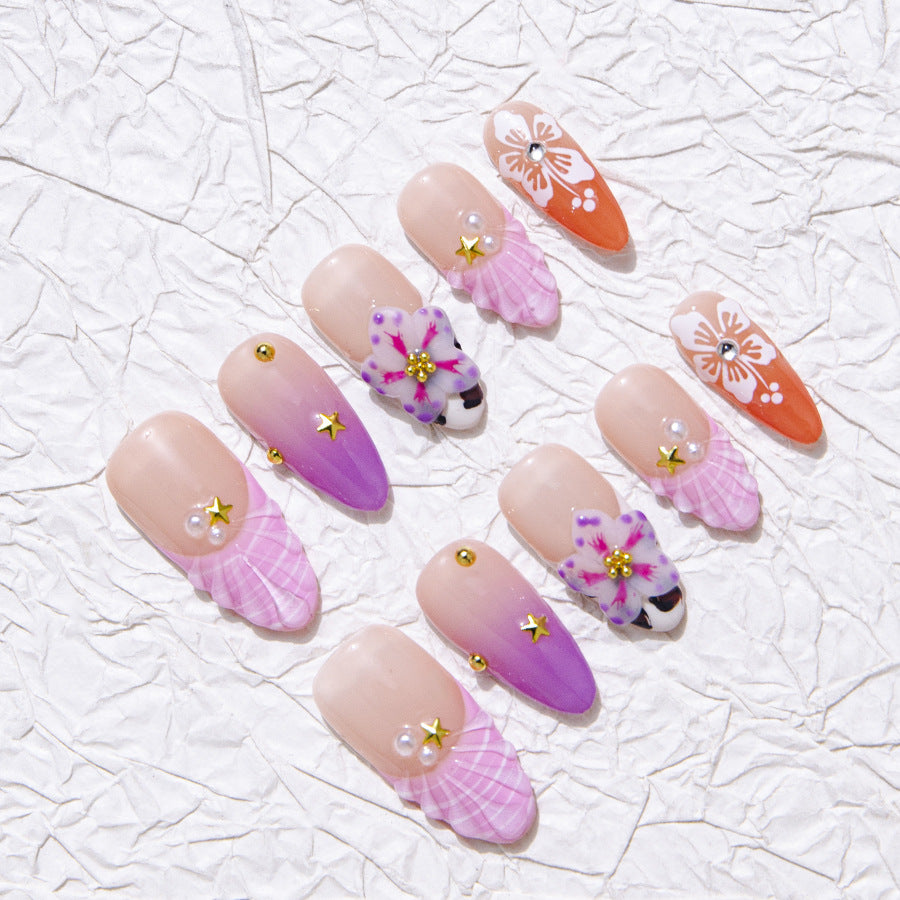
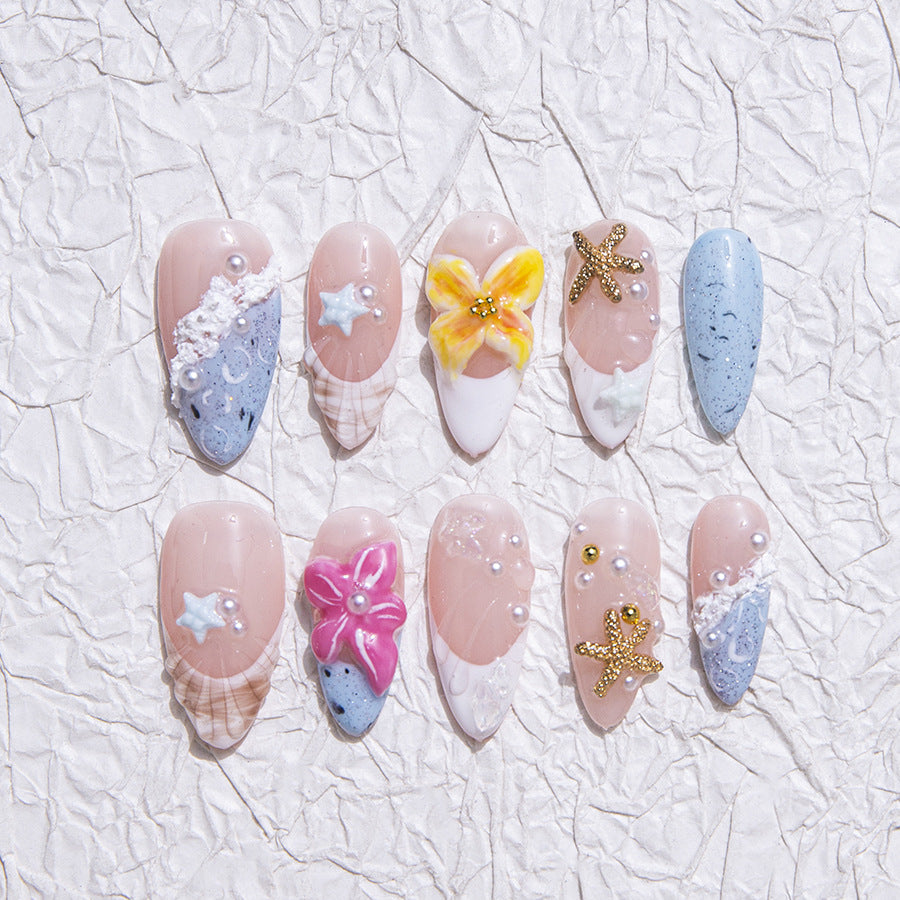
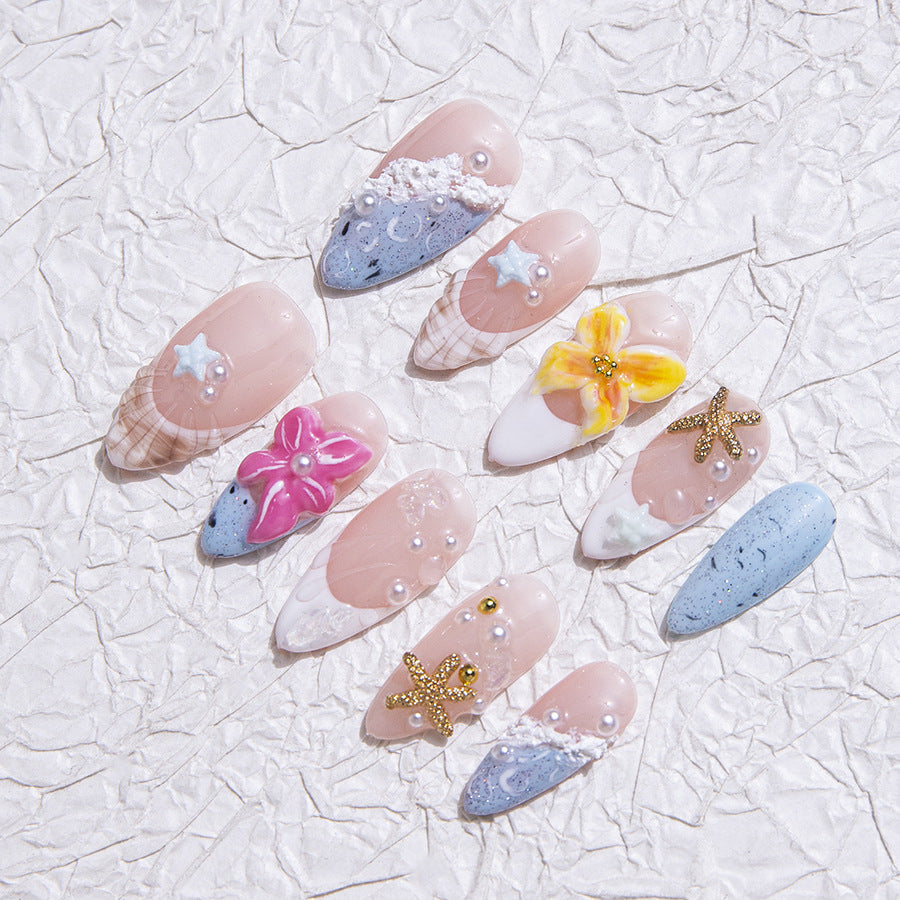
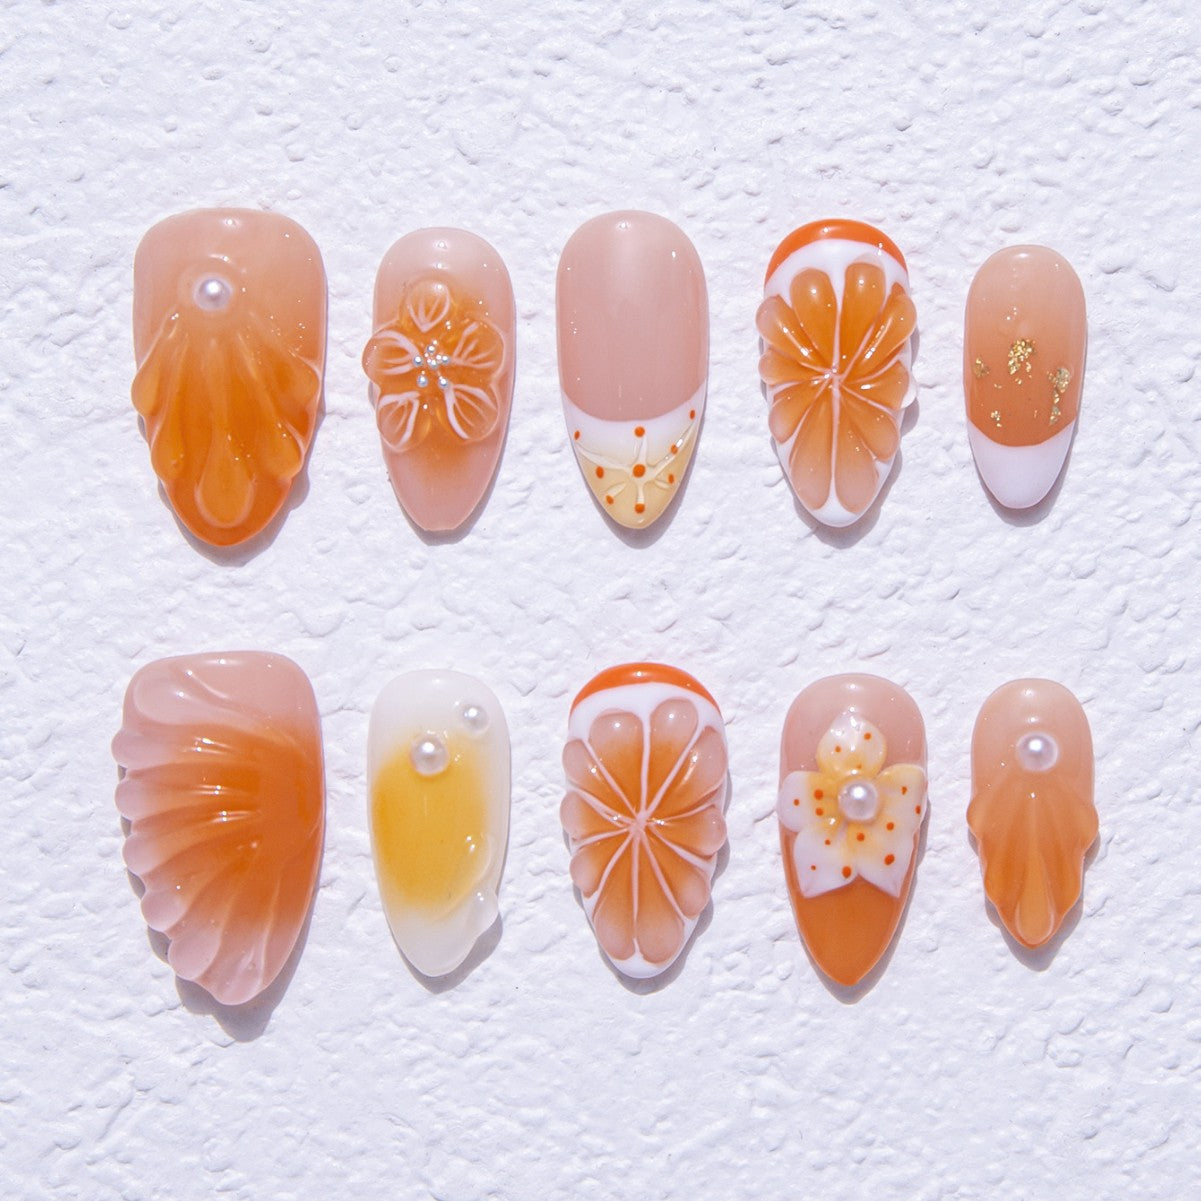
Handmade and press-on nails let you try mystical designs without a trip to the salon. You can buy press-ons with hand-painted art or make your own. These nails often use special finishes like holographic, iridescent, or glitter. Holographic polish gives your nails a shiny, rainbow glow. Iridescent finishes shift colors and add a dreamy effect. Glitter makes everything sparkle.
You can use these designs on natural, acrylic, or gel nails. Crystals, foils, and stickers work well on all types. Nail care products like cuticle oil and base coats help keep your nails healthy and your art looking fresh. Mystical nail art fits any nail style, so you can always find a look that matches your mood.
DIY Mystical Nail Art
Tools and Materials
Before you start your mystical nail art journey, you need the right tools and materials. Having everything ready makes the process smoother and more fun. Here’s a handy table to help you organize your supplies:
| Category | Essential Tools and Materials |
|---|---|
| Nail Prep Tools | Nail clippers, cuticle pusher, cuticle oil, cuticle nippers, nail file, e-file, nail buffer blocks, base coat, top coat, nail polish remover, cotton pads, UV lamp |
| Hygiene & Sanitation | Gloves, masks, clean towels, disposable wipes, disinfectant, cleaning solution, sterilizer, hand sanitizer |
| Nail Polishes | Neutral/nude, neon/bright, metallic, pastel, gel polishes |
| Nail Decorations | Nail glitter, rhinestones, crystals, nail stickers, nail decals, nail foil |
| Nail Art Tools | Nail art brushes (detail brush, liner brush, dotting tools), nail stamping kits (plates, silicone stamper, scraper card) |
| Gel & Acrylic Supplies | Liquid monomer, acrylic powder, acrylic brushes, nail forms, nail tips, nail glue, gel polishes |
You can also use some special tools to make your designs pop:
- Nail glue or UV/LED curing adhesive for sticking gems and crystals.
- Application mat or tray to keep your crystals in place.
- Rhinestone pick-up tools like Crystal Katana for easy placement.
- Storage boxes to organize your gems and stickers.
Don’t forget, you can get creative with things you already have at home. Try using sponges for ombre effects, toothpicks for dots, or even bobby pins for unique patterns. Sometimes, a little cling film or plastic wrap helps you make cool textures.
Step-by-Step Basics
Ready to create your own mystical nail art? Follow these simple steps to get started:
- Prep your nails. Use a nail buffer to smooth out ridges. Trim and file your nails to the shape you like.
- Apply a base coat. This protects your nails and helps the polish stick better, especially if you use dark colors.
- Paint your base color. Start with a light shade. Cream polish works well and helps darker details stand out.
- Add your mystical details. Use thin brushes or dotting tools to paint stars, moons, or lines. You can also use stickers or decals for easy designs.
- Let each layer dry. Be patient. Wait for each coat to dry before adding more. This keeps your design neat.
- Seal your art. Finish with a clear top coat. This adds shine and protects your design.
- Clean up. Use a small brush dipped in remover to tidy up the edges.
Tip: For a galaxy look, sponge on dark colors like black, blue, and purple. Add white dots for stars. Try glow-in-the-dark polish for a magical touch!
Tips for Beginners
Starting out with mystical nail art can feel tricky, but you can avoid common mistakes with a few simple tips:
- Clean your stamping plates after every use. Dried polish can ruin your designs. Use 100% acetone for best results.
- Use a clear silicone stamper to help you place images exactly where you want them.
- Work quickly when stamping. If you go too slow, the polish dries and won’t transfer well.
- Choose lint-free wipes or cotton rounds to clean your tools. Cotton balls can leave fuzz behind.
- Always finish with a high-quality, smudge-free top coat. This keeps your art from chipping or smudging.
- Don’t clean your stamper head with acetone. Use a sticky stamper station, lint roller, or tape instead.
Remember: Practice makes perfect. Try simple designs first, like dots or lines, and work your way up to more detailed art.
Advanced Techniques
Once you feel confident, you can try advanced mystical nail art techniques to make your nails look truly magical:
- Add 3D crystals and gems for a dazzling, royal look.
- Use glitter and shimmer to boost the sparkle and mystical vibe.
- Blend unicorn colors like pink, purple, and blue for a dreamy effect.
- Try foils for shiny, silver tips or to highlight natural nail shapes.
- Paint abstract lines or marble patterns for a unique twist.
- Combine celestial motifs like moons and stars with ombre backgrounds for a cosmic feel.
- Use magnetic nail polish to create galaxy effects. Move a magnet over wet polish to make swirling patterns.
- Layer glitter and shimmer with a sponge to add depth.
- Draw fine details with line art gel, such as tiny stars or tree silhouettes.
- Apply chrome powders for a metallic, reflective finish.
- Mix holographic polishes and deep shades like black or burgundy for a mysterious, cosmic look.
Pro tip: Try sponging silver shimmer polish to mimic nebulae, then add black stars for contrast. Finish with gold moons for a magical highlight.
With these tools, steps, and techniques, you can create mystical nail art that shows off your creativity and style. Let your imagination lead the way!
Creative Expression
Personalizing Your Look
You can make your mystical nail art truly your own. Start by picking handmade, tarot-inspired press-on nails with sun, moon, or mystical heart designs. Choose the size that fits your nails best. Try out different colors like rich green, gold, deep red, or shimmery purple. Add golden or pearl accents if you want a gothic or fancy touch. Each hand-painted nail looks unique, so your set will stand out. You can even talk to the artist to ask for special details that match your style. These nails work for any event, from a gothic party to a regular day at school. You can reuse them to keep your favorite mystical look going.
- Pick your favorite mystical symbols
- Choose colors that match your mood
- Add special accents for extra flair
- Ask for custom designs from artists
Mixing Mystical Themes
You can mix different mystical themes to create a look that is all your own. Use a color palette like black, white, gold, purple, or deep blue to tie everything together. Accent nails help you show off special symbols, such as moons, stars, pentagrams, or serpents. Try blending matte and glossy finishes for more texture. Ombre effects let you move smoothly from one color to another. Add glitter or chrome for sparkle and depth. Keep your design balanced by using only one or two accent nails with bold symbols. You can also mix modern textures, like crocodile patterns, with classic mystical shapes. French tips with reflective chrome or wavy lines give your nails a fresh twist.
- Stick to a few main colors
- Highlight key symbols on accent nails
- Mix finishes and textures for interest
- Use glitter and chrome for magic
Finding Inspiration
You can find ideas for mystical nail art almost anywhere. Online, you might see designs like Bats in the Coffin, Spooky Snake, Tarot Card, or Full Moon nails. Instagram and other social media sites have tons of photos and tutorials. Makeup.com has galleries and tips to help you get started. Offline, look at movies like Hocus Pocus or stories about Hogwarts for magical themes. Seasonal events, such as Halloween or a full moon, also spark new ideas. Try mixing what you see online with your favorite books, movies, or holidays to create something new.
Sharing your mystical nail art online helps you connect with others who love nail art. Projects like the Smithsonian's Nail Art Project show how sharing designs can bring people together, celebrate different cultures, and inspire even more creativity.
There are so many ways to show your style with mystical nail art. You can try new trends like aura nails or velvet textures. Tiffany blue is another fun color for a new look. Share your nail art online or join a nail art challenge. This helps you meet others who love nail art too. Use DIY kits, seasonal colors, and creative tools to get more ideas. When you try new things and share them, you help the mystical nail art community grow. You also inspire others to make magical designs.
FAQ
How long does mystical nail art last?
You can expect mystical nail art to last about one to three weeks. Press-ons may last a few days, while gel or acrylic designs stay on longer. Using a good top coat helps your art last even more.
Can you do mystical nail art at home?
Yes! You can create mystical nail art at home with basic tools. Try stickers, decals, or press-ons for easy designs. If you want to paint by hand, start with simple shapes like stars or moons.
What if you mess up your design?
Don’t worry if you make a mistake. You can use a small brush dipped in nail polish remover to fix lines or smudges. If you want, just remove the polish and start again. Practice helps you get better!
Are mystical nail art designs safe for your nails?
Most mystical nail art is safe if you follow good nail care. Always use a base coat and avoid harsh glues. Give your nails a break between designs. If you feel pain or see damage, stop and let your nails heal.
