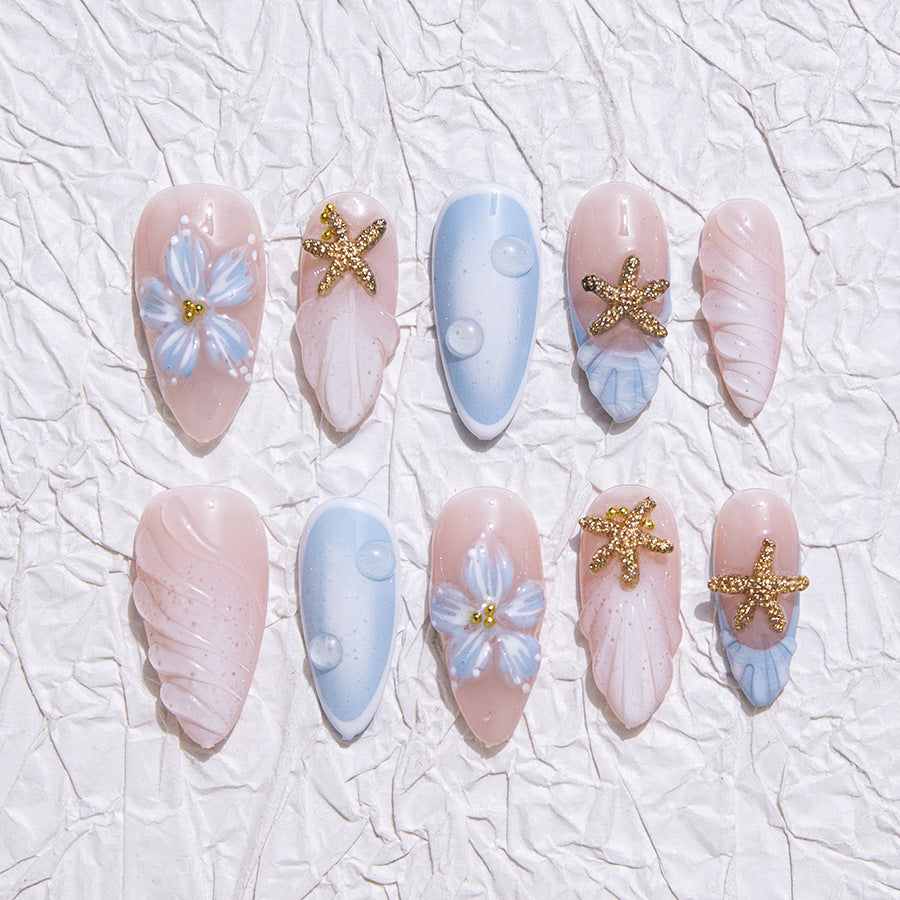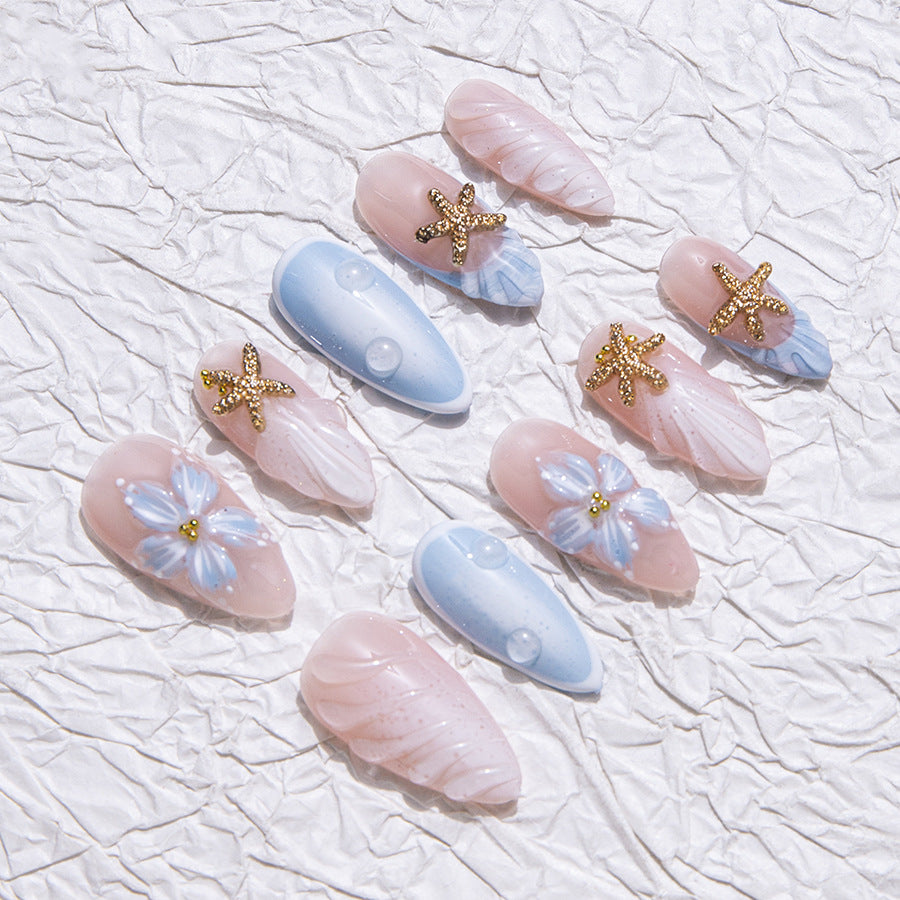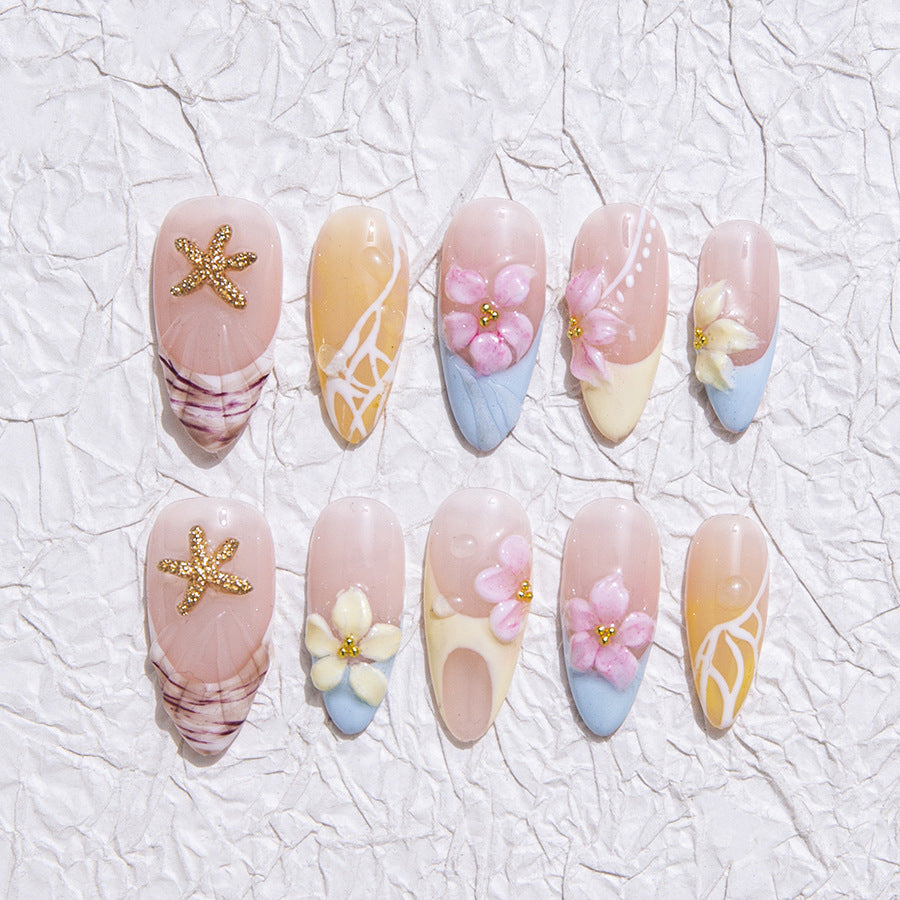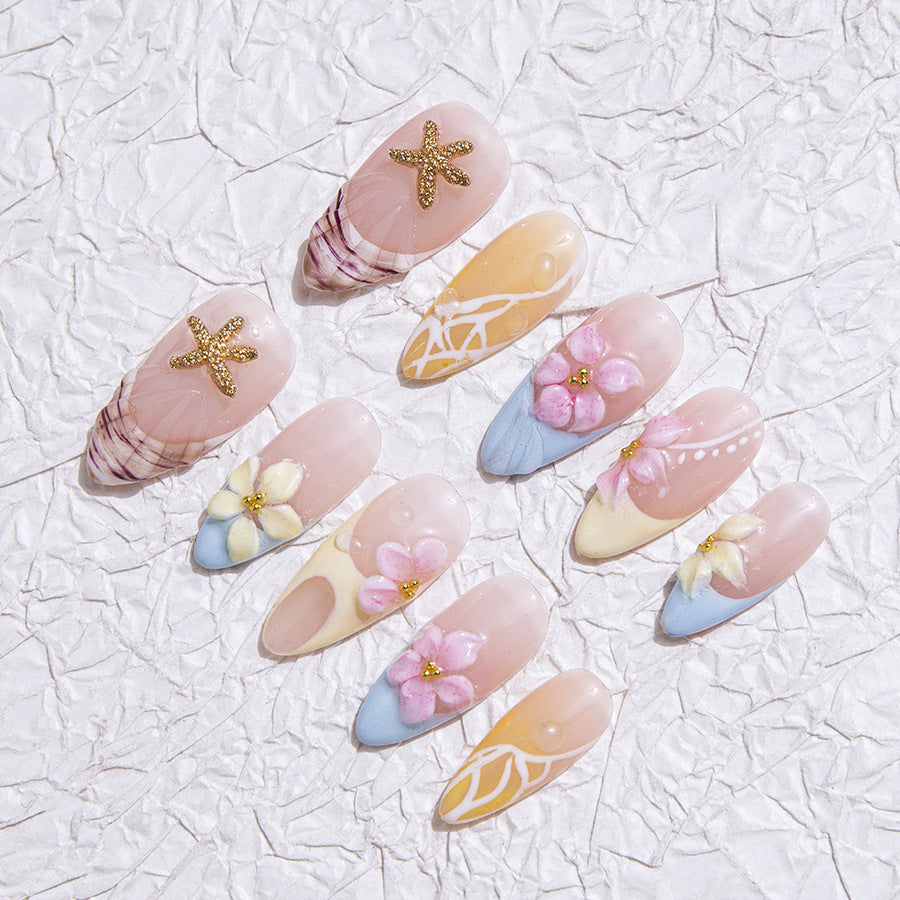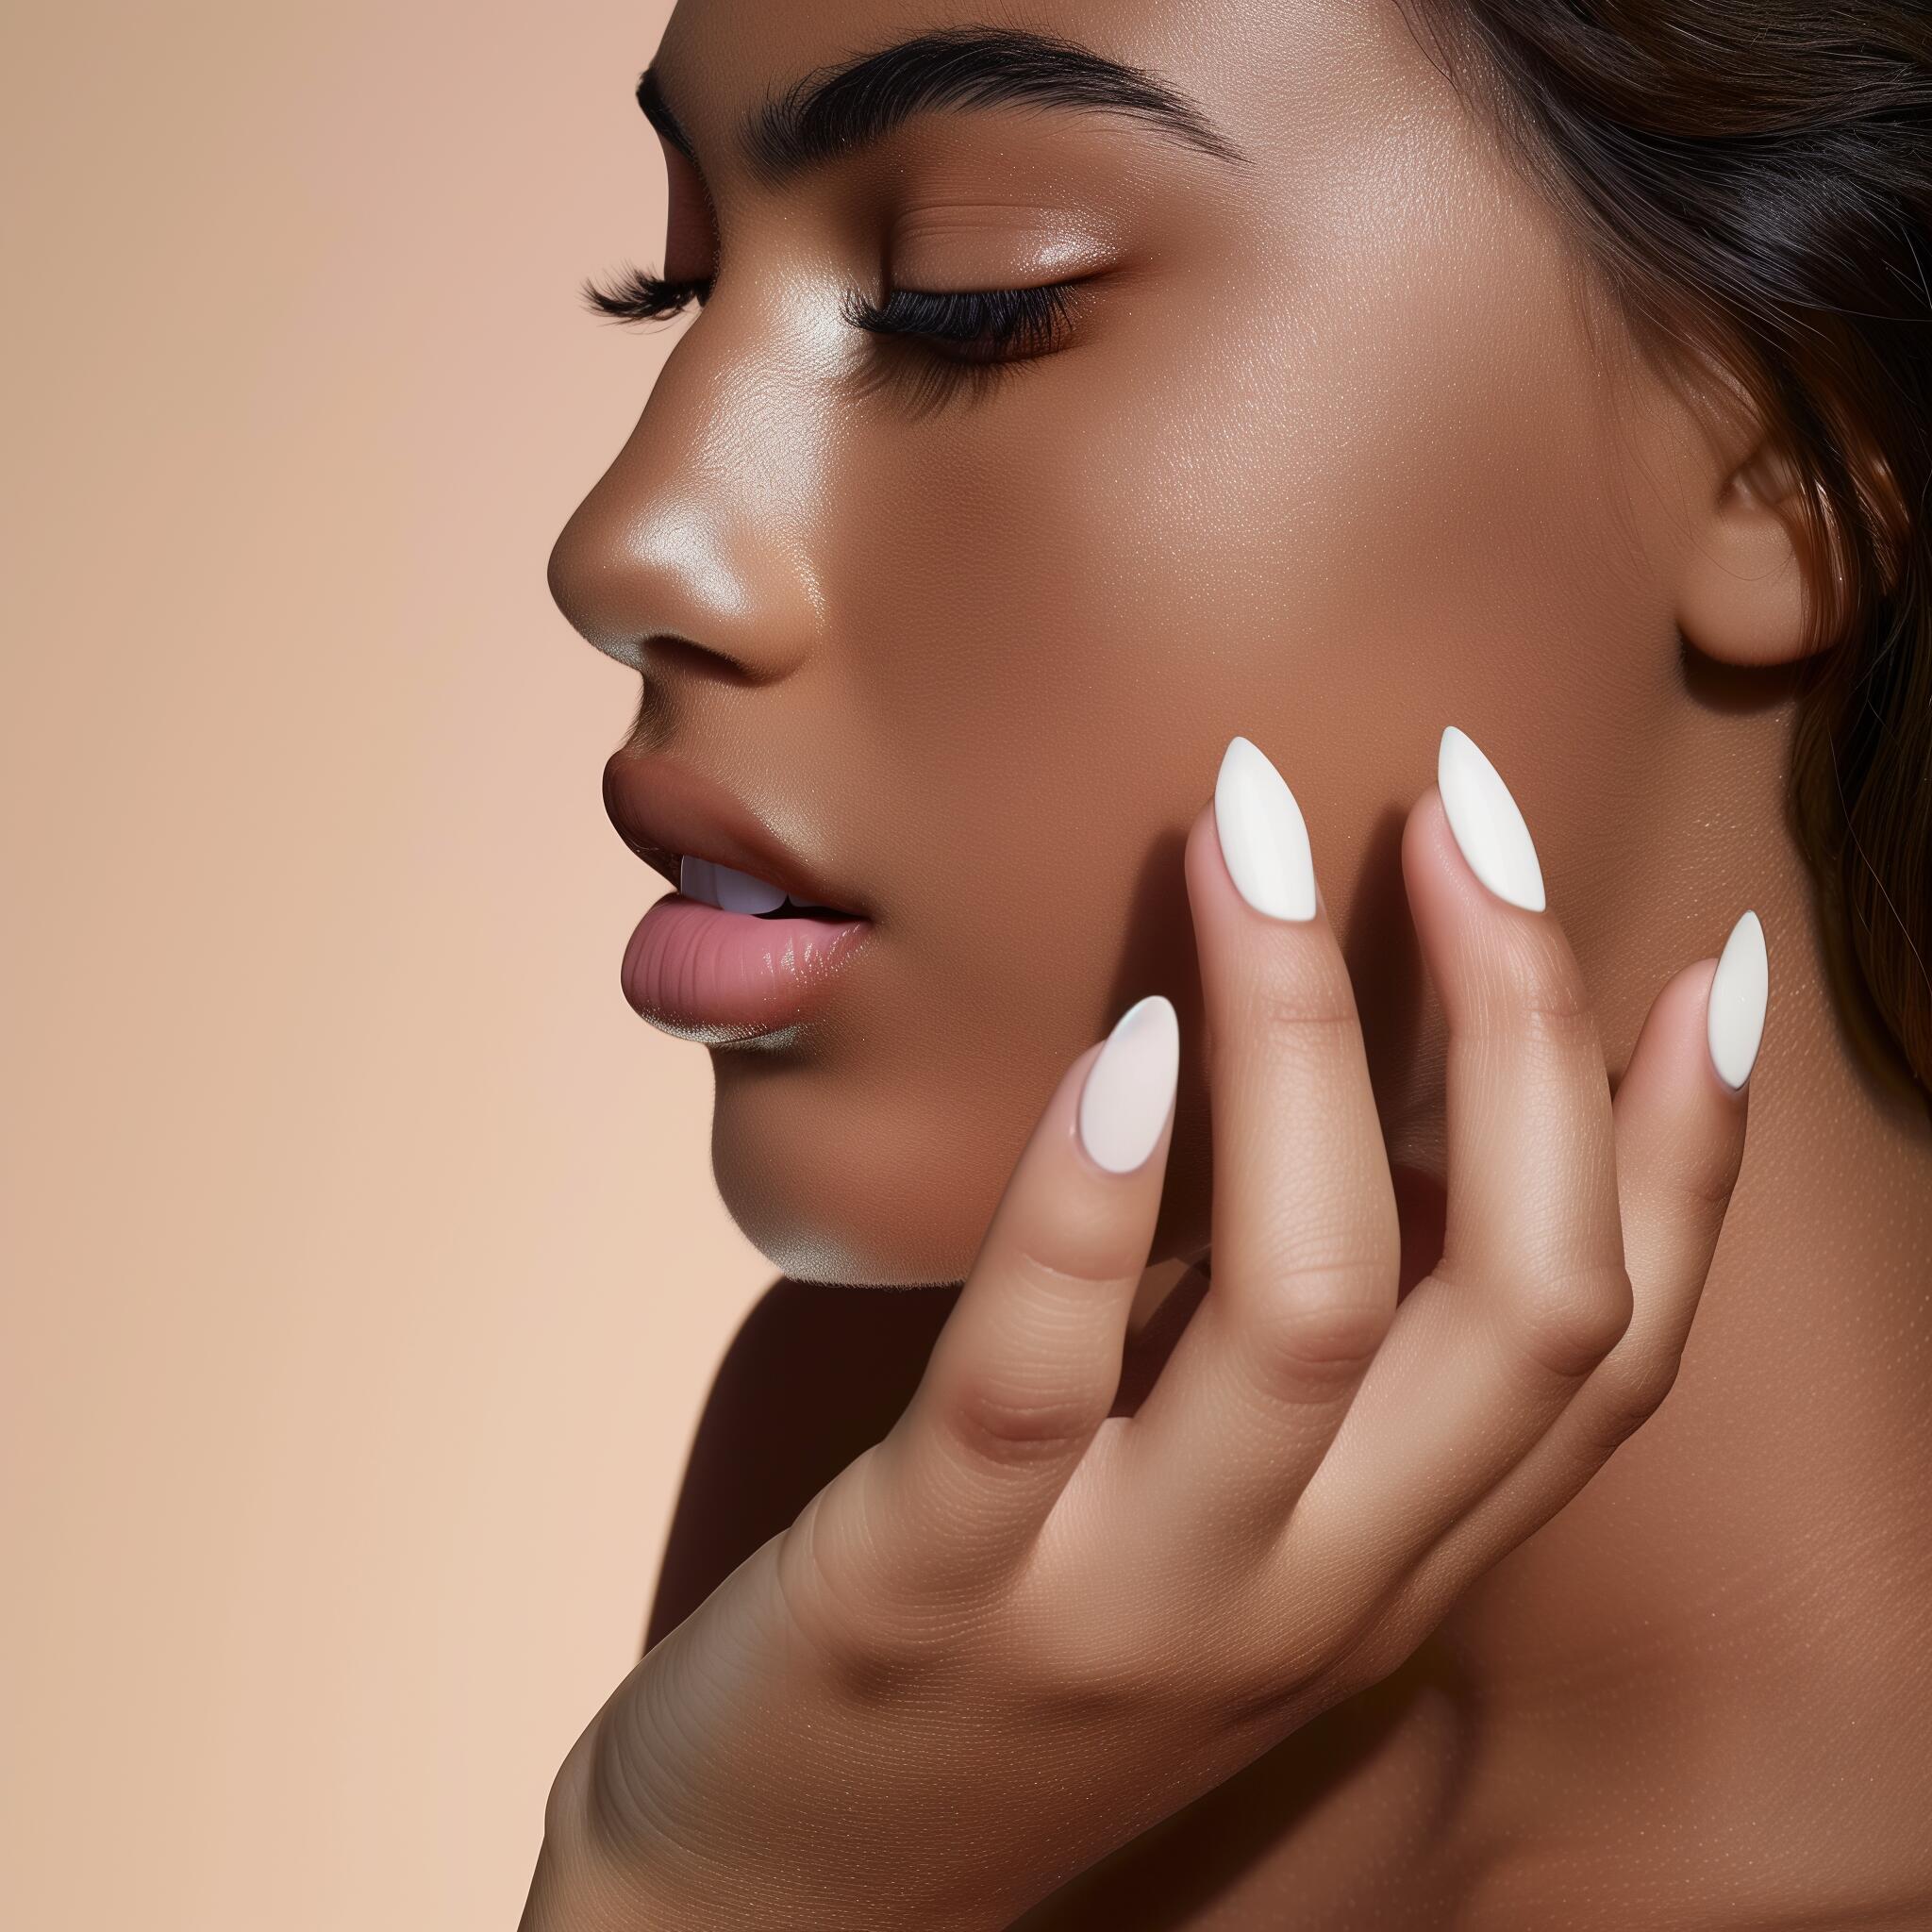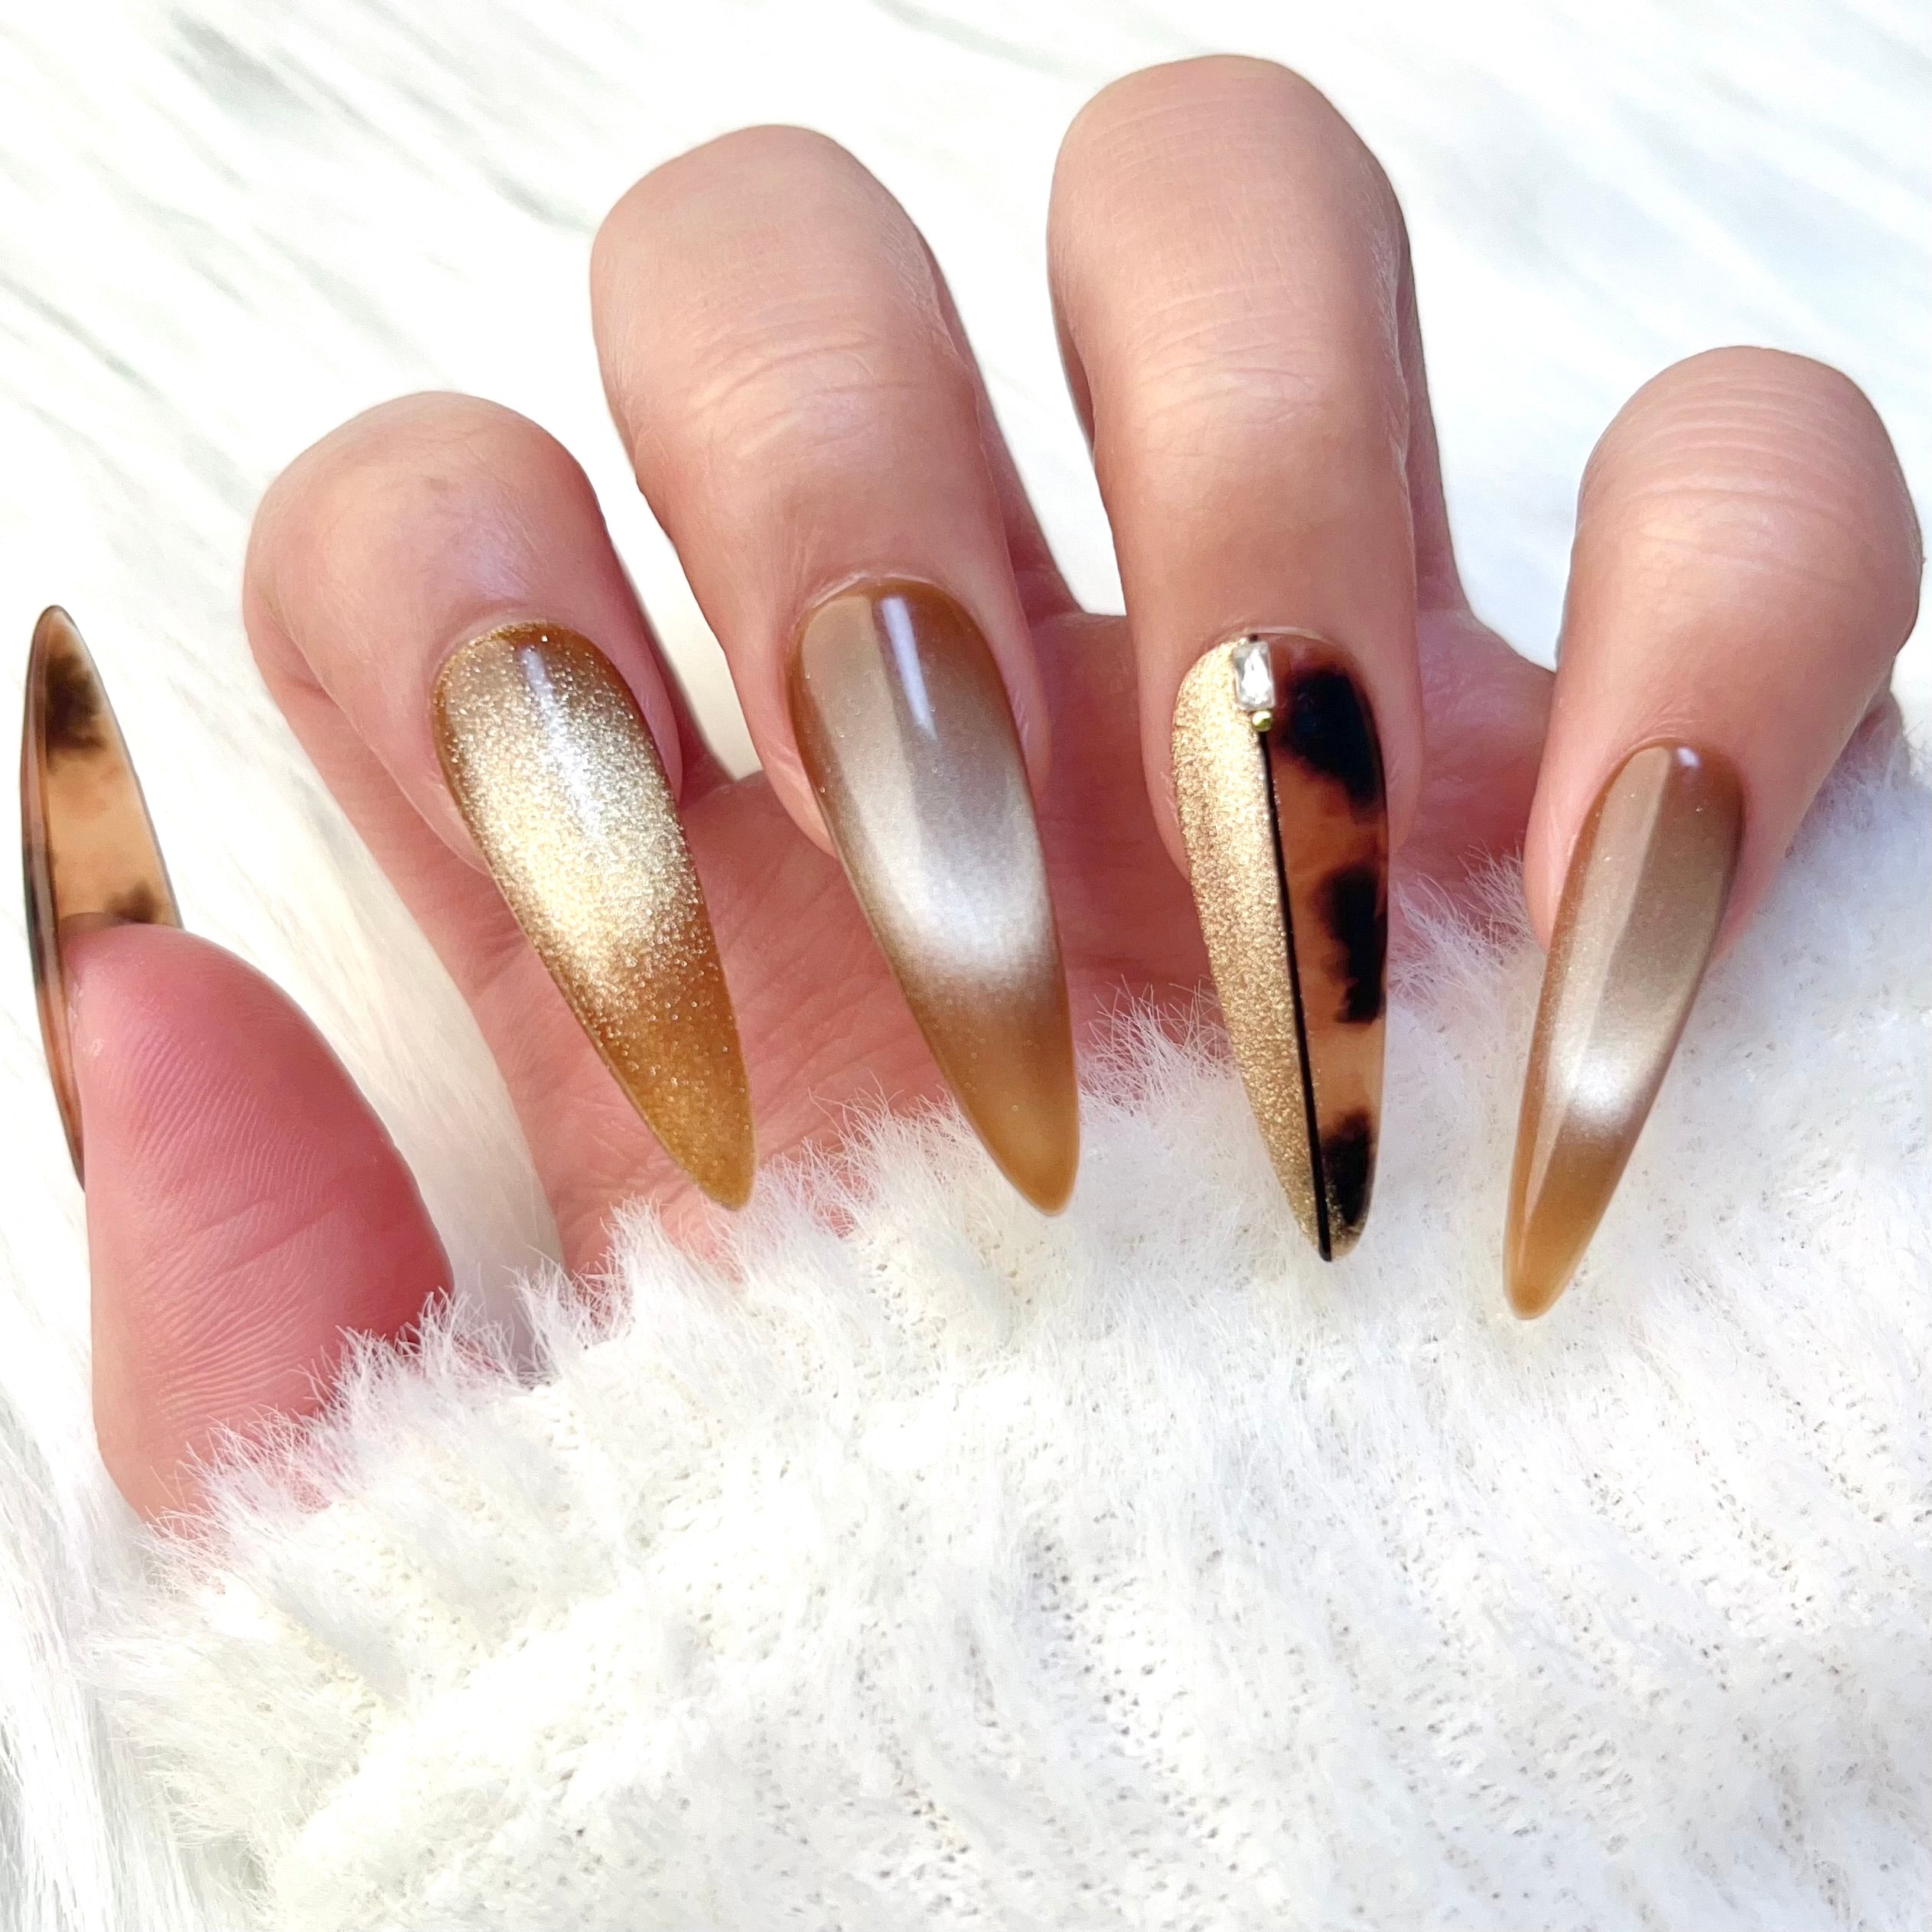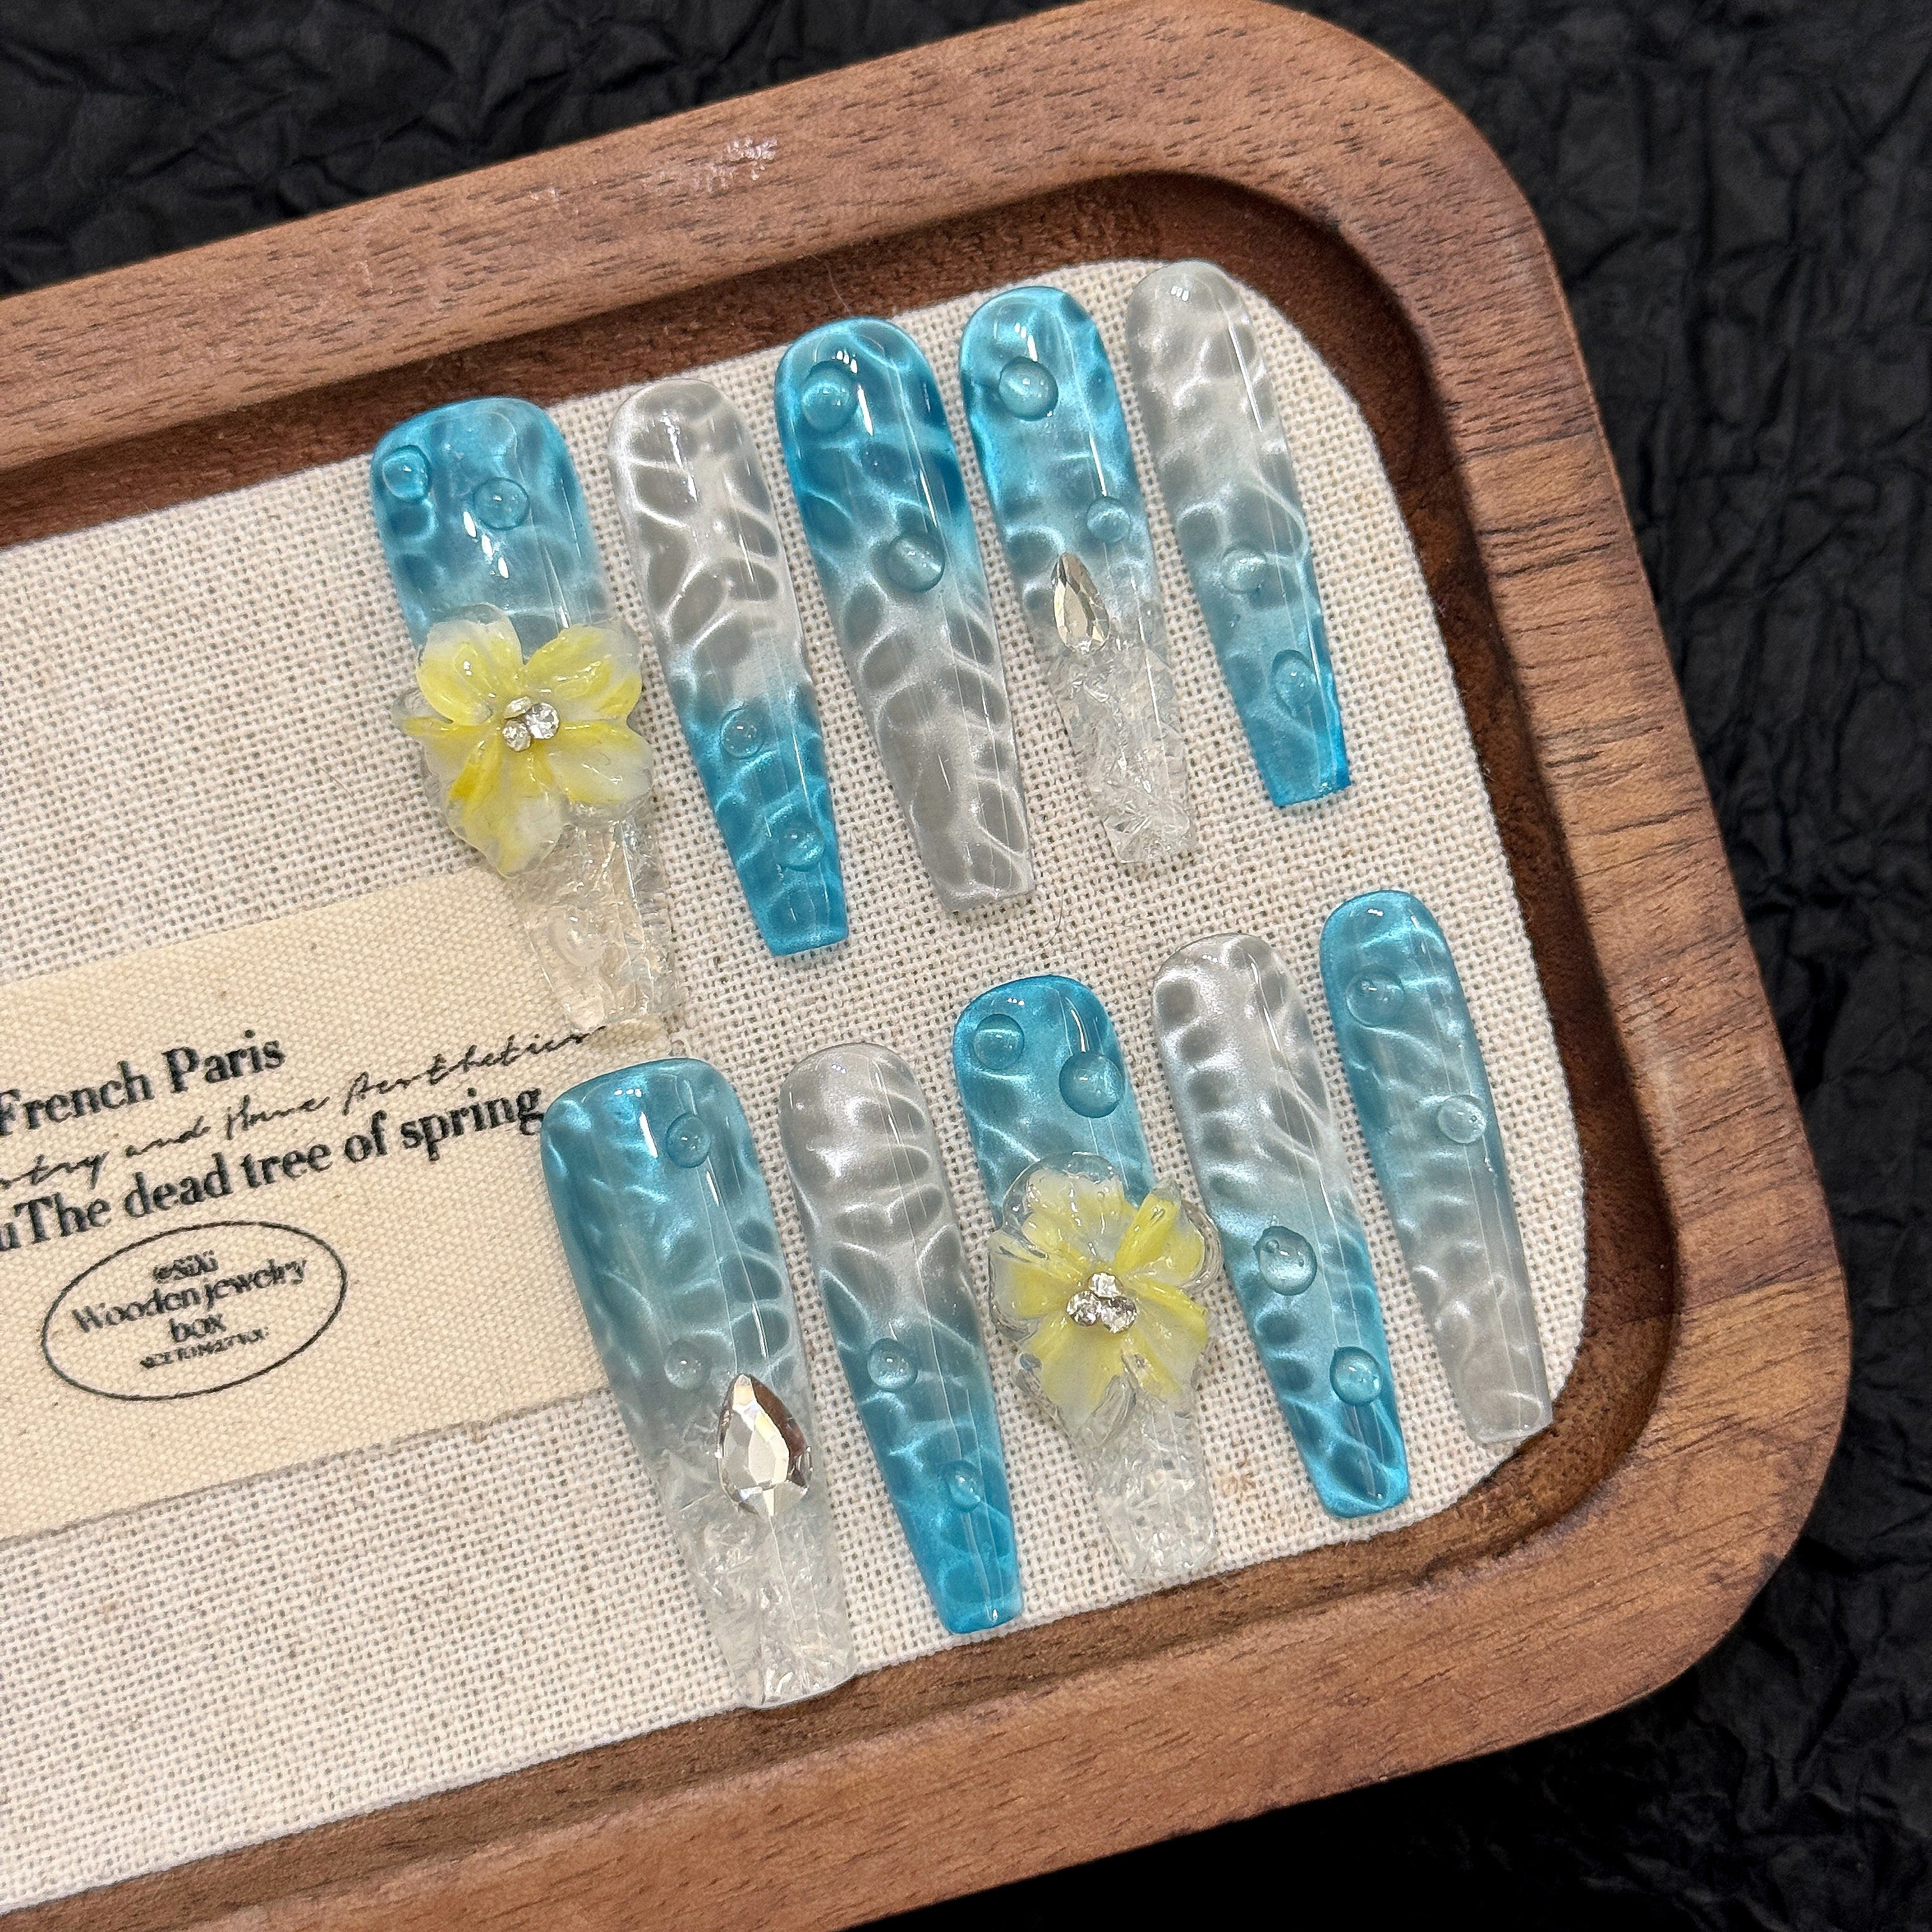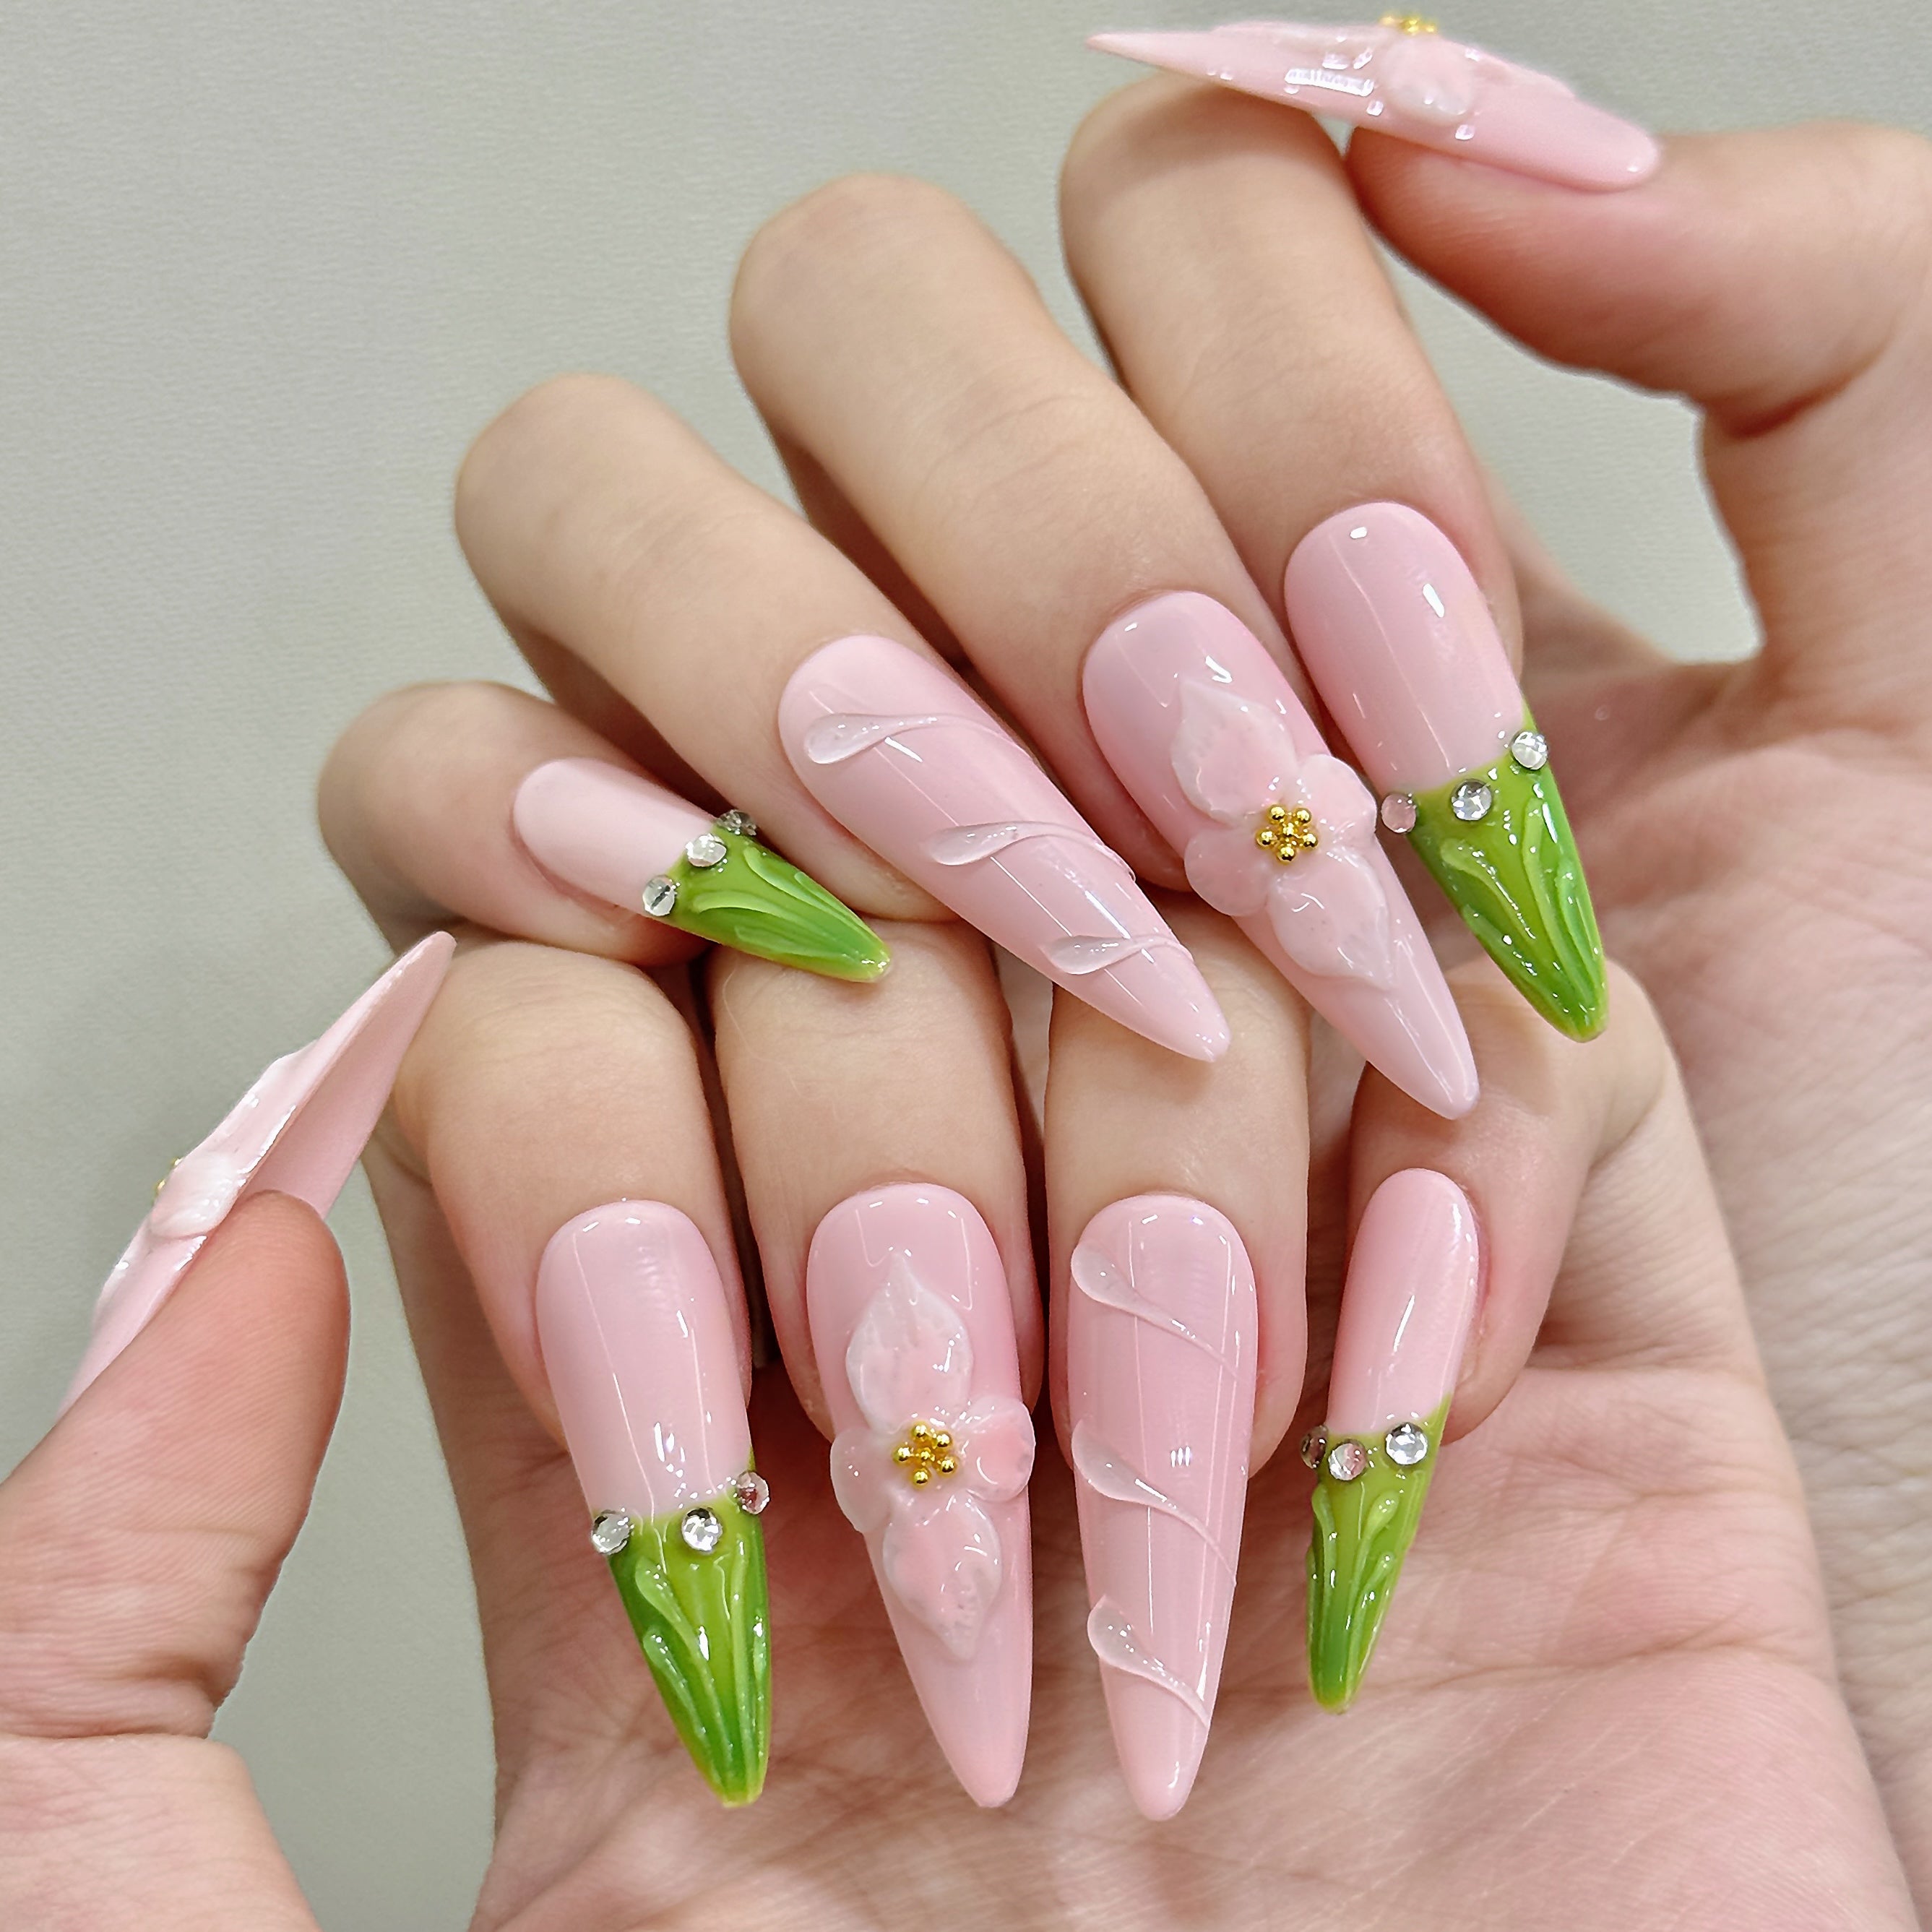
How to put on fake nails
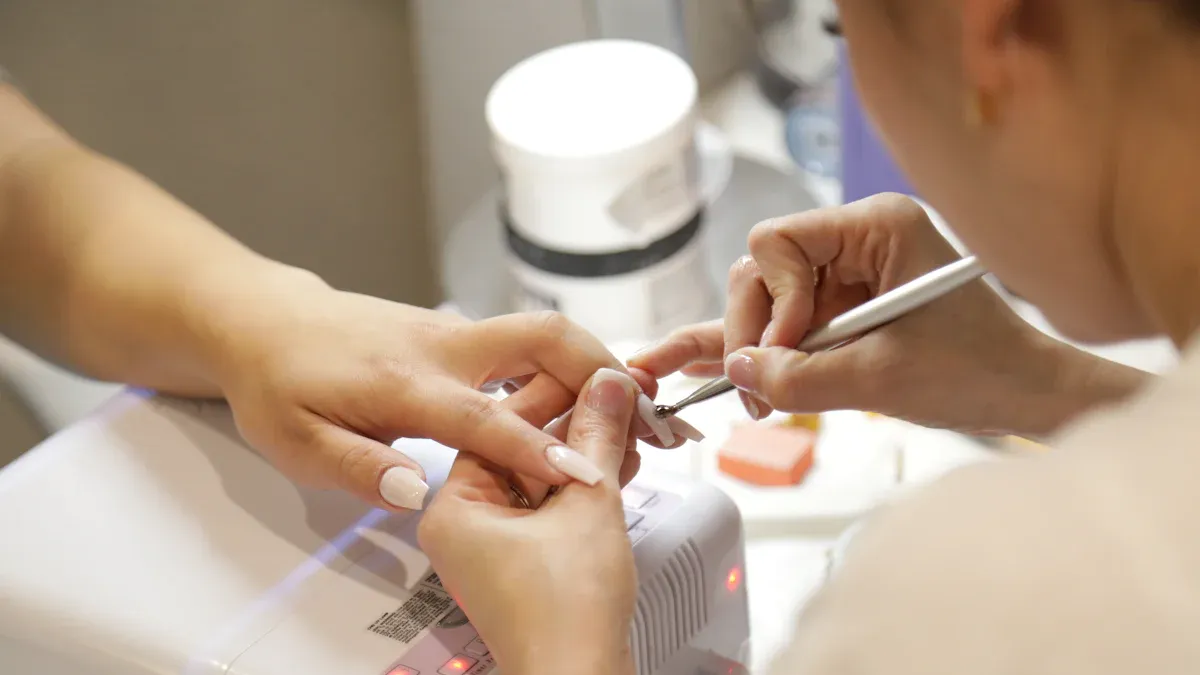
Have you ever wanted fancy nails without spending too much money? You're not the only one! Lots of people now put on fake nails at home. During the pandemic, salons were closed, so home nail kits became popular. Today, there are many easy and eco-friendly choices to try. You can make cool designs that fit your style. There are even biodegradable options for those who care about the planet. Whether you like plain nails or detailed art, putting on fake nails at home lets you show your style while saving cash and time.
Key Takeaways
- Get all the tools you need first. You’ll need fake nails, nail glue or sticky tabs, a nail file, and a cuticle pusher. Having everything ready makes it easier.
- Clean your nails and get them ready. Use rubbing alcohol to remove oils and push back your cuticles. This helps the fake nails stick better and look great.
- Pick fake nails that fit each finger. The right size makes them look natural and feel comfortable. Take your time to choose the best fit.
Tools and Materials for Putting on Fake Nails
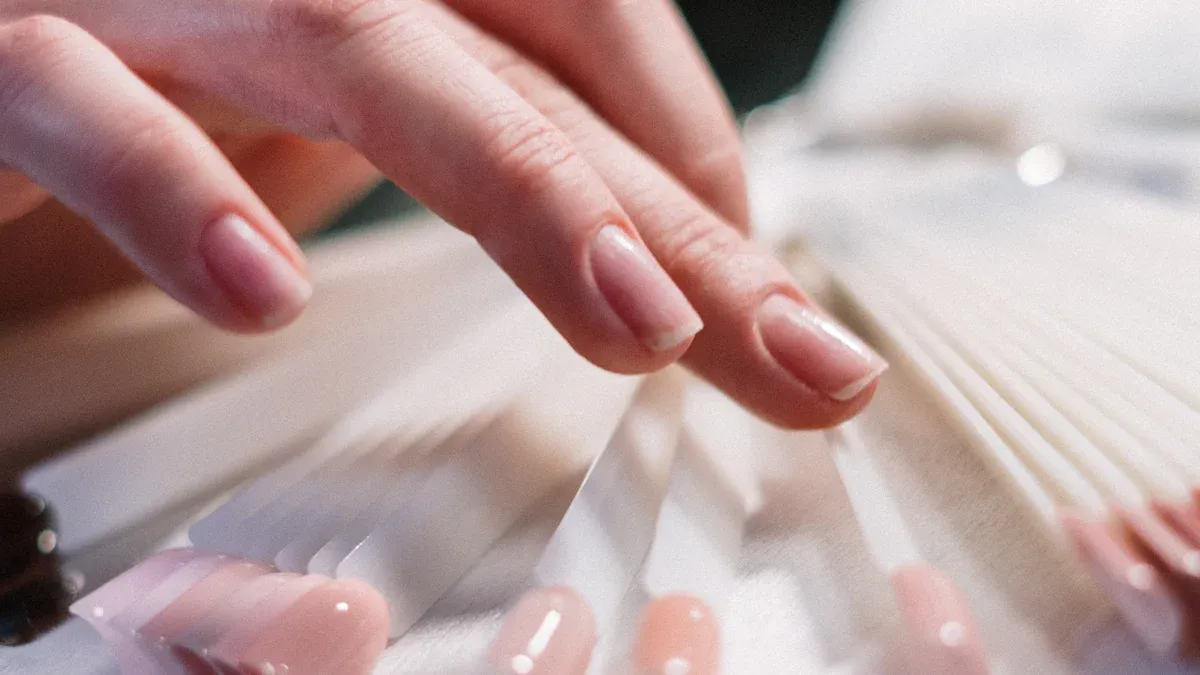
Before you start, gather everything you’ll need. Having the right tools makes the process smoother and ensures your nails look amazing. Here’s what you’ll need:
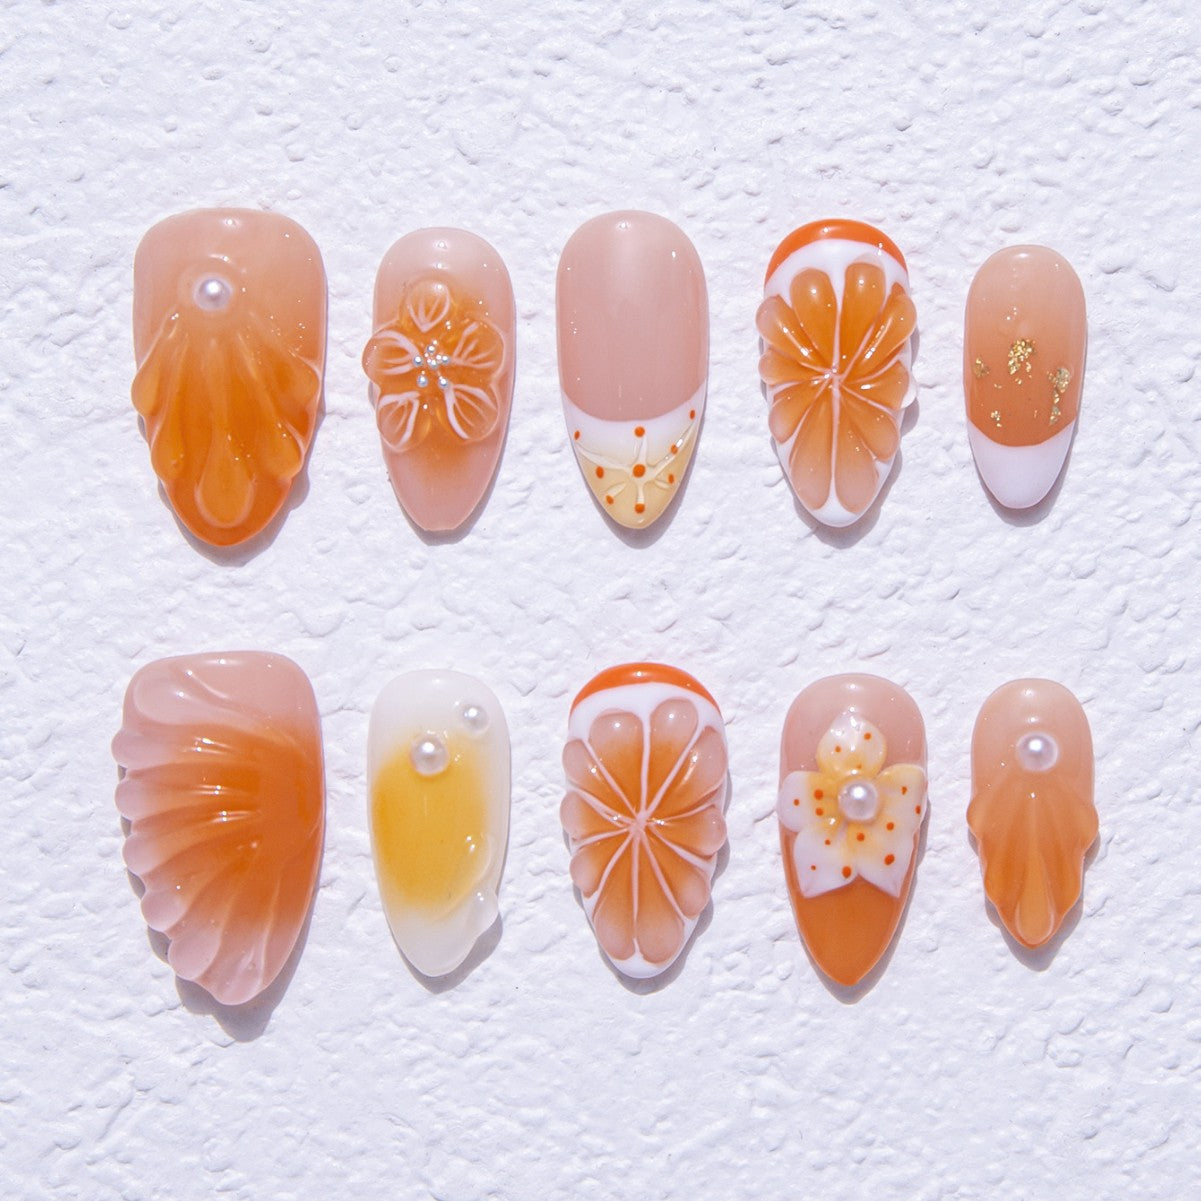
Fake nails (pre-sized or customizable)
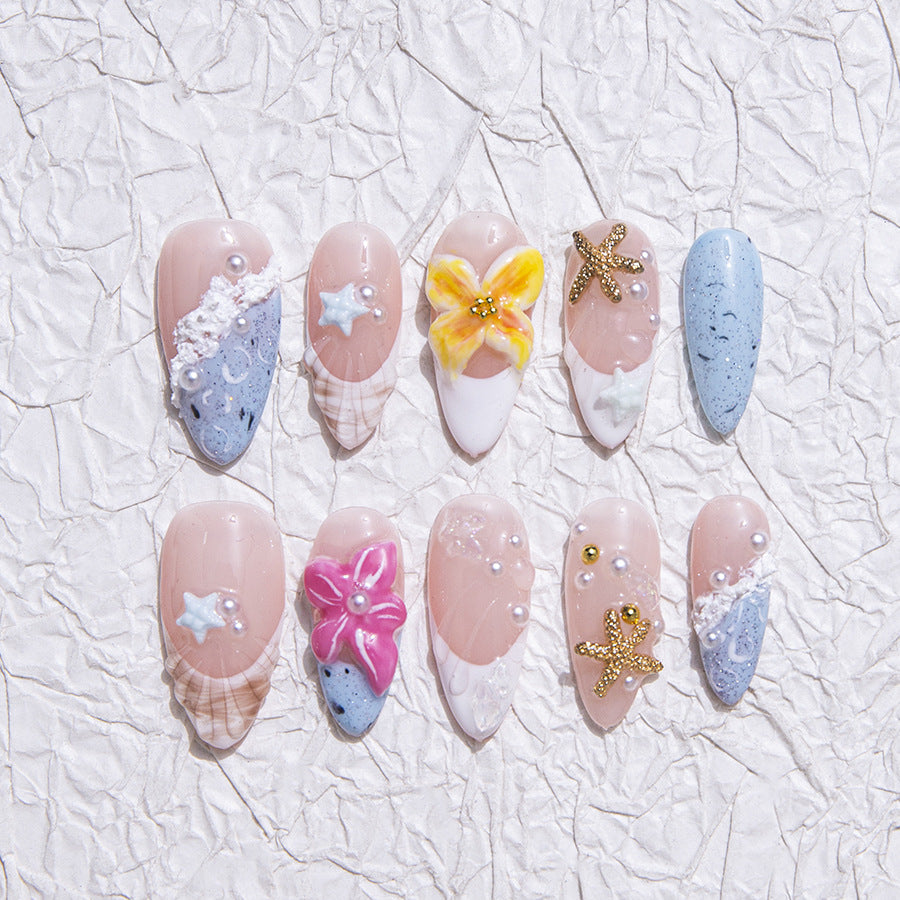
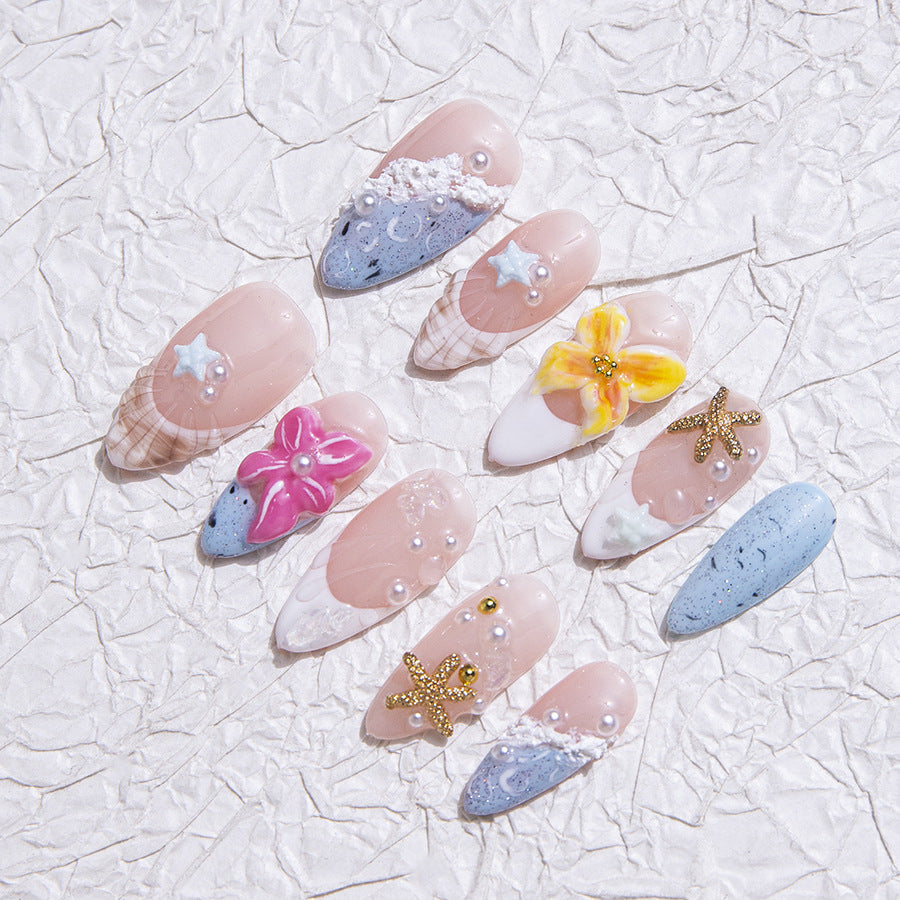
You can choose pre-sized nails that are ready to go or customizable ones that you can shape to fit perfectly. Pre-sized nails save time, while customizable ones give you more control over the final look. Pick a style and length that matches your vibe.
Nail glue or adhesive tabs
Nail glue is the go-to option for long-lasting results. If you want something less permanent, adhesive tabs are a great alternative. They’re easy to use and perfect for temporary wear.
Tip: Keep a small bottle of glue in your bag for quick fixes if a nail pops off.
Nail file and buffer
A nail file helps you shape the fake nails to your liking, while a buffer smooths out your natural nails. This step ensures the fake nails stick better and look more natural.
Cuticle pusher
A cuticle pusher gently moves your cuticles back, creating a clean base for the fake nails. This step also helps the nails adhere properly.
Rubbing alcohol or nail cleanser
Use rubbing alcohol or a nail cleanser to remove oils and dirt from your nails. Clean nails are key to making the fake nails stick securely.
Optional: Nail clippers and nail polish
If the fake nails are too long, nail clippers can trim them to your desired length. You can also add nail polish or nail art for a personal touch.
Note: Having all these tools ready before you start will save you time and make the process stress-free.
Preparing Your Nails for Fake Nails
Before you put on fake nails, it’s important to prepare your natural nails properly. This step ensures the fake nails stick well and look flawless. Let’s go through the process step by step.
Clean your nails with rubbing alcohol or nail cleanser
Start by cleaning your nails thoroughly. Use a cotton pad soaked in rubbing alcohol or a nail cleanser to wipe each nail. This removes any dirt, oil, or leftover polish. Clean nails create a smooth base, helping the fake nails adhere better. Skipping this step could make the nails lift or fall off sooner.
Tip: If you don’t have rubbing alcohol, you can use a gentle soap and warm water to clean your nails. Just make sure they’re completely dry before moving on.
Push back your cuticles gently
Next, grab a cuticle pusher. Gently push your cuticles back to create more space on your nail bed. This step not only makes the fake nails fit better but also gives them a more natural look. Be careful not to push too hard, as this can hurt or damage your skin.
Why it matters: Pushing back your cuticles prevents the fake nails from lifting at the edges, which helps them last longer.
File and buff your nails for a smooth surface
Take a nail file and lightly shape the edges of your natural nails. Then, use a buffer to smooth out the surface of each nail. Buffing removes any ridges or uneven spots, making it easier for the fake nails to stick. A smooth surface is key to achieving a professional finish.
Pro Tip: Don’t over-buff! A few gentle strokes are enough to create the perfect surface.
Choose the right size fake nails for each finger
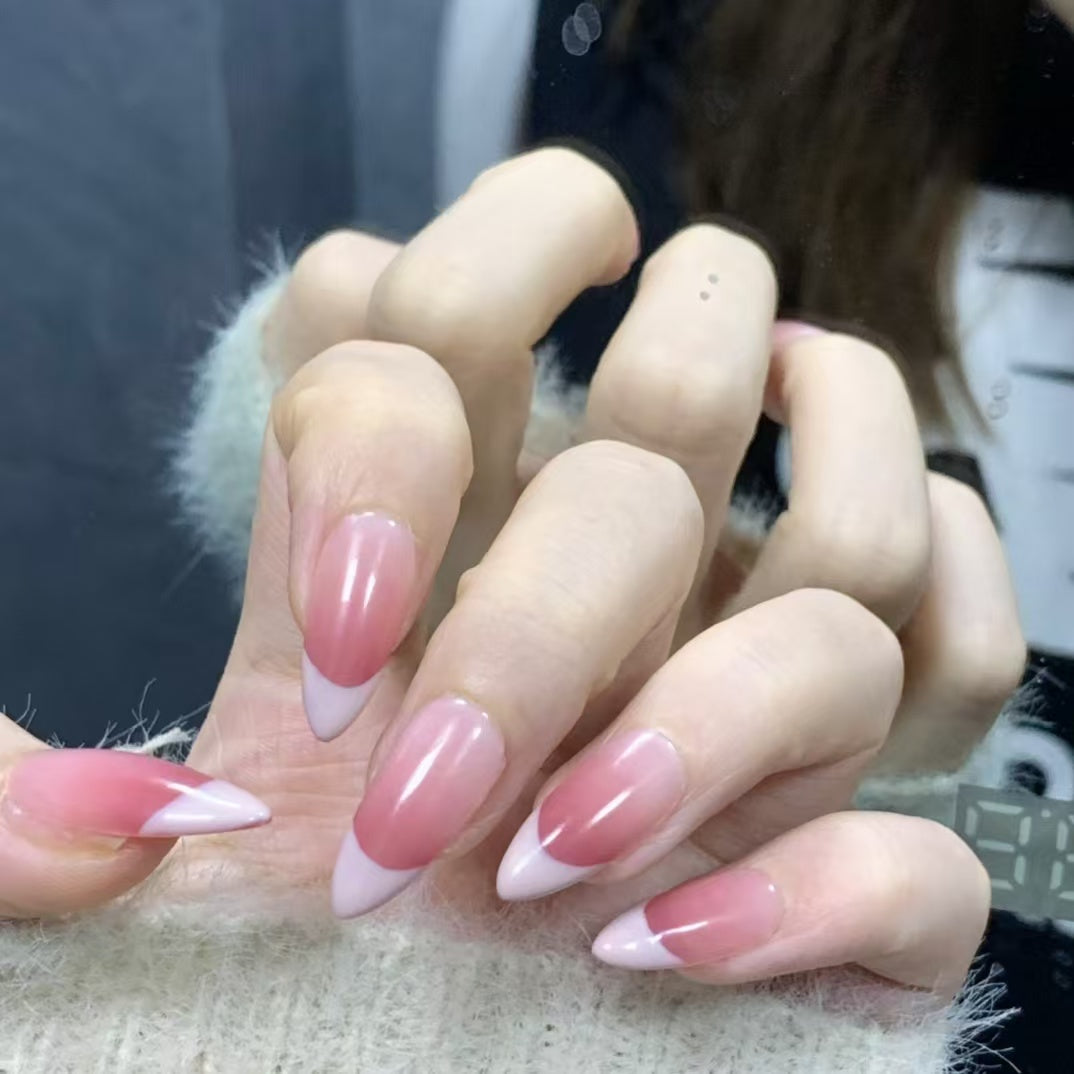
Now it’s time to pick the fake nails that fit your fingers. Lay out the nails and match each one to your natural nails. They should cover your nail bed completely without overlapping onto your skin. If a nail is too big, you can file it down to the right size. Taking the time to find the perfect fit will make your nails look more natural.
Reminder: If you’re using pre-sized nails, double-check that they match your nail shape. Customizable nails might take a little extra effort, but they’re worth it for a perfect fit.
By following these steps, you’ll have a clean and smooth base ready for your fake nails. Proper preparation makes all the difference when you put on fake nails, ensuring they stay secure and look amazing.
How to Put on Fake Nails
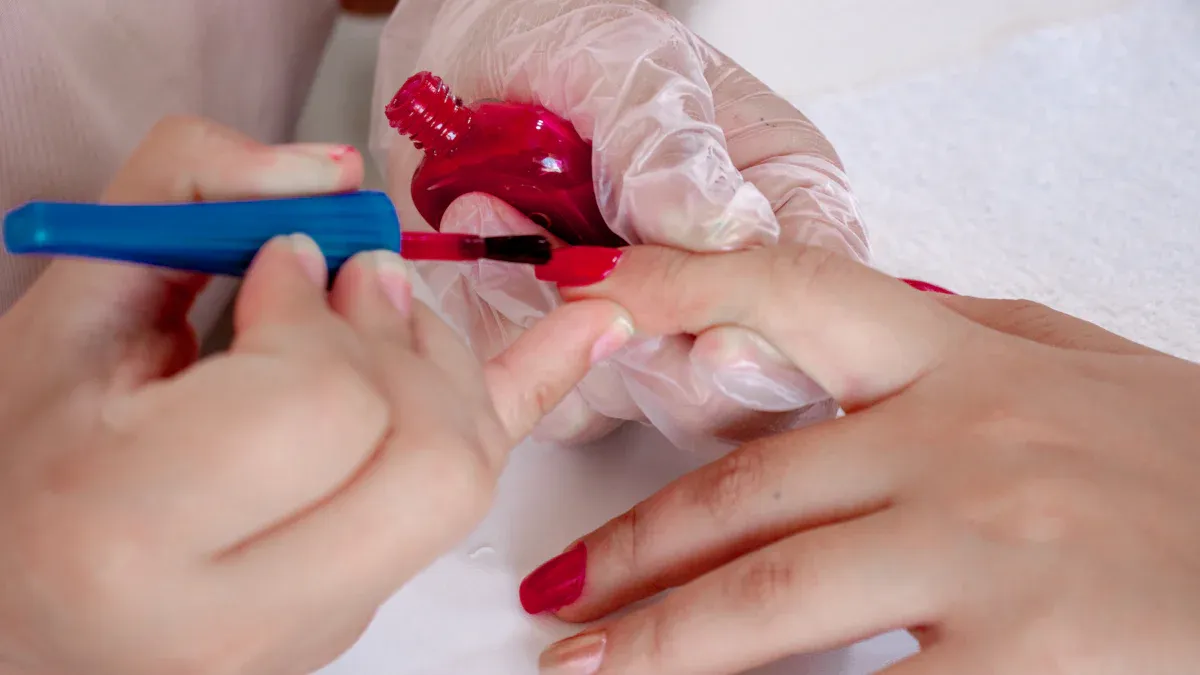
Using nail glue: Apply a small amount to your natural nail and the fake nail
If you’re looking for a long-lasting hold, nail glue is your best friend. Start by applying a small dot of glue to the center of your natural nail. Then, add a thin layer to the underside of the fake nail. This double application ensures a secure bond. Carefully align the fake nail with your natural nail, starting at the cuticle and pressing it down toward the tip.
Tip: Use a brush applicator for precision when applying glue. This helps avoid messy spills and keeps the glue from spreading onto your skin.
While nail glue provides a strong hold, it can be harsh on your natural nails. Over time, it may cause brittleness or weakening. If you plan to wear fake nails frequently, give your natural nails a break between applications to keep them healthy.
Using adhesive tabs: Place the tab on your natural nail and press the fake nail on top
Adhesive tabs are a great alternative if you want a temporary option or if you’re new to applying fake nails. Start by peeling the tab off its backing and placing it directly onto your natural nail. Make sure it covers the nail bed evenly. Once the tab is in place, press the fake nail on top, starting at the cuticle and working your way down.
Note: Adhesive tabs are gentler on your nails compared to glue, but they may leave behind sticky residue. To remove it, use a nail cleanser or rubbing alcohol.
Here’s a quick comparison to help you decide between glue and tabs:
| Method | Application Technique | Durability |
|---|---|---|
| Adhesive Tabs | Apply directly to the natural nail for better visibility of imperfections. | Shorter-lasting, requires correct sizing. |
| Nail Glue | Can last up to two weeks if applied properly, using a brush applicator for precision. | Longer-lasting, more secure attachment. |
Press and hold each nail for 10-20 seconds to secure
Once you’ve applied the glue or adhesive tab, press the fake nail firmly onto your natural nail. Hold it in place for 10-20 seconds to ensure it sticks properly. This step is crucial for creating a strong bond. If you’re using glue, avoid moving the nail during this time, as it can weaken the hold.
Pro Tip: Use a timer or count to 20 in your head to make sure you’re holding the nail long enough. Rushing this step might cause the nails to lift or fall off sooner.
Repeat for all fingers, ensuring proper alignment
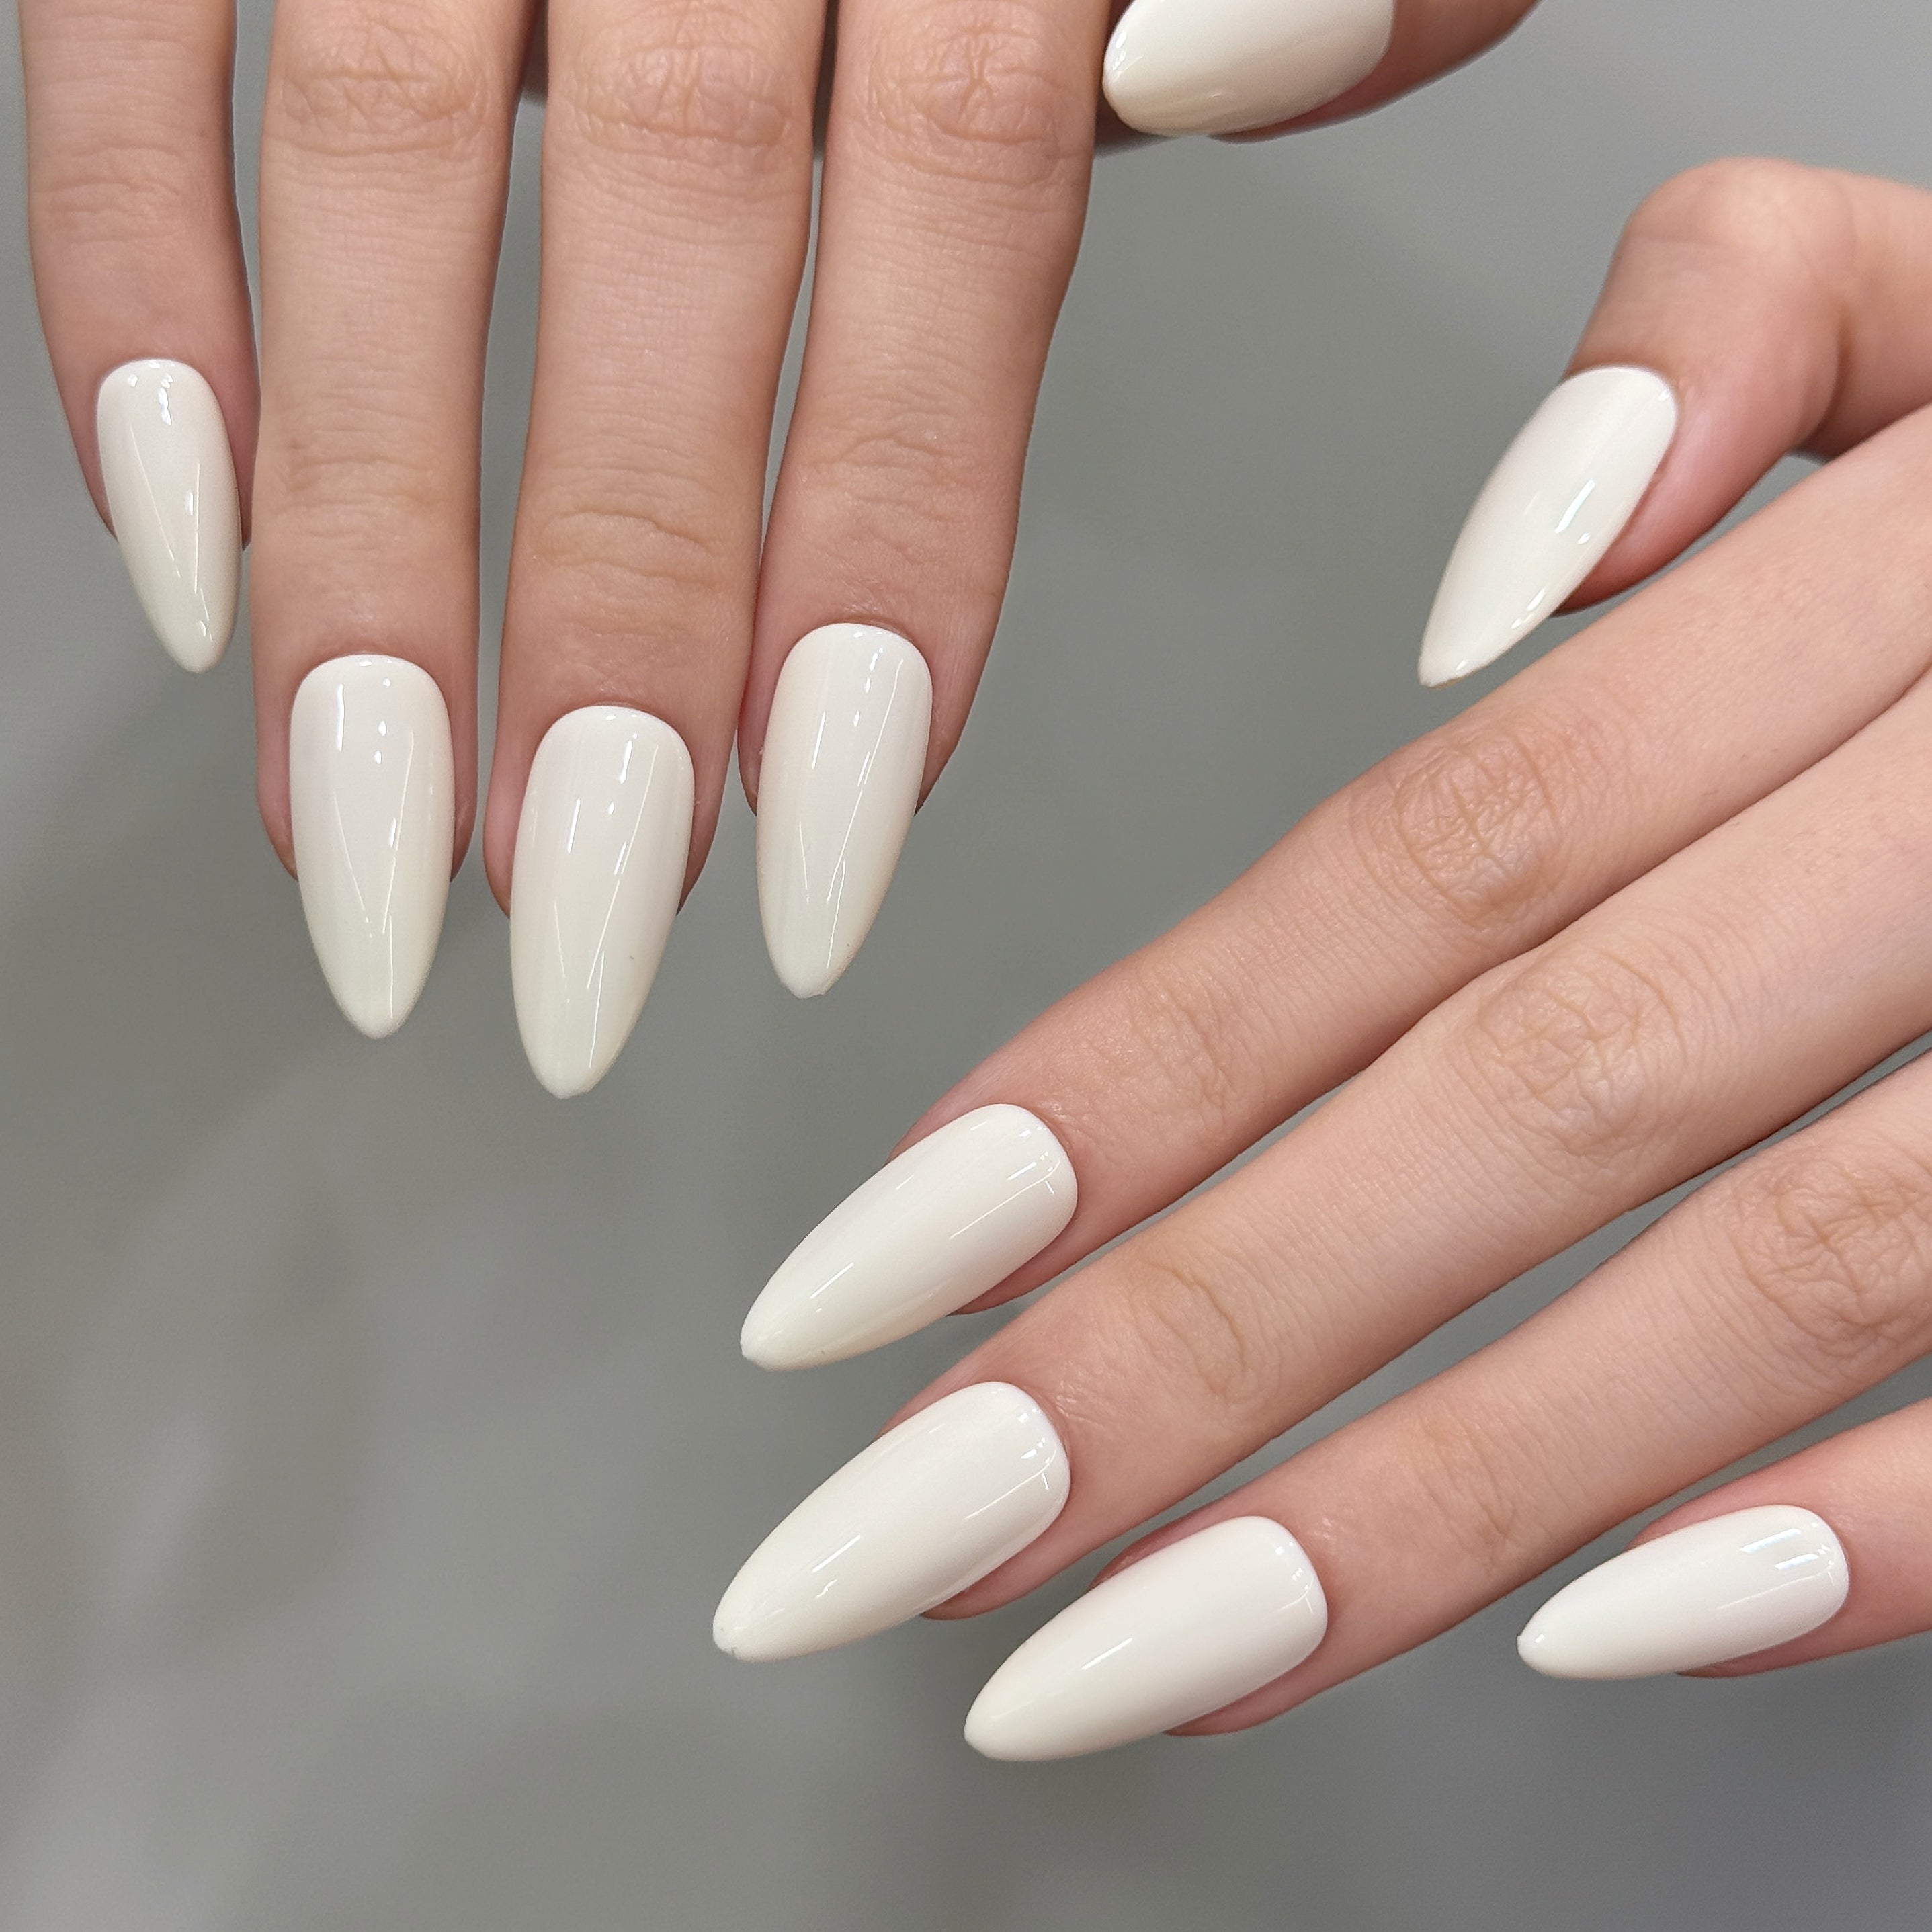
Now that you’ve mastered the technique, repeat the process for all your fingers. Take your time to align each fake nail correctly with your natural nail. They should sit snugly without overlapping onto your skin. Proper alignment not only makes your nails look more natural but also prevents discomfort.
Here’s a step-by-step recap to keep you on track:
- Prepare your natural nails by cleaning and buffing them.
- Choose the right size fake nails for each finger.
- Apply glue or adhesive tabs to your natural nails.
- Press and hold each fake nail for 10-20 seconds.
By following these steps, you’ll achieve a flawless look that lasts. Whether you’re using glue or tabs, taking the time to align the nails properly makes all the difference.
Styling and Maintaining Fake Nails
File the edges for a natural look
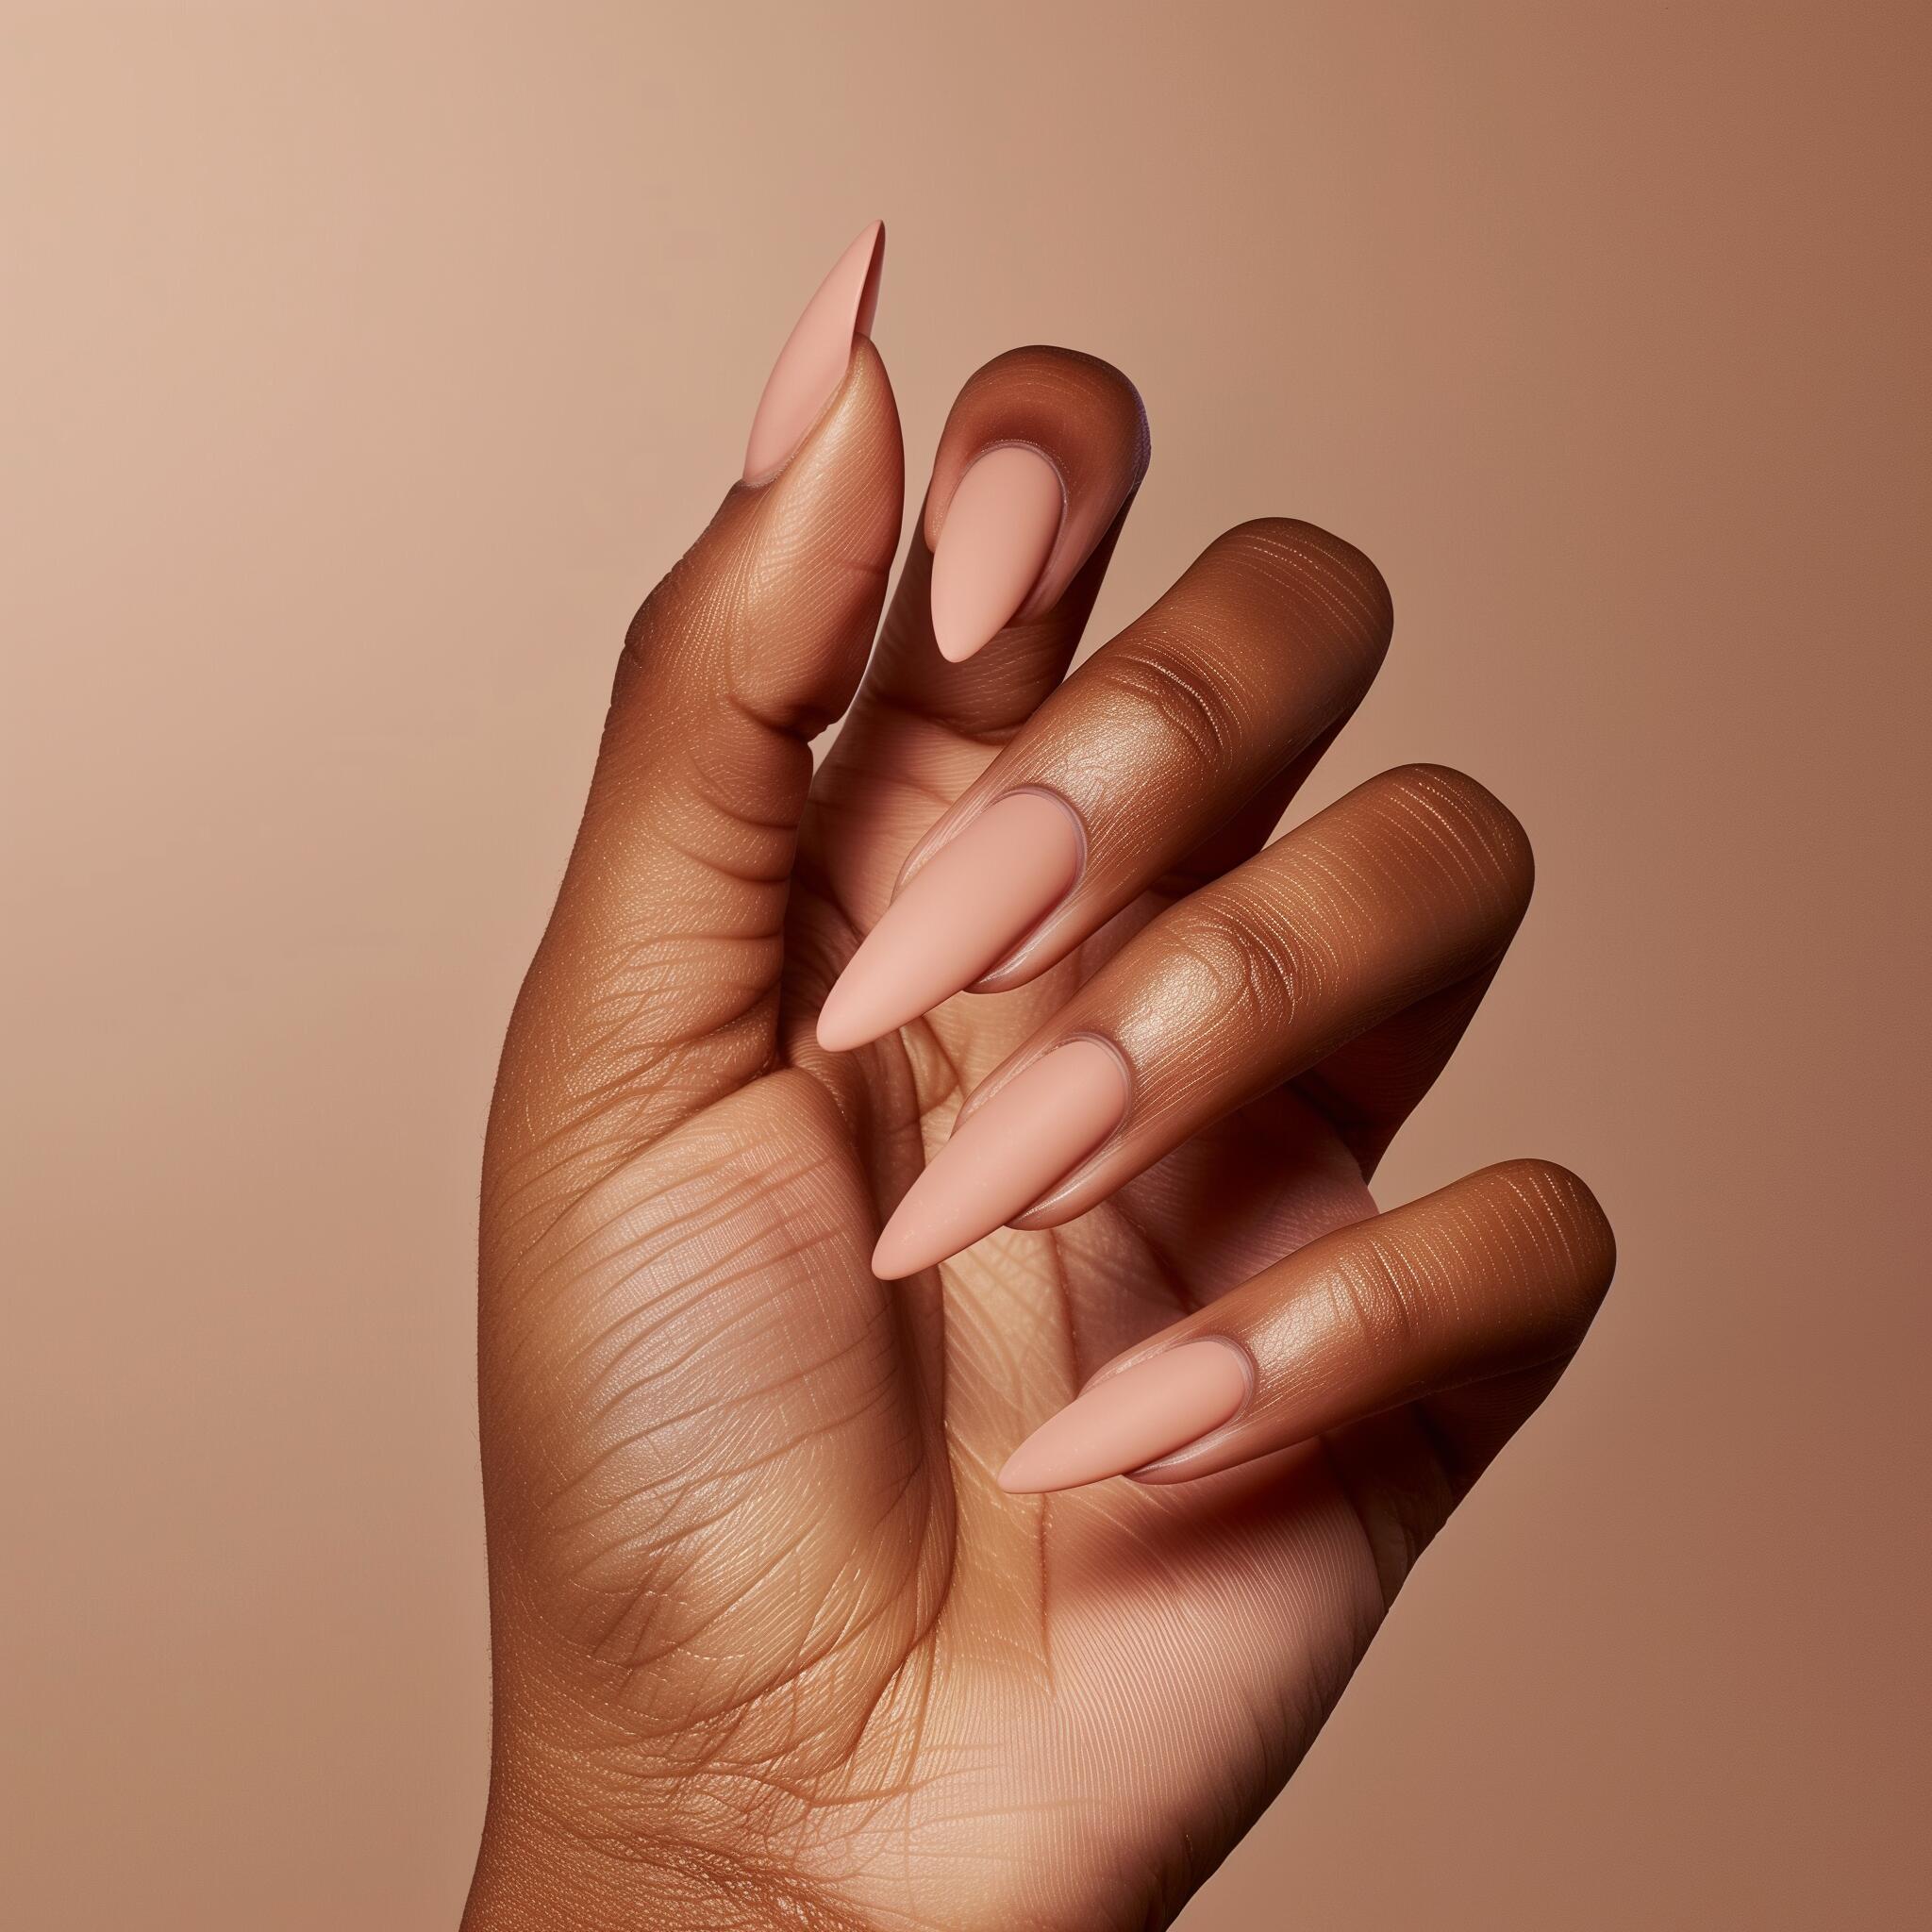
Once your fake nails are in place, grab a nail file to refine their edges. Filing smooths out any rough spots and helps the nails blend seamlessly with your natural ones. Focus on the free edge of the fake nail, shaping it to match your natural nail’s curve. This step not only enhances the look but also prevents snagging on clothes or hair.
- A nail file shortens and smooths the edges for a polished finish.
- Filing along the free edge ensures the fake nail tip aligns perfectly with your natural nail.
Tip: Use a fine-grit file for a softer, more natural look. Avoid filing too aggressively to prevent damaging the fake nail.
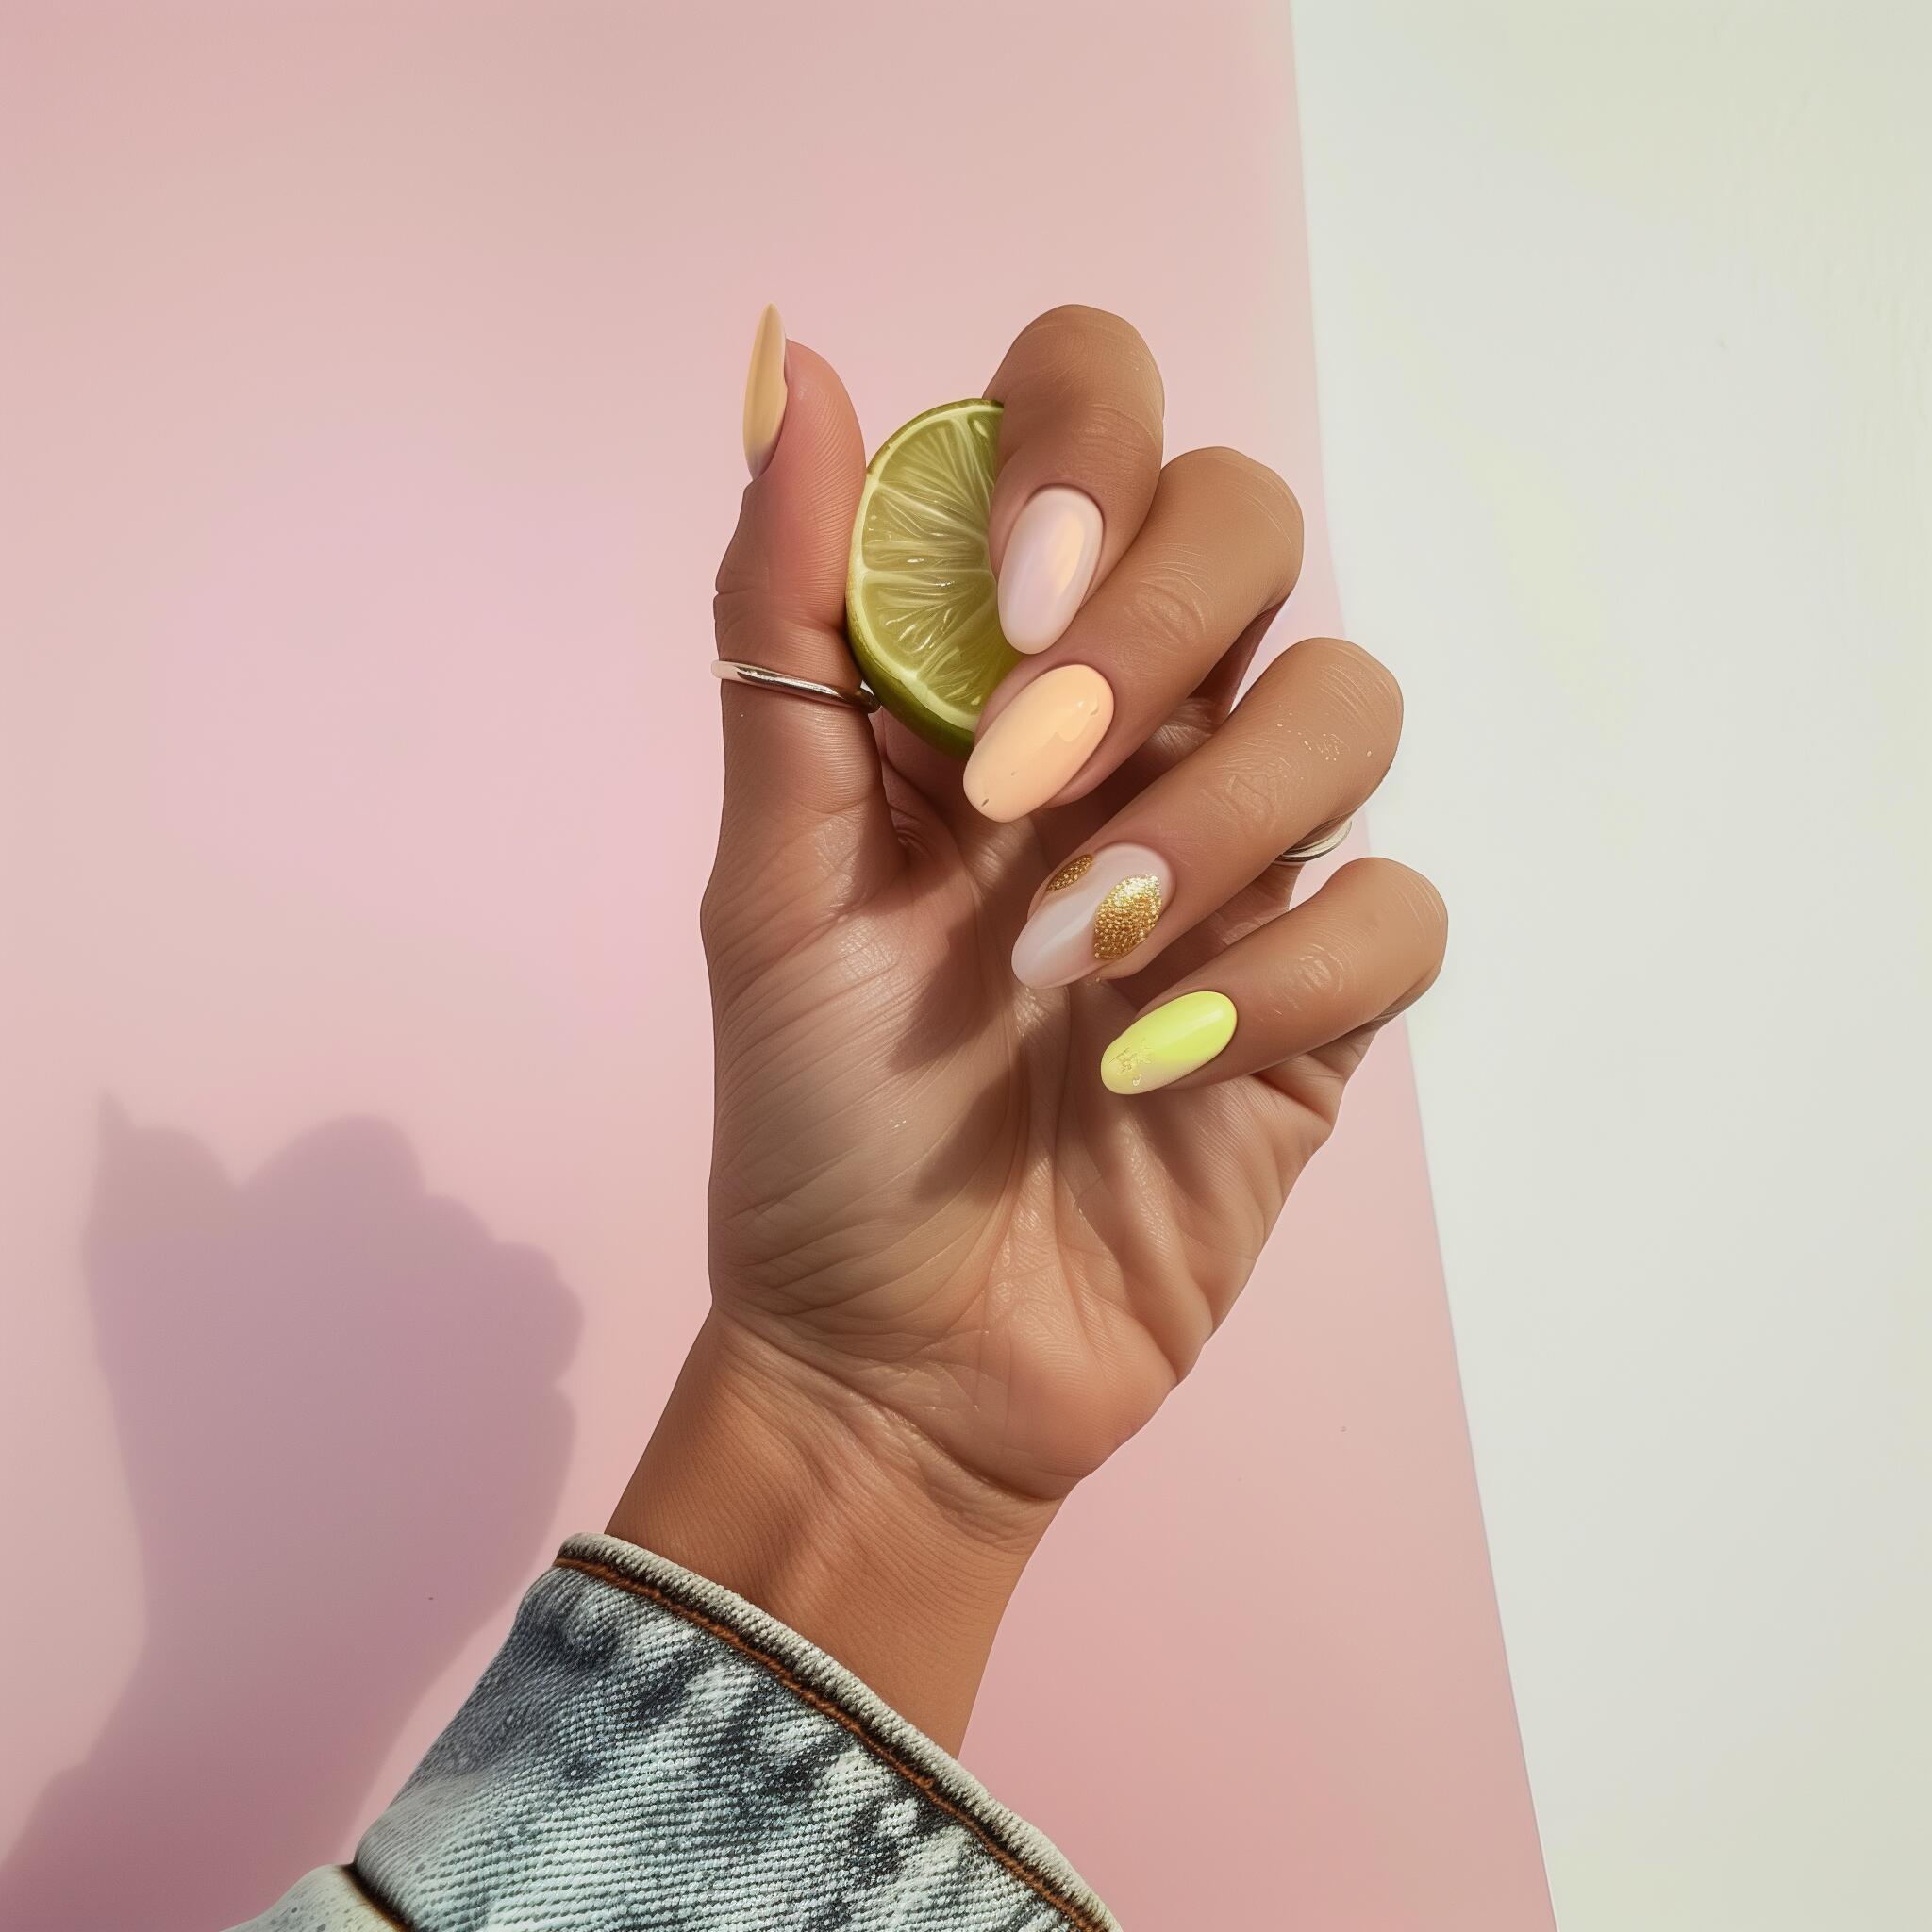
Apply nail polish or nail art for personalization
Now comes the fun part—adding your personal touch! Whether you prefer a classic coat of polish or intricate nail art, this is your chance to get creative. Choose colors and designs that match your style or the occasion. If you’re new to nail art, start with simple patterns like dots or stripes.
Pro Tip: Use a quick-dry polish to save time and avoid smudging. For beginners, nail stickers or stencils can make designs easier.
Seal with a top coat for extra durability
A top coat is your secret weapon for long-lasting nails. It seals in your polish or nail art, adds shine, and protects against chipping. Apply a thin layer over each nail and let it dry completely. This step keeps your nails looking fresh and flawless for days.
Why it matters: A good top coat can extend the life of your fake nails, making them more resistant to wear and tear.
Avoid prolonged water exposure and use gloves for chores
Water can weaken the adhesive holding your fake nails in place. To keep them secure, avoid soaking your hands for long periods. When doing chores like washing dishes or cleaning, wear gloves to protect your nails. This simple habit can make a big difference in how long your nails last.
Reminder: Even high-quality glue or adhesive tabs can loosen with too much water exposure. Gloves are your best friend here!
Reapply glue or tabs if a nail starts to lift
If you notice a nail lifting, don’t panic. You can fix it quickly by reapplying a small amount of glue or replacing the adhesive tab. Press the nail firmly back into place and hold it for a few seconds. Regularly checking your nails and addressing any issues early will keep them looking perfect.
Quick Fix: Keep a mini nail repair kit in your bag for emergencies. It’s a lifesaver when you’re on the go!
By following these tips, you’ll not only style your fake nails beautifully but also maintain them for longer wear. A little care goes a long way in keeping your nails looking salon-fresh.
Applying fake nails at home is easy and fun. With the right tools and steps, you can have salon-like nails that last for days. Fake nails are super popular now because they’re strong and simple to use. When it’s time to take them off, soak your nails in warm soapy water or use acetone remover to do it safely.
Fun Fact: Research shows press-on nails score 9.08/10 in satisfaction, making them a favorite for beauty fans!
FAQ
How long do fake nails usually last?
Fake nails can last up to two weeks if applied properly. Using nail glue and avoiding water exposure helps them stay secure longer.
Can I reuse fake nails after removing them?
Yes, you can reuse them if they’re in good condition. Clean them with rubbing alcohol and remove old glue before reapplying.
What should I do if a nail pops off?
Reapply glue or replace the adhesive tab. Press the nail firmly for 10-20 seconds to secure it. Keep a mini repair kit handy for quick fixes.
